Banding the feet
Primary tabs
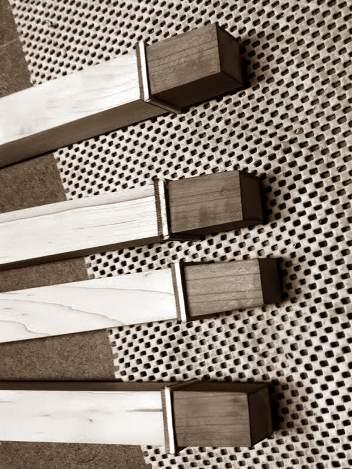
This past weekend was productive on several of my woodworking projects. On the jewelry cabinet, I managed to install the last part of the feet detail, namely the banding around the top of each cherry foot. I had previous installed cherry veneers on the four sides of each leg, up to a height of about 2" from the floor. While contemplating this foot detail, I had decided last month that I might as well add a little more refinement to the feet by adding a band around the top to better define the ankle. I had previously cut thin strips of cherry and maple to serve as banding. One piece about 20" long, cut down the length should serve to band all four feet. Or at least, I hoped it would.
I didn't document cutting the slots in the legs with photographs. i was too intent on making the recesses accurate without creating any blowout on the legs. This was a tricky operation, since the legs aren't square down near the floor, but are angled inward on two sides. I ended up cutting the top edge of the band recess with the table saw, very carefully spacing it on the crosscut sled. (I taped the boundary between the cherry veneer and the leg maple with blue tape to ensure no blowout on the back edge.)
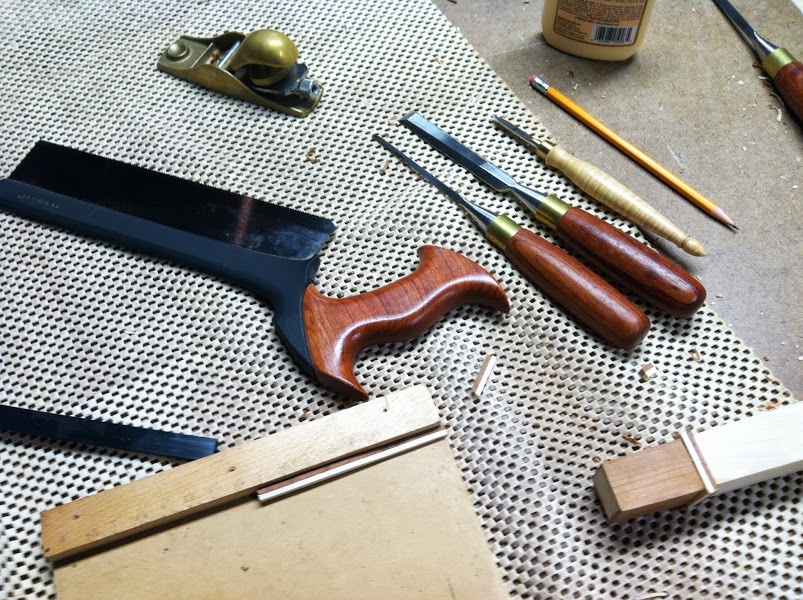 After making one aborted attempt at widening the slot so it would host the entire banding part, I switched to cutting the bottom of the slot by hand. I struck a knife line on the cherry veneer by holding the banding against the edge of the table saw cut kerf. I then cut inside the line using my dovetail saw . . . the only truly fine handsaw I own at this point. Then I pared it down to just fit the banding on top and bottom edges, and to make a smooth base for gluing.
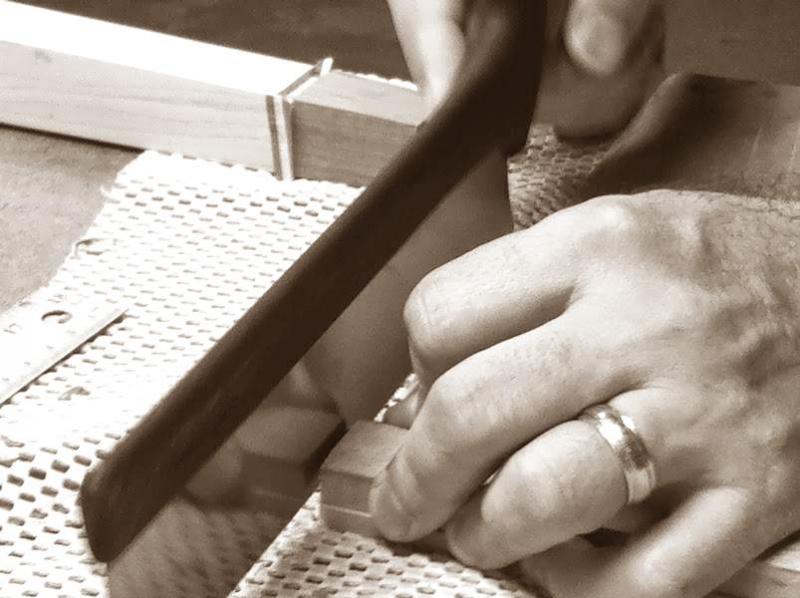
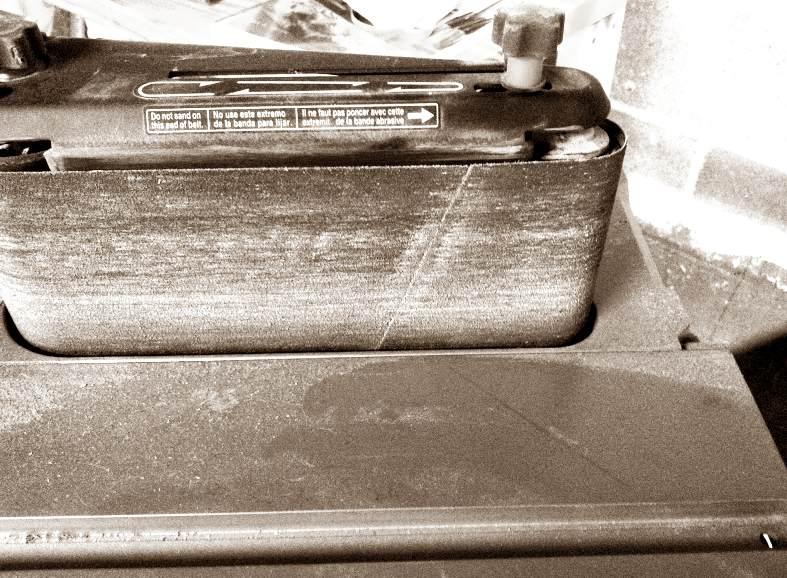 This is where I started documenting the process with photos. (My wife also grabbed the camera for a second to shoot me working on the fitting work.) It took me some trial and error to find a good method to establish the 45 degree angle on the banding pieces. I did try using a shooting board with a hand plane, but the banding was too small and prone to chip out along the back side with this method. So instead I ended up using my Ridgid oscillating band sander to establish the miter. At first I did it by eye, but after messing up a couple of pieces (of precious length of my limited supply banding) I decided to draw a 45 degree line to my sander belt and use it by eye to send the end of each piece of banding. This ended up working out very well.
 I cut the pieces to rough lengh using a bench hook and my dovetail saw. Then I established one miter one the sander, placed it in the slot, and then sanded the other end to length. Repeating this, I fit all four pieces before gluing it all up at once.
The slots were tight enough that I didn't need to use any clamping to hold the banding in place. I focused on getting the miters and edge tight at the surface of the leg, rather than out at the outer edge of the banding, since the intention is to sand the banding down flush with each side of the leg.
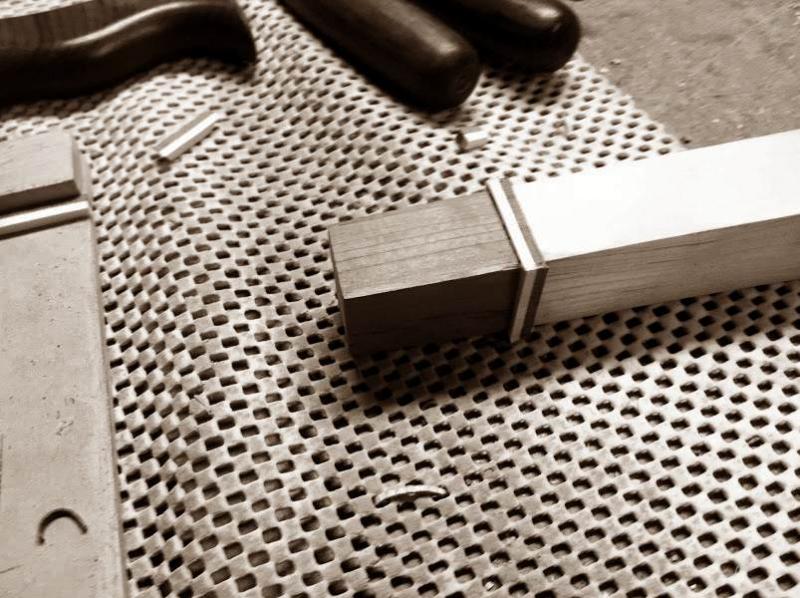 The first one turned out better than I expected it would. And subsequent attempts, as usual, got better with practice.
After 24 hours of drying, the feet and banding on all four legs was dry enough to be sanded flush. I forgot to grab shots of the final outcome. I'll add those photos tomorrow. But overall, I'm very pleased. As usual with any woodworker, I notice the slight defects. But Adriana has already told me she didn't see anything wrong with them. Mostly, though, I think they turned out well.
 I finished rough sanding all four legs and started fine sanding them down to 120 grit. I'll go to 220 as soon as I can get back to it. I'm going to try a couple of finish options on some offcuts to see which will look better, either straight boiled linseed oil and then polyurethane, or a first coat of thinned blonde shellac, then the lineseed oil and polyurethane.
As I mentioned in a previous project update, I'm finishing the legs separately from the case, so I can keep the case as white as possible. So no BLO on the case, which means I need to do the legs now, before I glue everything together.
