Began Work on the Aviary
Primary tabs
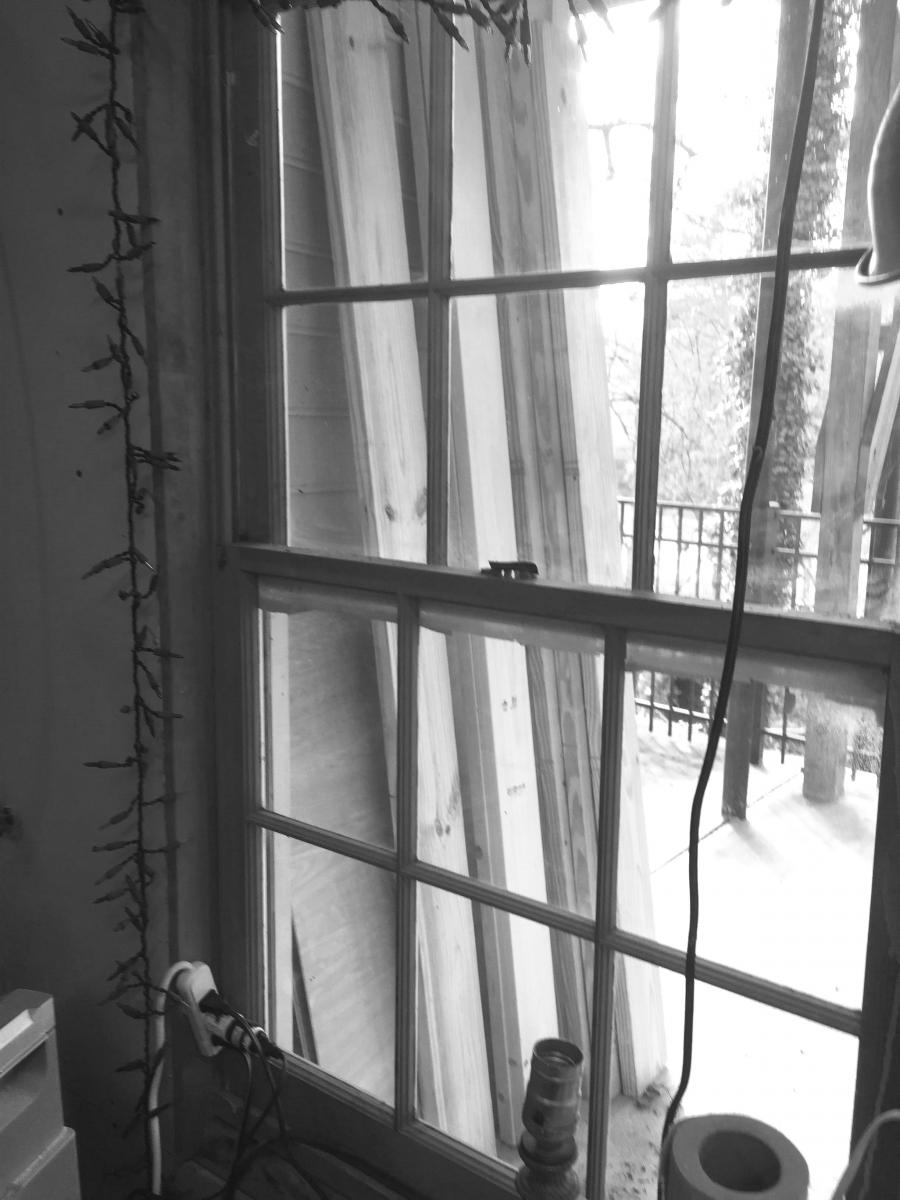
 After I went out last week to buy BORG lumber for this project, I got started this week cutting the 2-by lumber down to more useful dimensions. I had to stack all of my lumber outside on the back porch this time, since I'm out of room in the shop. Hopefully it'll stay dry for a few days until I can bring it in. (Note: It didn't, of course. We had the wettest two weeks of the year so far right after I posted this.)
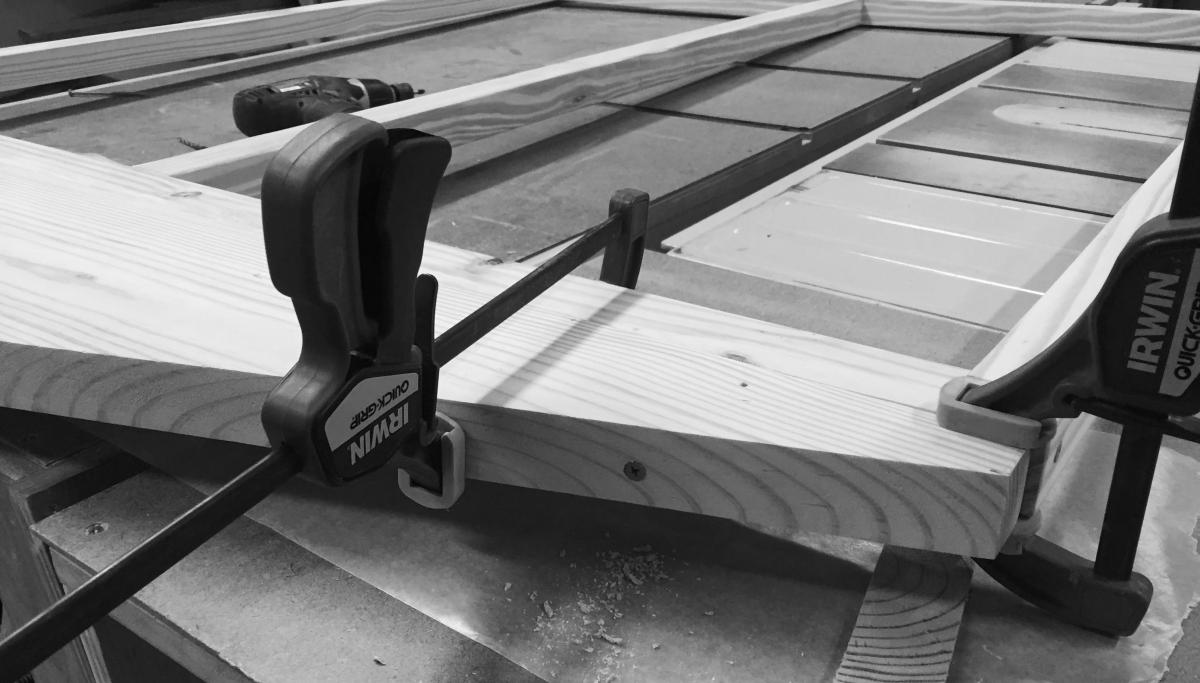
 Even though I dimensioned for 2"x2" legs, I just used the dimensions of the lumber define it. So all of the members actually ended up 1½" x 1¾". (That's ripping a 2" x 8" into four pieces.) Once that was done, I started the process of chopping to length and then butt glueing and screwing into place. The little birds have hatched and I need to get this thing done quickly.
This thing is going to be modular, so if it's too large to fit through a doorway, I can take it apart into four walls, a floor, and the roof pieces. So I started by framing in the front and back walls with their long legs. 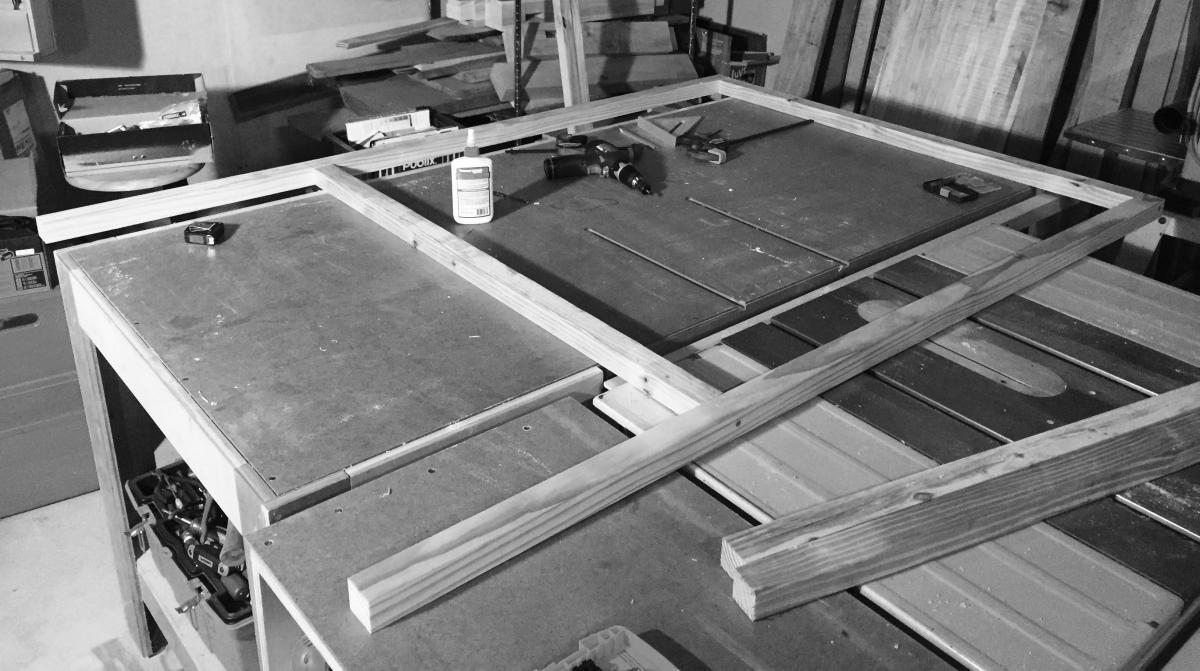 I extended the legs 10" below the bottom of the aviary so that it'll sit up higher. I've got a ton of long screws from the outdoor playset I built the boys back in Florida, so I used those with glue to hold the frames together. After the front and back, I built the side walls. The right side is a simple rectangle, but the left wall has members in the middle to support three little doors for feeding and cleaning the cage.
While working on this, I had a little guest in the shop. On my second trip to the BORG store, Lucas had gone along. He begged me for his own power screwdriver. "NOT a toy, Daddy! I want a real screwdriver." Because he was so patient, and 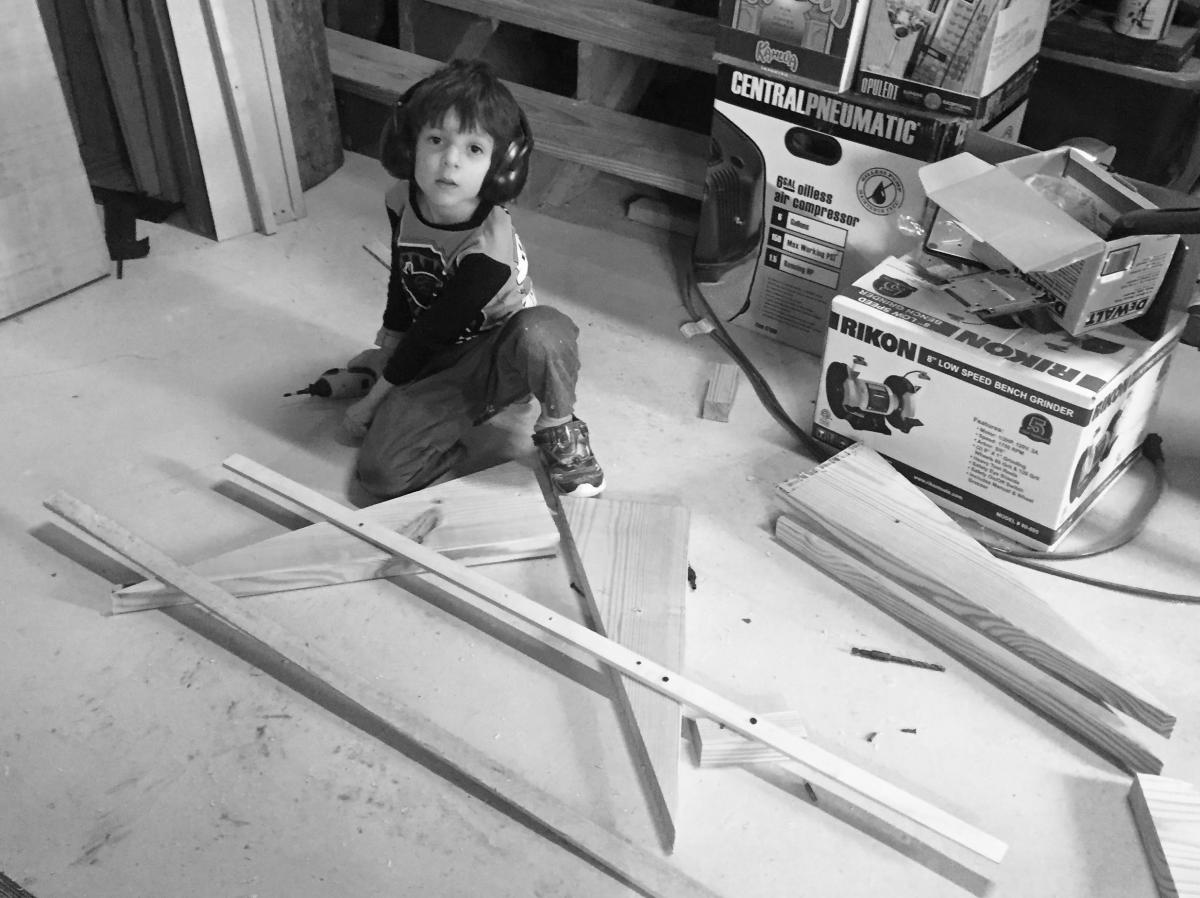 because he's always been so gung-ho about using my power drills (something I've always resisted), I broke down and got him a little handheld, battery powered Craftsman power screwdriver. It'll really underpowered as a drill/driver, which is PERFECT for giving to a horribly persistent young man who insists he get a real tool. It cost $14 and for once I was happy to get a crappy Craftsman tool. He sat on the floor for a couple of hours, drilling little holes into the offcuts from my work, and screwing together pieces.
 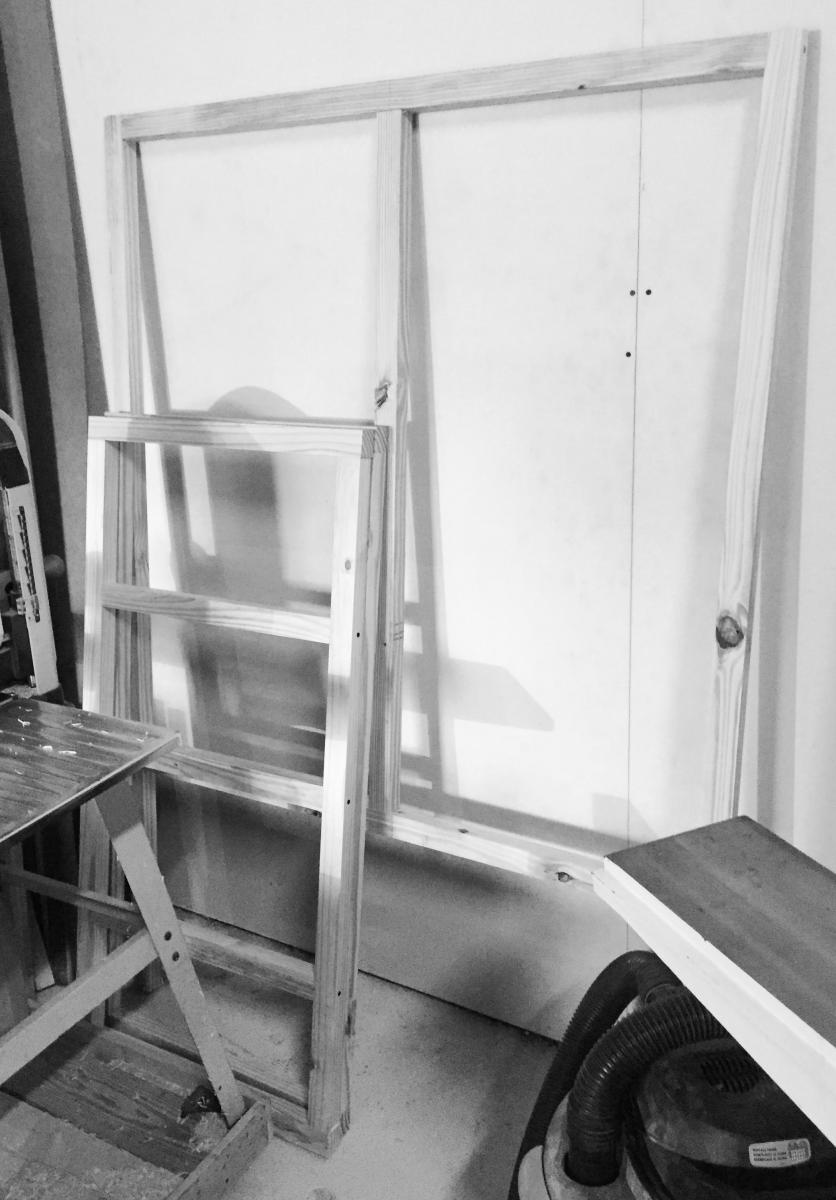 I watched him like a hawk, and my own work slowed down by about 80%. But he did let me get some work done. I think he had a good time, although he did finally get bored and go upstairs and pester his mother.
After Saturday, I had managed to cut down most of the rough lumber and built the four main walls. At this point, I set them aside and tried working on how to cut a single 8' 2x10 down to form the roofline. It was just barely long enough. Cutting it in half, I then tried to figure out how to clamp it so I could use the circular saw to cut the roof pieces. It went fairly well, although Lucas stole my hearing protection because he knew the big red tools is REALLY loud. 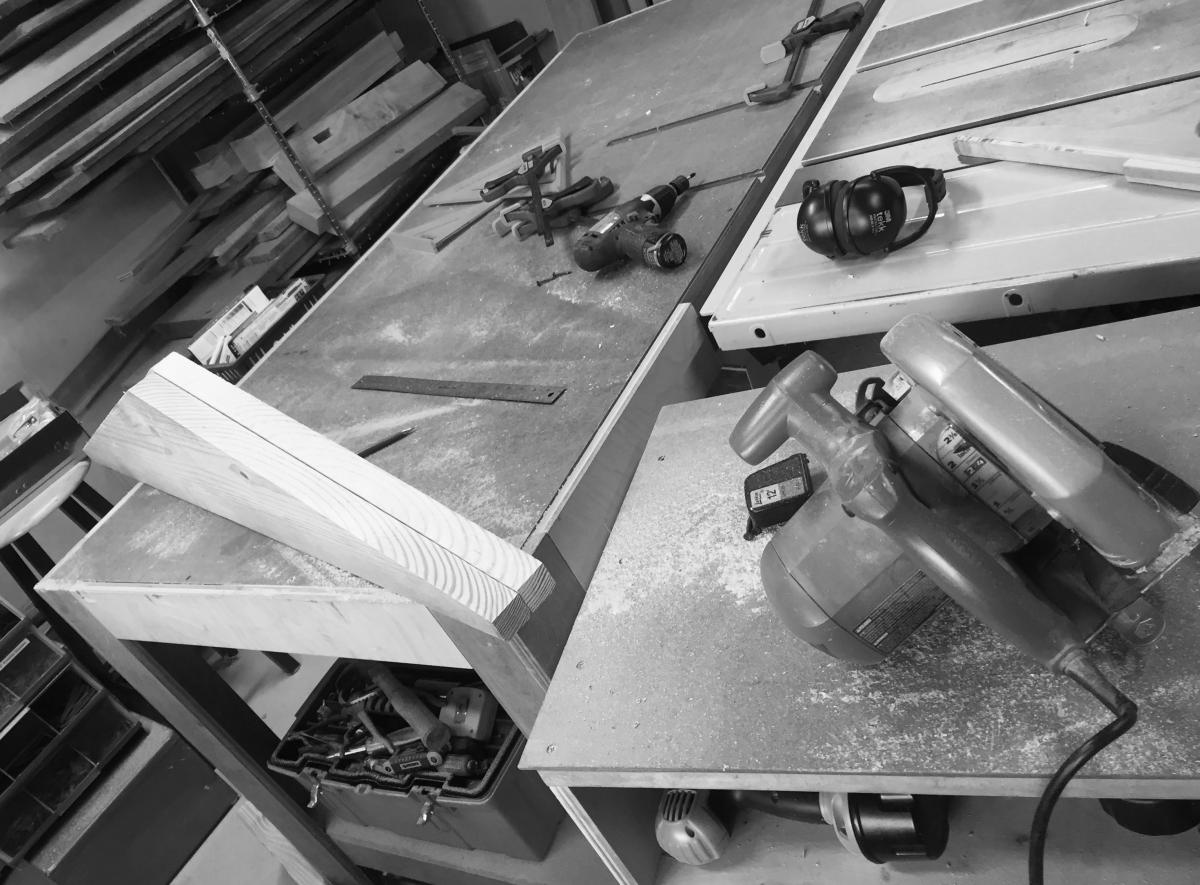 I managed to cut them almost perfect. One was a little wavy near the peak, but it's close enough that I can work with it. (Did I mention that the birds have already hatched?)
I glued and screwed the roofline parts to the top of the front and back walls. For this, I ended up screwing down from the top, using beefy 4" outdoor screws. I was impressed with the little Bosch drill driver I used for all of this. I had to use the smaller drill, because, the day I started this project, I picked up my 10-year-old, trusty DeWalt 18V drill driver, pulled the trigger, and got a very nasty smelling puff of smoke out of the mechanism. It still runs . . . sort of. But I can't use it until I see if I can fix it. I've been lucky enough not to need to replace the brushes on any of the tools. I'm not sure this model allows it. I'll give it a try when I have a moment.