Tear down, sanding, and feet
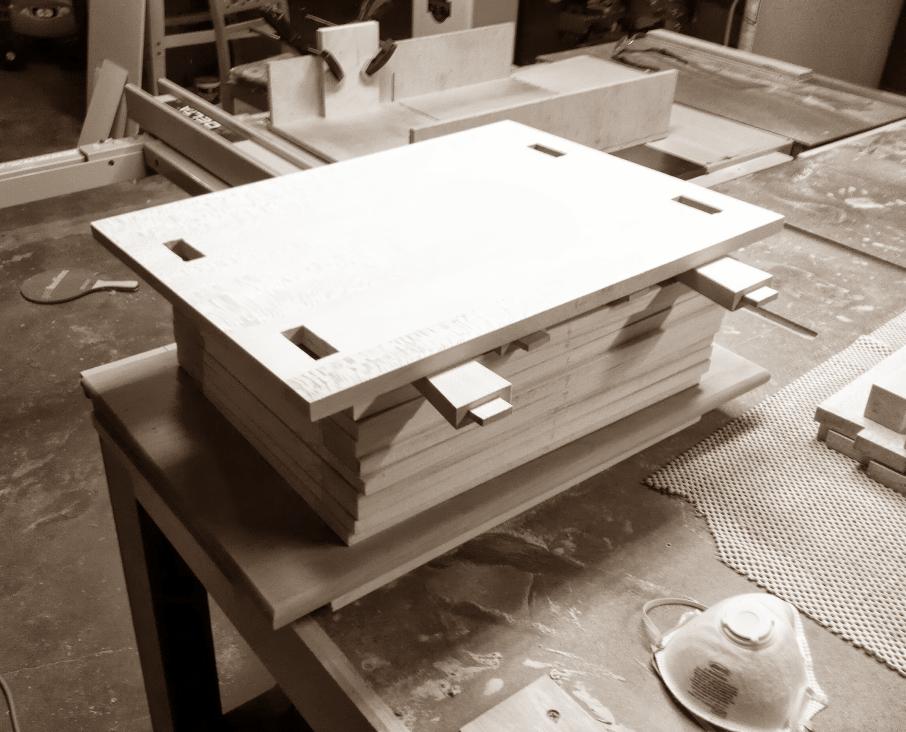
Primary tabs
I've made some good progress on Adri's cabinet over the past two weeks. I started by taking the dry-fit assembly apart so I can do final sanding, finishing and glue up of those parts. Aside from finishing up a couple of tool fixtures for my wall-hanging tool cabinet, I managed to keep my focus solely on the cabinet for a change. So the plan was: take it apart, sand, and work on the legs so they'll be ready to accept a finish. I haven't quite finished the feet details, but that's almost done. Then I'll need to do a couple more hours of sanding before applying the finishes. I'm hoping to get to the case glue-up within the next couple of weeks.
 I have done the rough sanding, but there was quite a bit of tear-out in the quarter sawn sycamore, so I have a bit more to do before it will be ready for a finish. Since I want to maintain the bright white-ness of the case itself, I'm planning to finish it prior to assembly with a water-based polyurethane. And so the leg finish won't get onto the sycamore, I'll need to finish the legs prior to assembly as well.
 As for the legs, I did a first pass of sanding them, but then started working on the feet. I had always intended to put a veneer of cherry around the base of each leg, as a sort of 'sock'. So I started working on that by taping over the line 2" from the bottom where the top edge of this sock was to be located. Then I used a crosscut sled to define the top edge of this area. I did this to try to avoid any blow out on the back edge when cutting the maple. That worked well, so I taped the entire sock area and used the same setup to create the sock rabbet around the bottom of all four legs.
Full gallery of this portion of the work
I then cut some thin cherry pieces from an antique board and sized them to fit the rabbets. The picture at left shows the cherry laminate glued in place to form the "socks". The top 3 in this photo are still their rough shape, but the bottom one has been sanded down to close to the final shape. I used a small table top OSS with the belt in place to smooth the laminate down to be flush with the leg. I've since sanded them all down to be slightly smaller in diameter that the original leg was. I decided that that looked like a more polished outline.
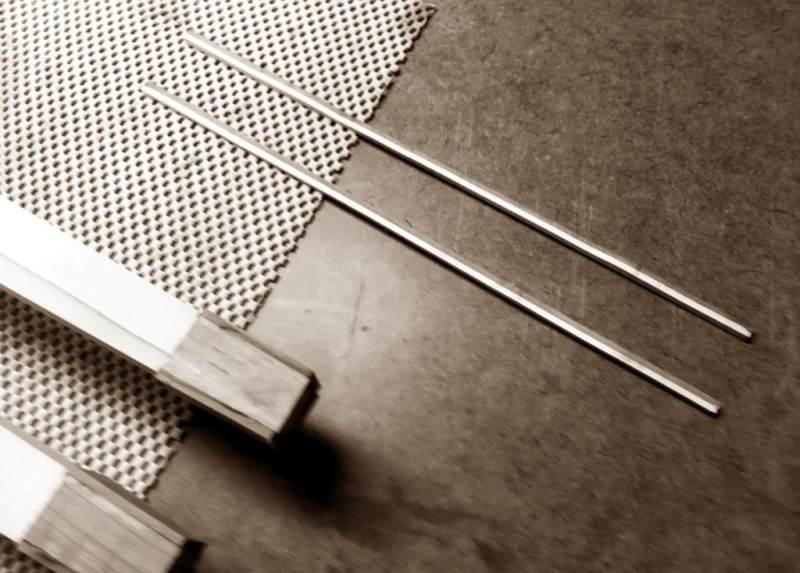 Finally, I created small strips of maple and cherry, and glued them together. These are going to form the top of the socks on each cabinet leg, a simple two-tone horizontal banding around each leg. I've begun to cut the dados for the banding, after cutting the banding into two small pieces on the bandsaw, so I'll have enough to go around all four legs.