OK, I'm finally going to try to finish this thing. I almost gave it up as lost last October when, while trying to square up my bench legs, I ended up doing more damage than good with my table saw. The problem, I didn't have most of my tools, jigs and assorted materials located after our move from Roswell house #1. I've spent the last 10 months slowly (s l oooooooo w l y) getting my shop and house back in order enough to do some at least moderately skillful woodworking again.
 The first, critical step now is to identify the rough lumber that will function as the stretchers on this thing. Unfortunately, I don't have thick enough lumber for one piece stretchers, so once again I'm going to need to patch together two pieces for each of the four stretchers. Finding pieces of silver maple from my dwindling stash of lumber from the farm tree was a sketchy proposition. I didn't think I even had enough left. There are more pieces in storage in Ohio, but I have no way to get it back to Georgia easily any time soon. So it was a major victory last night that I did manage to find enough pieces for the entire undercarriage of the bench. A major victory was that I actually located my folder of bench plans. (I still can't find my folder for the jewelry armoire project, which is why it's still on the back burner right now.) But with the bench plans in hand, I could finally see my original dimension calculations and knew enough to identify rough lumber.
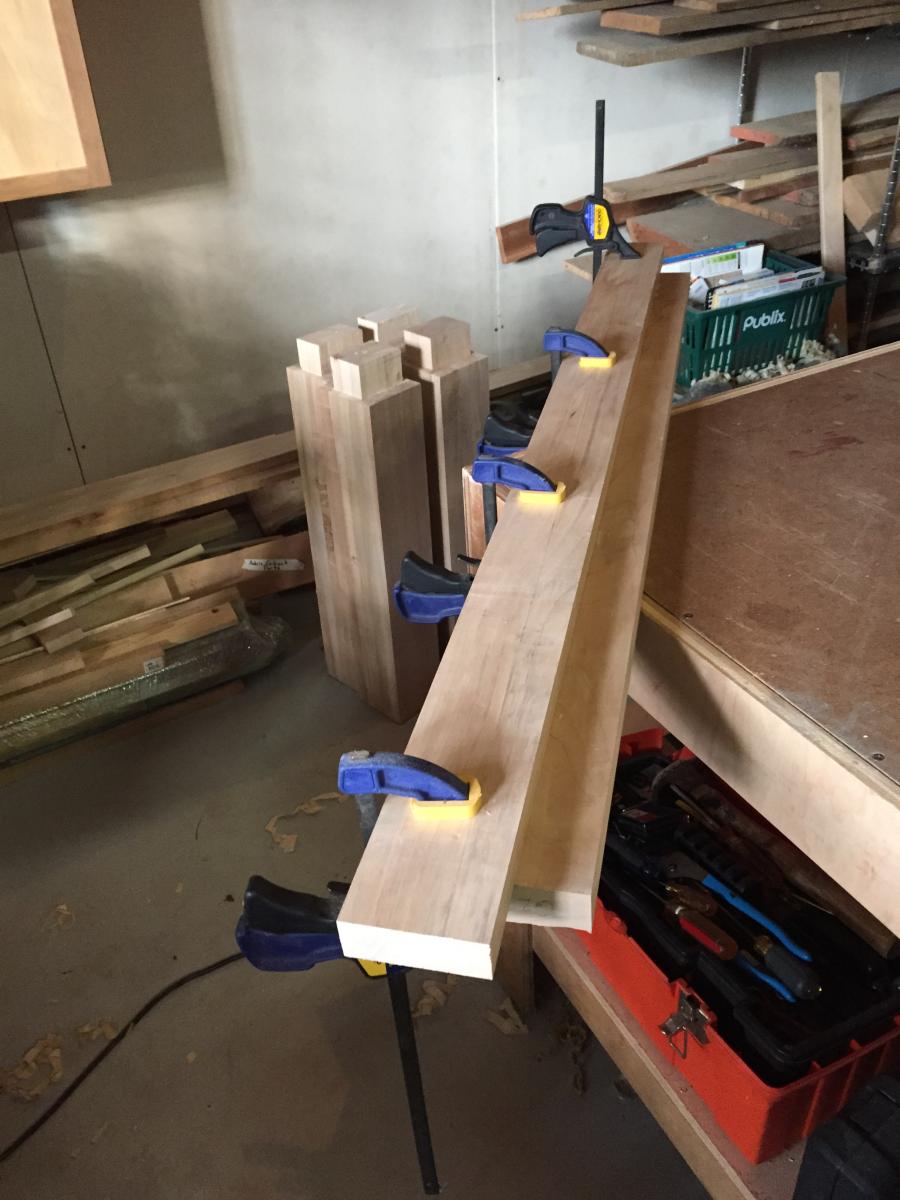
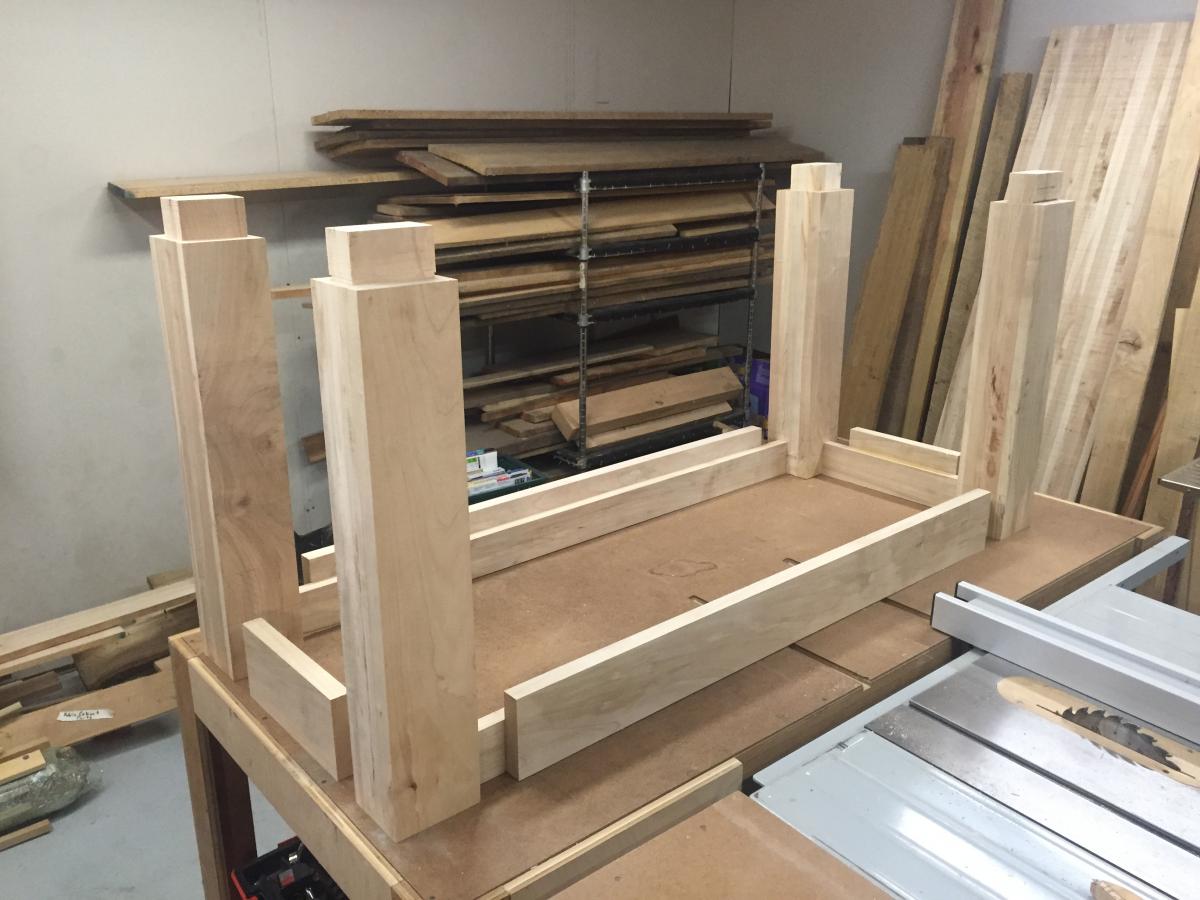
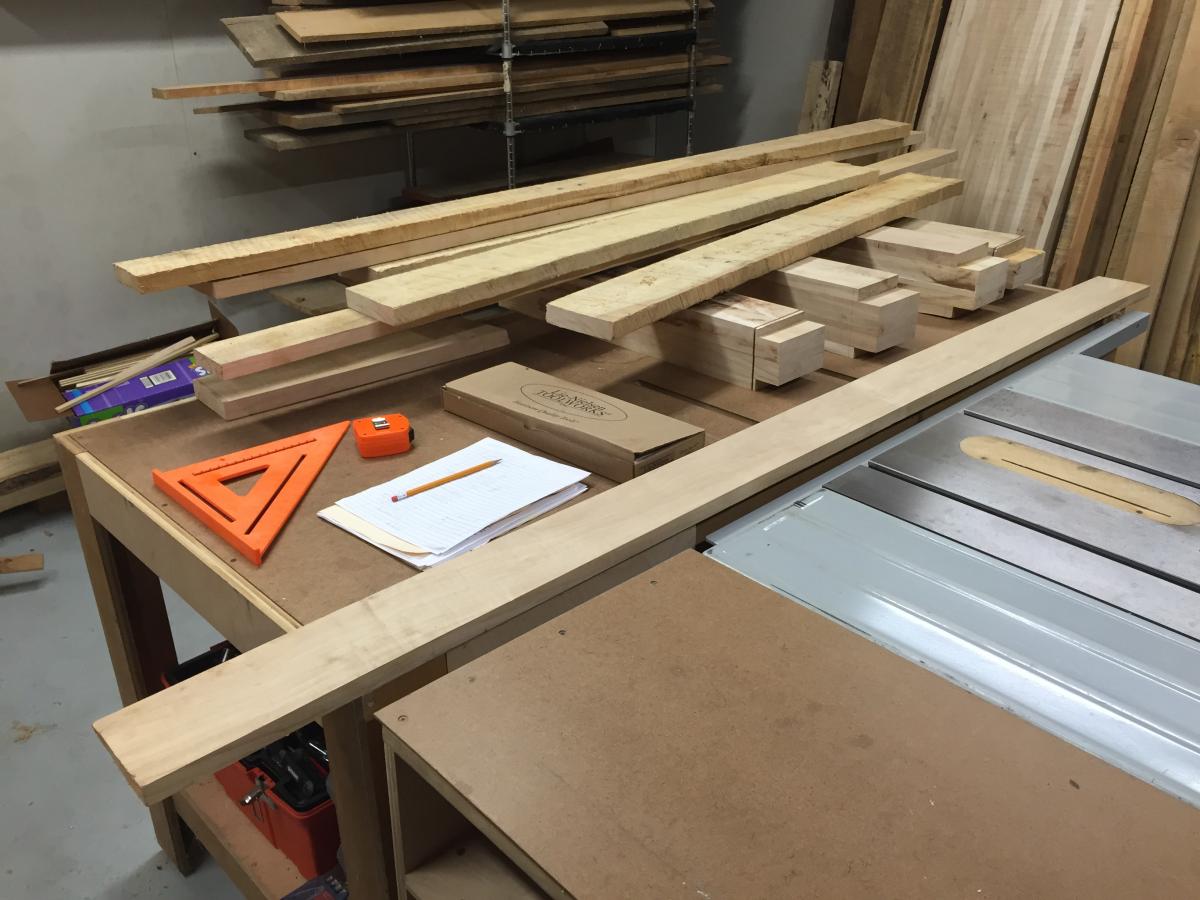
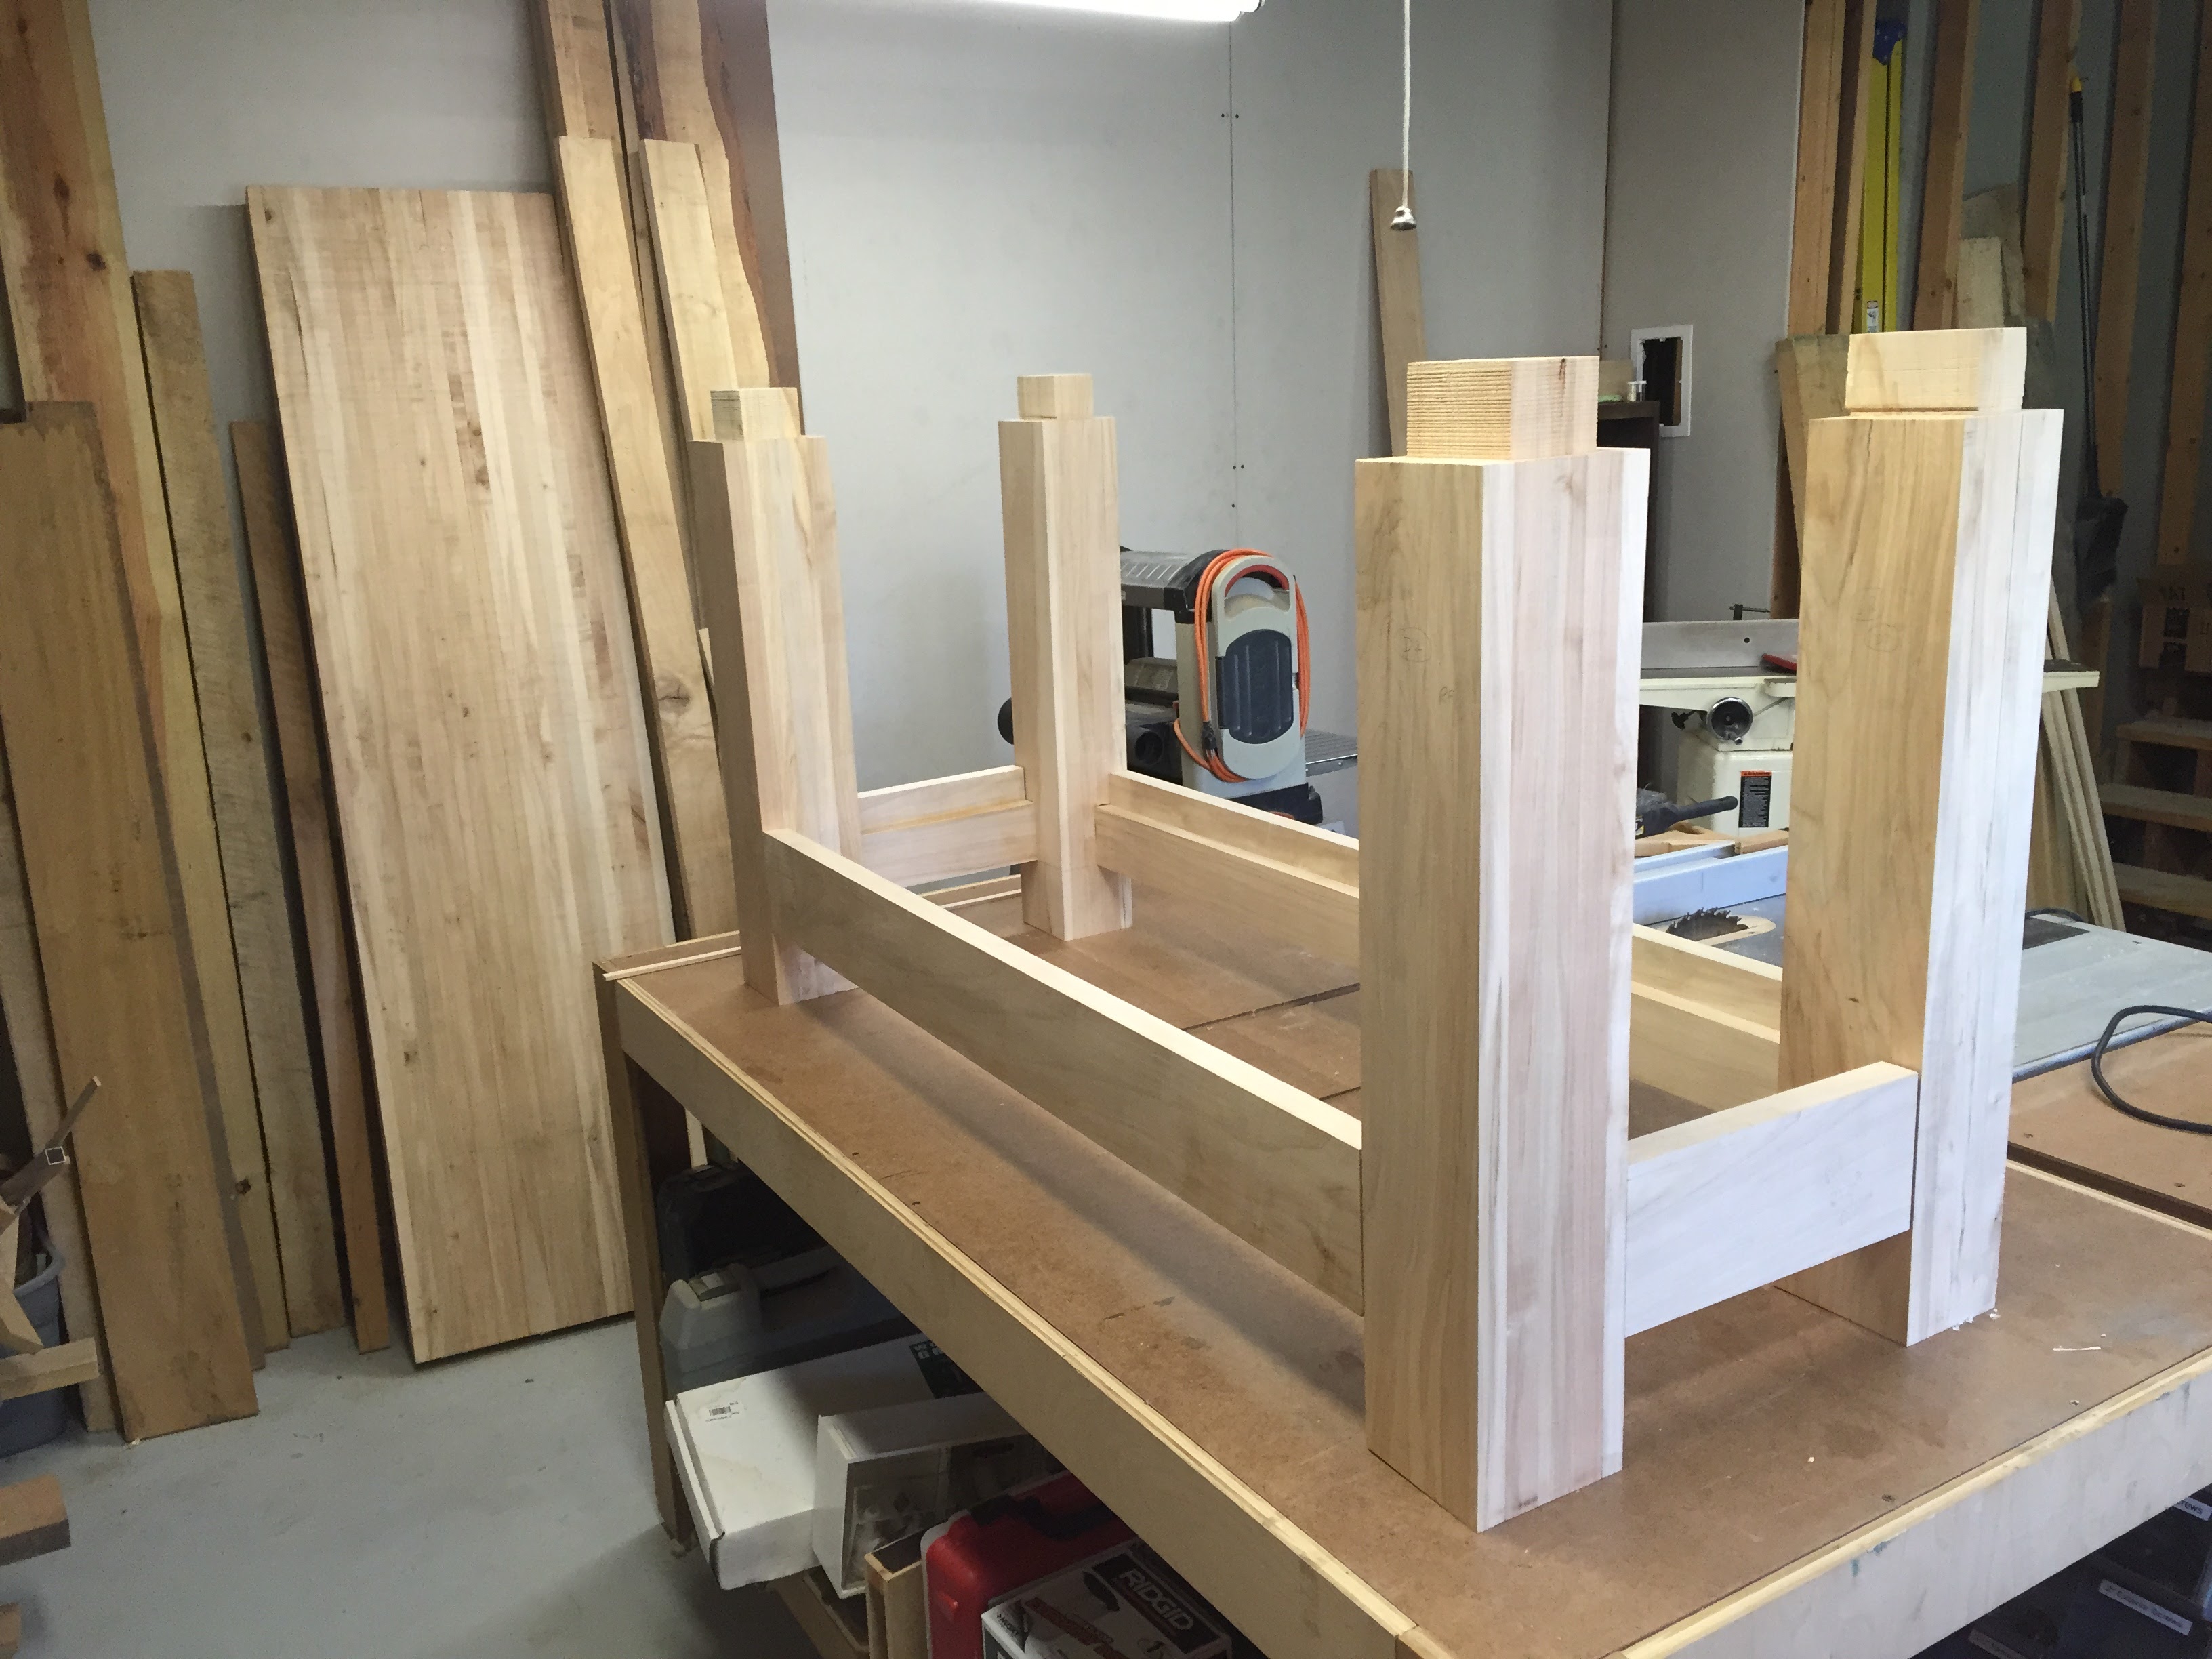
Nearest the table saw is the long front-piece for the benchtop. This had long been my intended piece in which to carve a message. I was the only fairly clean long-enough, wide-enough piece I had. Beyond that at the far end of the outfeed table you can see my two big and two smaller legs. The larger legs will be on the front of the bench. And then on top of the legs are the four longer pieces that will serve as the front and rear stretchers. The inner parts are only going to be 3 ½" wide, rather than my original plan of 4", because I simply don't have any long pieces that are straight and wide enough. Near the orange square (Hey, it's cheap, works well, and most importantly, AMERICAN MADE!) and orange ruler (ditto) are the four pieces to make up the left and right stretchers. On the floor behind the outfeed table I have the end cap of the top. The front and tail vice hardware are stored on the lower shelf of the outfeed table.
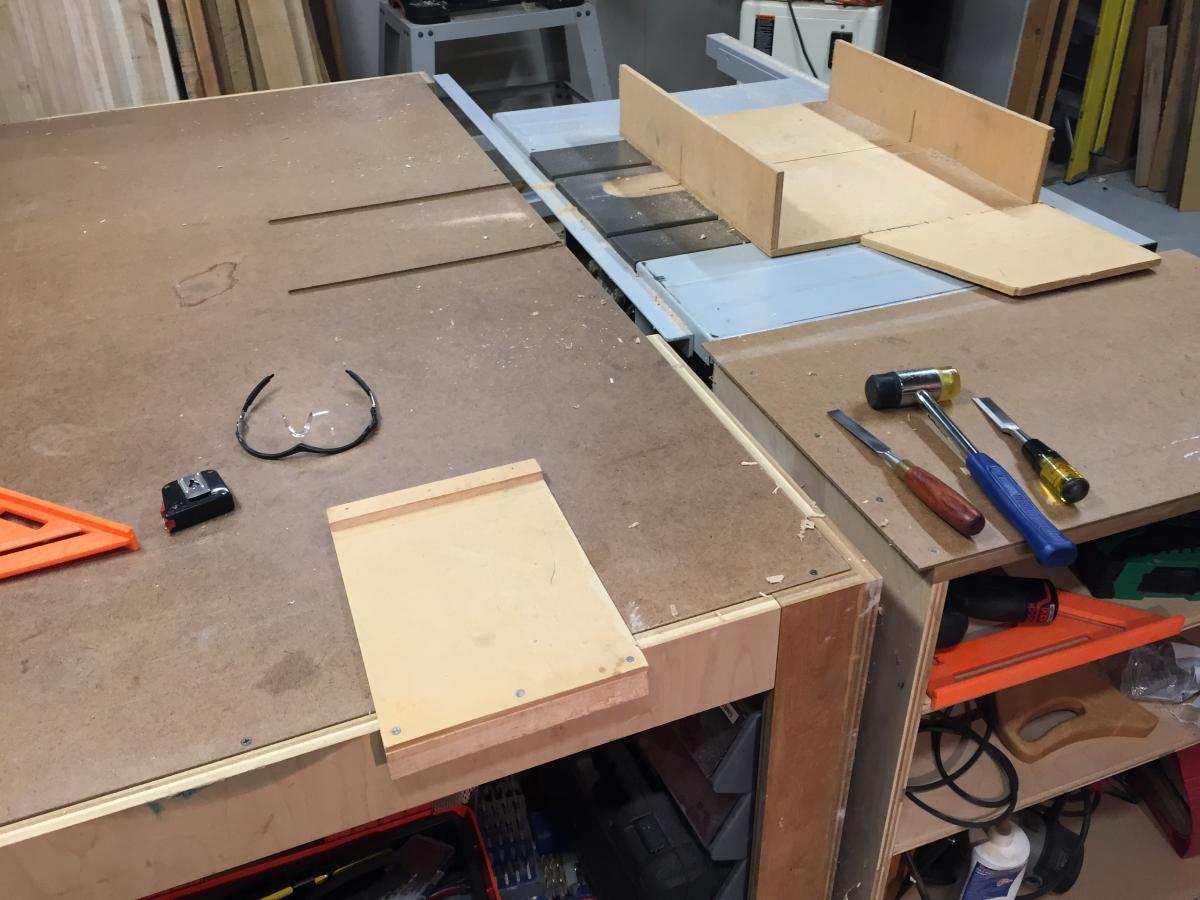
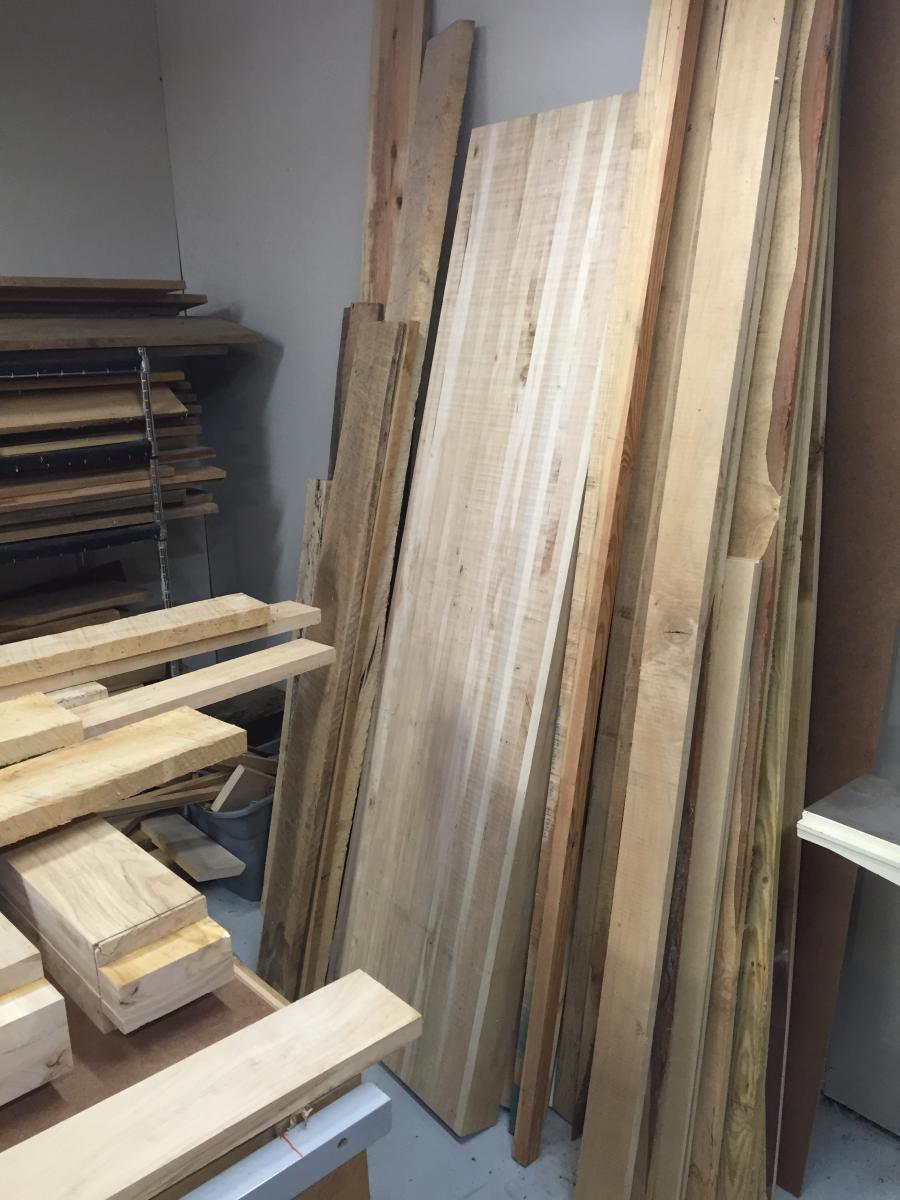
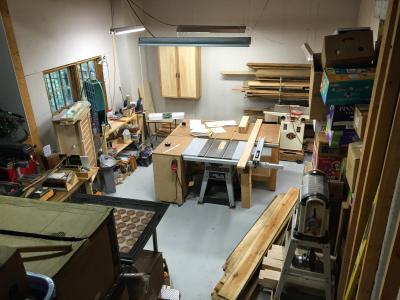
 As you can see, my outfeed table is once again, effectively, the only work surface I have. That's the reason I desperately need to finish this bench project. The benchtop is sitting propped up against the far wall. Here, here's a better picture of it.
So, I have all of the parts, FINALLY, and I can get to work on squaring up the stretchers and cutting the tenons for the legs. After I run the lumber though the planer and jointer, I'm going to attack this with hand tools as much as possible, particularly the joinery. The incident with the table saw and table leg tenons last year has made me very leary of using power tools for any of the fine joinery attempts.
Shit! I just realized that I don't in fact have all of the parts needed. I still need to source the wood for the front vice chop and lower support. Well, I knew that was the case all along, but I had forgotten. I know I don't have anything large enough for that one. I'm going to need to go find those parts eventually. But for right now, the goal is to get the basic bench put together quickly. I can't screw around with this much longer.

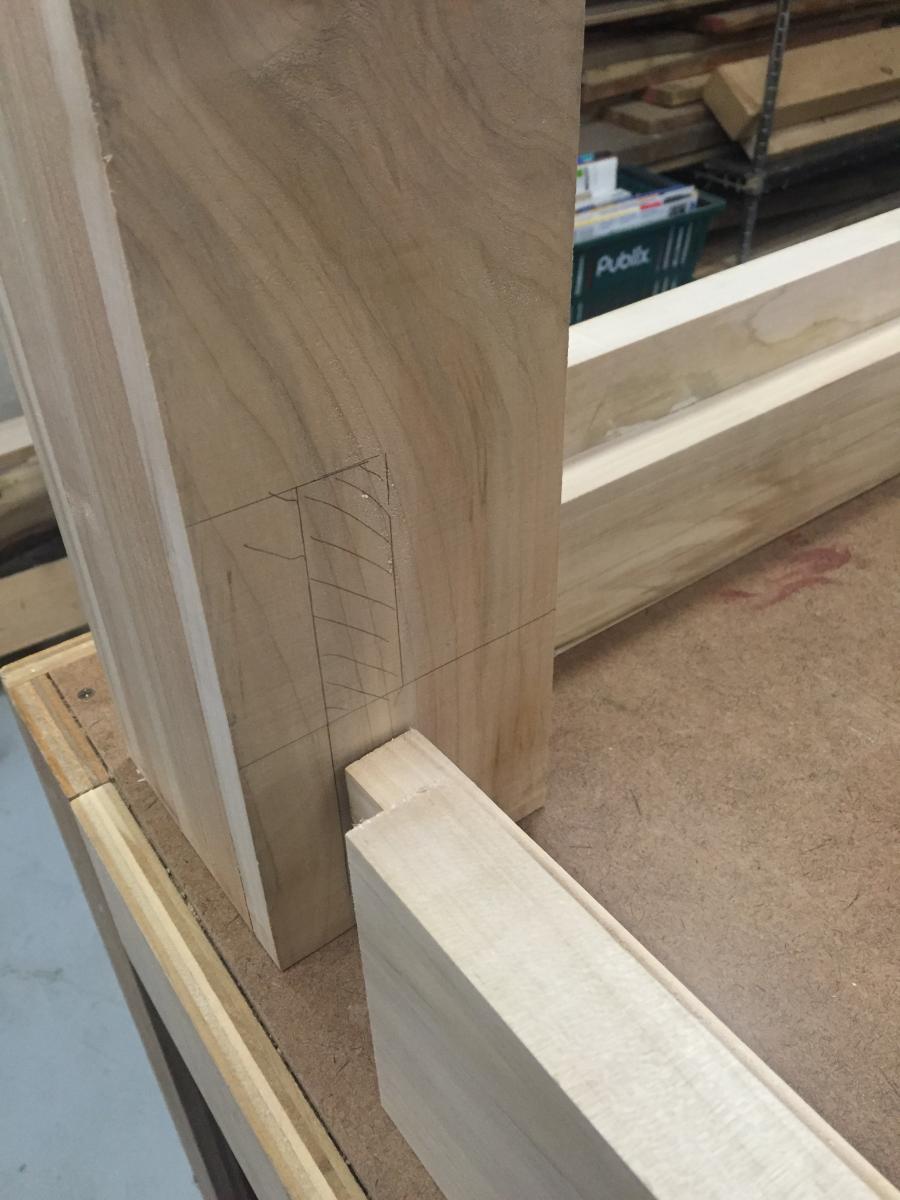
 After a great pile of drilling, followed by a whole passle of chisel-poundin', I've managed to fit all eight stretcher tenons to mortises in the workbench legs. This is the quickest work on this project yet. The boys are 9 and 4 1/2 now, so I'm finally able to grab a half an hour here and there to sneak down to the basement and get some work done. (As long as I balance it with other fatherly duties.)
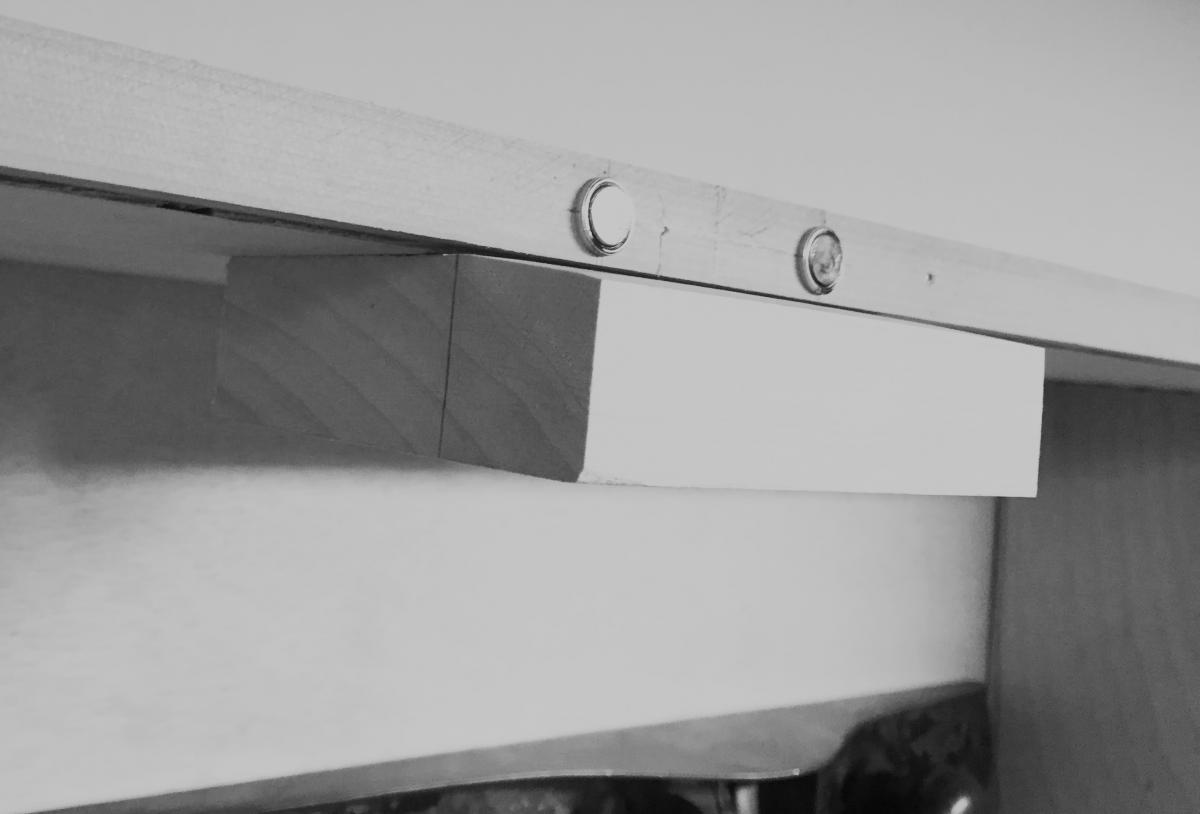
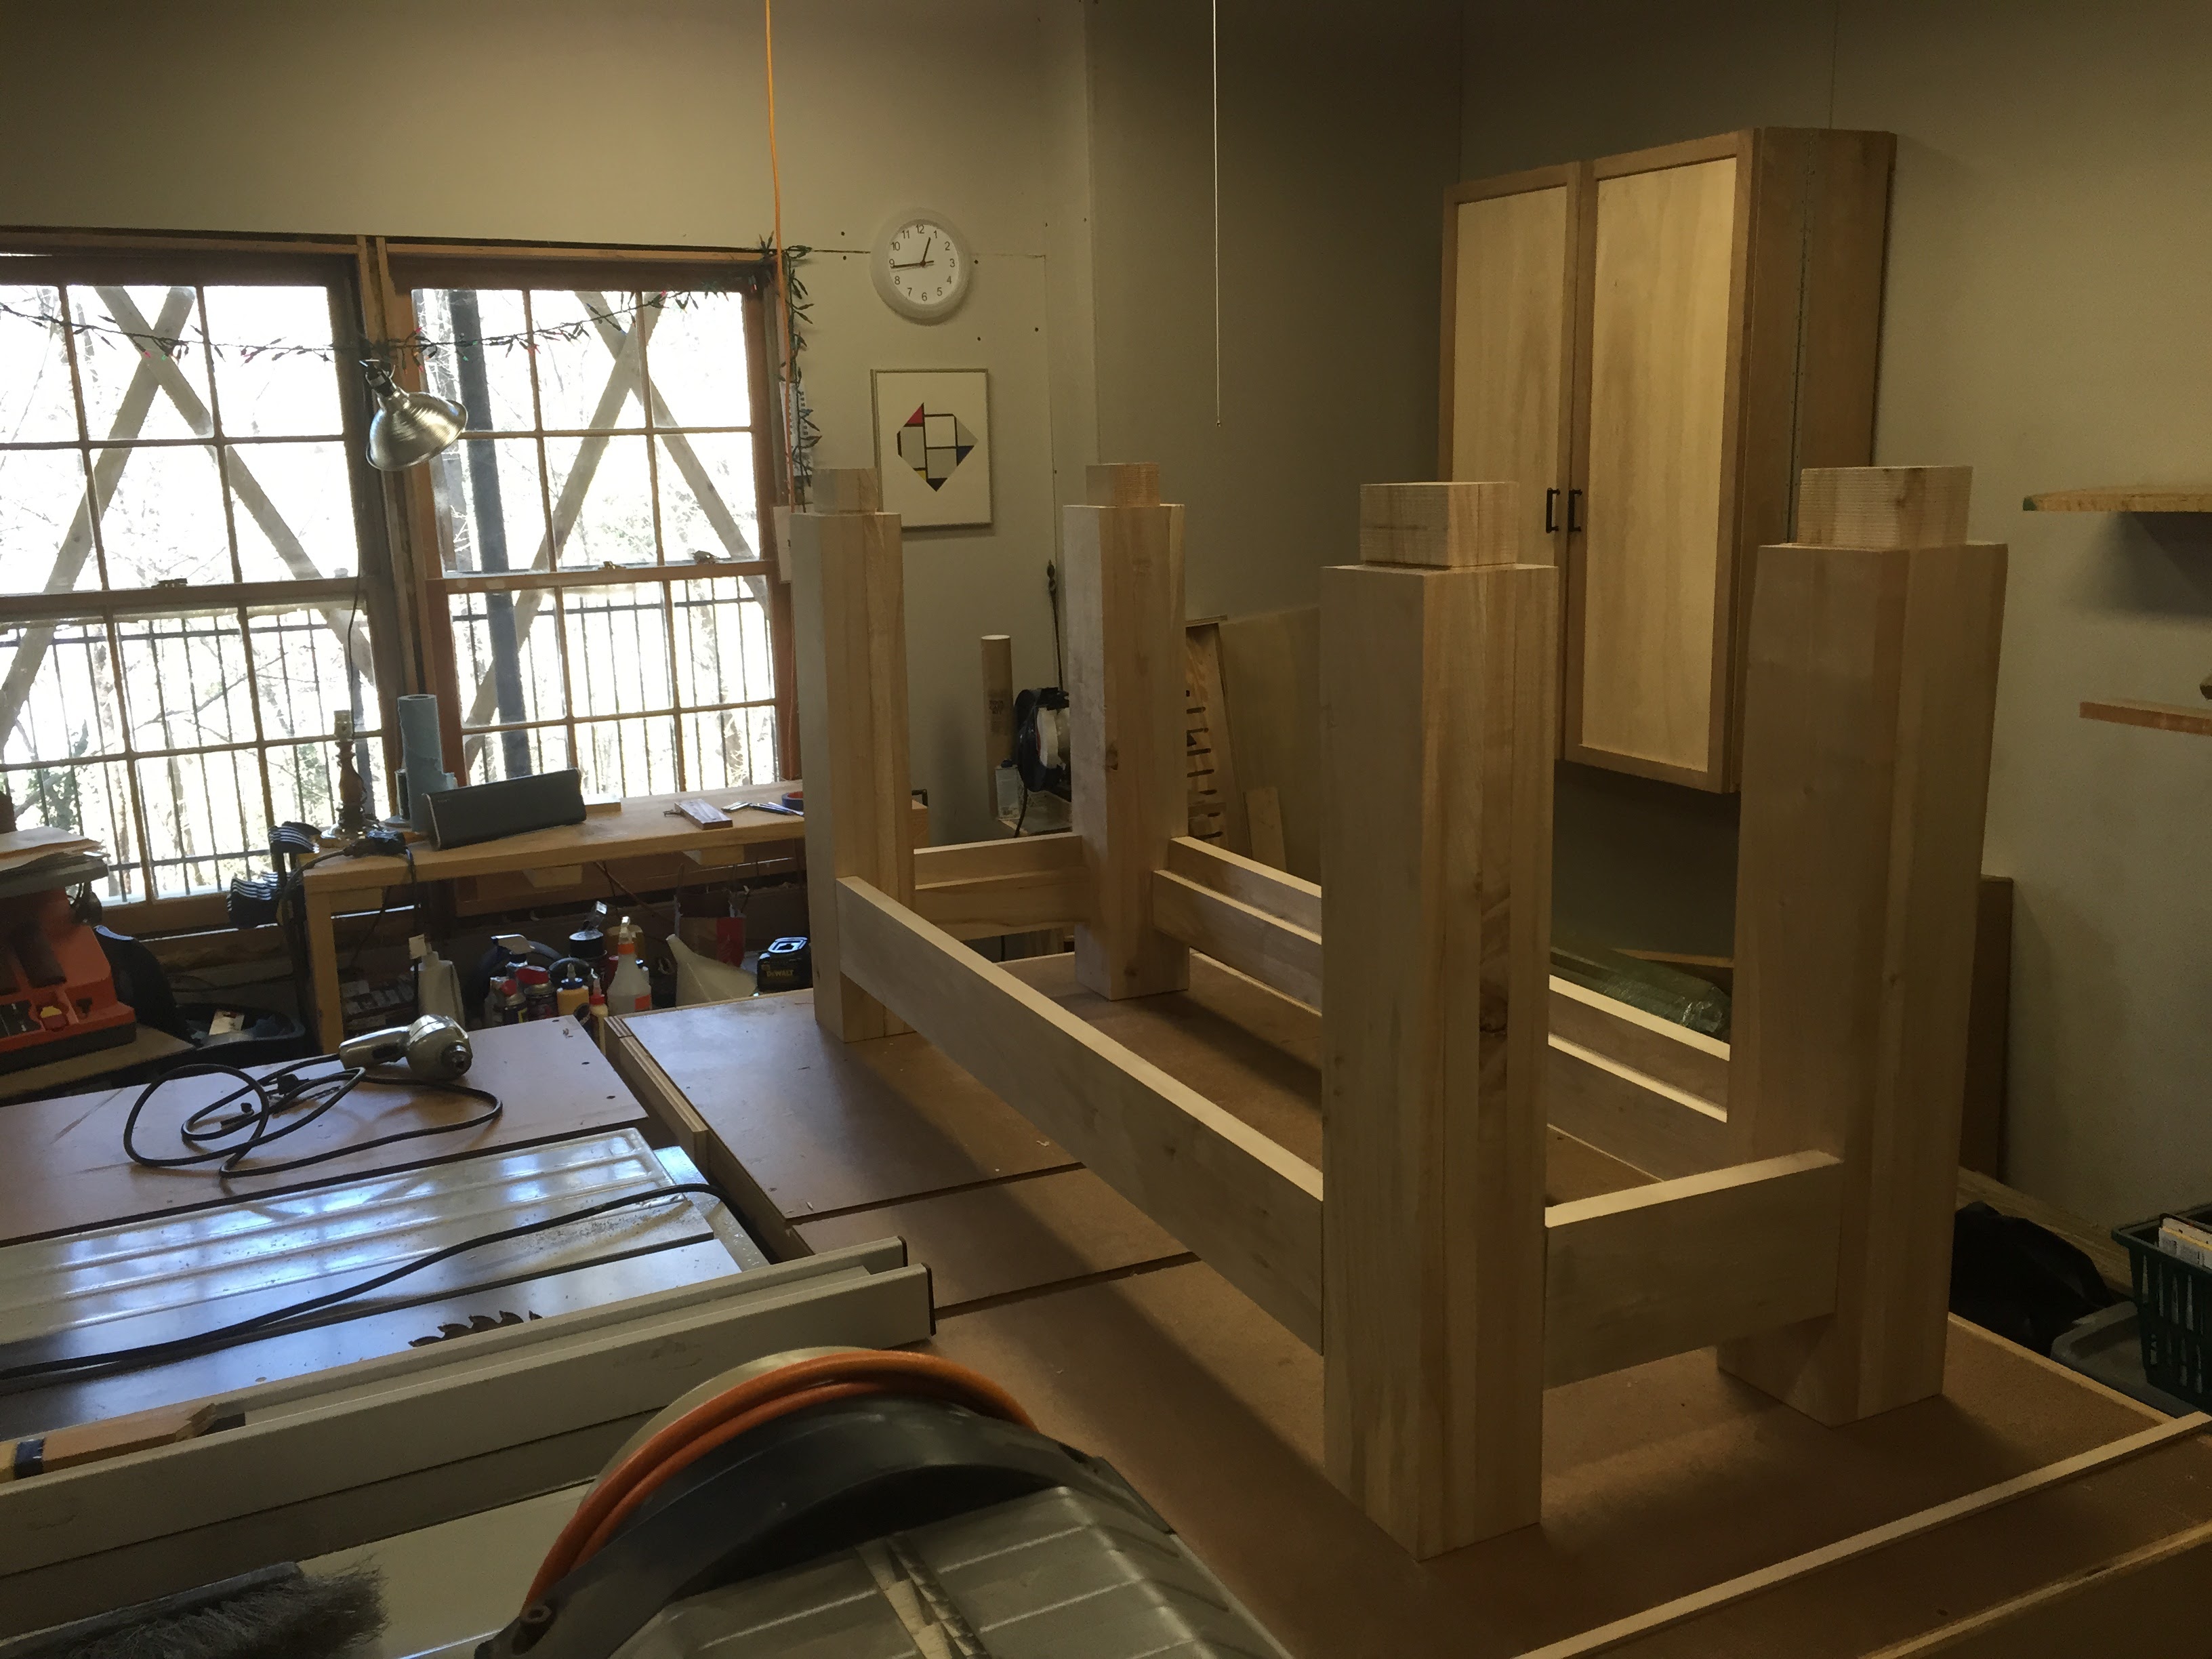 Next up, I set aside one four inch wide strip of silver maple to serve as the front edge of the workbench top. I had originally intended to carve a message into it, but the more I think of it, the more I want that edge smooth and unblemished for better work-holding. I think I may, though, carve the message into the front of the leg vice. I'll have to see what looks right. I think I'll still stick with my original message, from 'Two Tramps in Mud Time' by Robert Frost