Liam's Toolbox Kit
Primary tabs

My son Liam is now seven. He just joined the Cub Scouts this past August, and we've been going through the rituals of father-son bonding. Most of this has been driven by my wife, who recently read a book about how son's need their father to guide them at this critical age, taking them "across the bridge" to manhood. I've welcomed this push from her, since my own instinct is much more laissez-faire when it comes to parenting a boy-child.
But the next upcoming Cub Scout den meeting has pushed me into doing something I've been meaning to do for a couple years now . . . guiding Liam in the basics of putting together a woodworking project. He's seven, so I don't really want him at the table saw yet, but he is old enough to learn sanding, glue-up, hammering, using a drill-driver to screw boards together, that sort of thing. So I decided to build him a toolbox kit, to hold the boy-sized tools I plan to get him soon.
 Unlike most of the other projects I've attempted recently, I'm not going to re-invent the wheel here. So I decided to seek out and find a basic 'boy's toolbox' plan somewhere on the interwebs. The simplest, and most straight-forward, plan I could find was at a site called Sawdust Making 101, Woodworking for Begineers. I've found basic plans there from time-to-time. They're not fancy plans, but they are exactly what is needed for a simple beginner's project.
 I found some 5" wide poplar that my father probably bought in the 60s, some thin oak that I bought in the 90s some time, and a piece of a staircase railing I got when I was trying to build something or other about 5 years ago. I cut the basic parts based on the SawdustMaking plan, modified slightly to accomodate my on-hand materials, sanded them and pre-drilled the holes for screws at the ends and nails on the sides.
I used a Forstner bit to drill stopped holes for the railing handle, 7/8" turned out to be just the right size for this "1 inch railing". And then I picked out hardware, with a few extras of each to allow for assembly mishaps as Liam learns the ropes.

 I cut the parts and put it together as a kit. It was simple enough that he could see immediately how it had to go together. That way, I didn't have to do too much talking, which is always my biggest problem when I try to teach hiim something. This is how the kit looks when I showed it to him.
The original design showed through-holes for the handle, but the stopped holes were neater, and it was handy during assembly.
The nails in the sides are probably overkill, but I wanted something that would give my son some practice with proper hammering technique. At seven, he has a limited patience for skill-building execises, but he seemed to enjoy it. Still, if the project would have taken any more than about 30 minutes to assemble, I would have lost his interest.
He liked getting his hands in the glue. Next time, for whatever project we do together, I think I'll put the glue in a small bottle that will be easier for him to handle during assembly.
After he put it together, with some help from me, it looks great. He seems to like it. I think it looks good in natural wood, but of course he wants to paint it white, with red flames on the side. That's fine. It's his tool box, and I want him to be able to point at it in years to come and say, "That's the first thing I built."
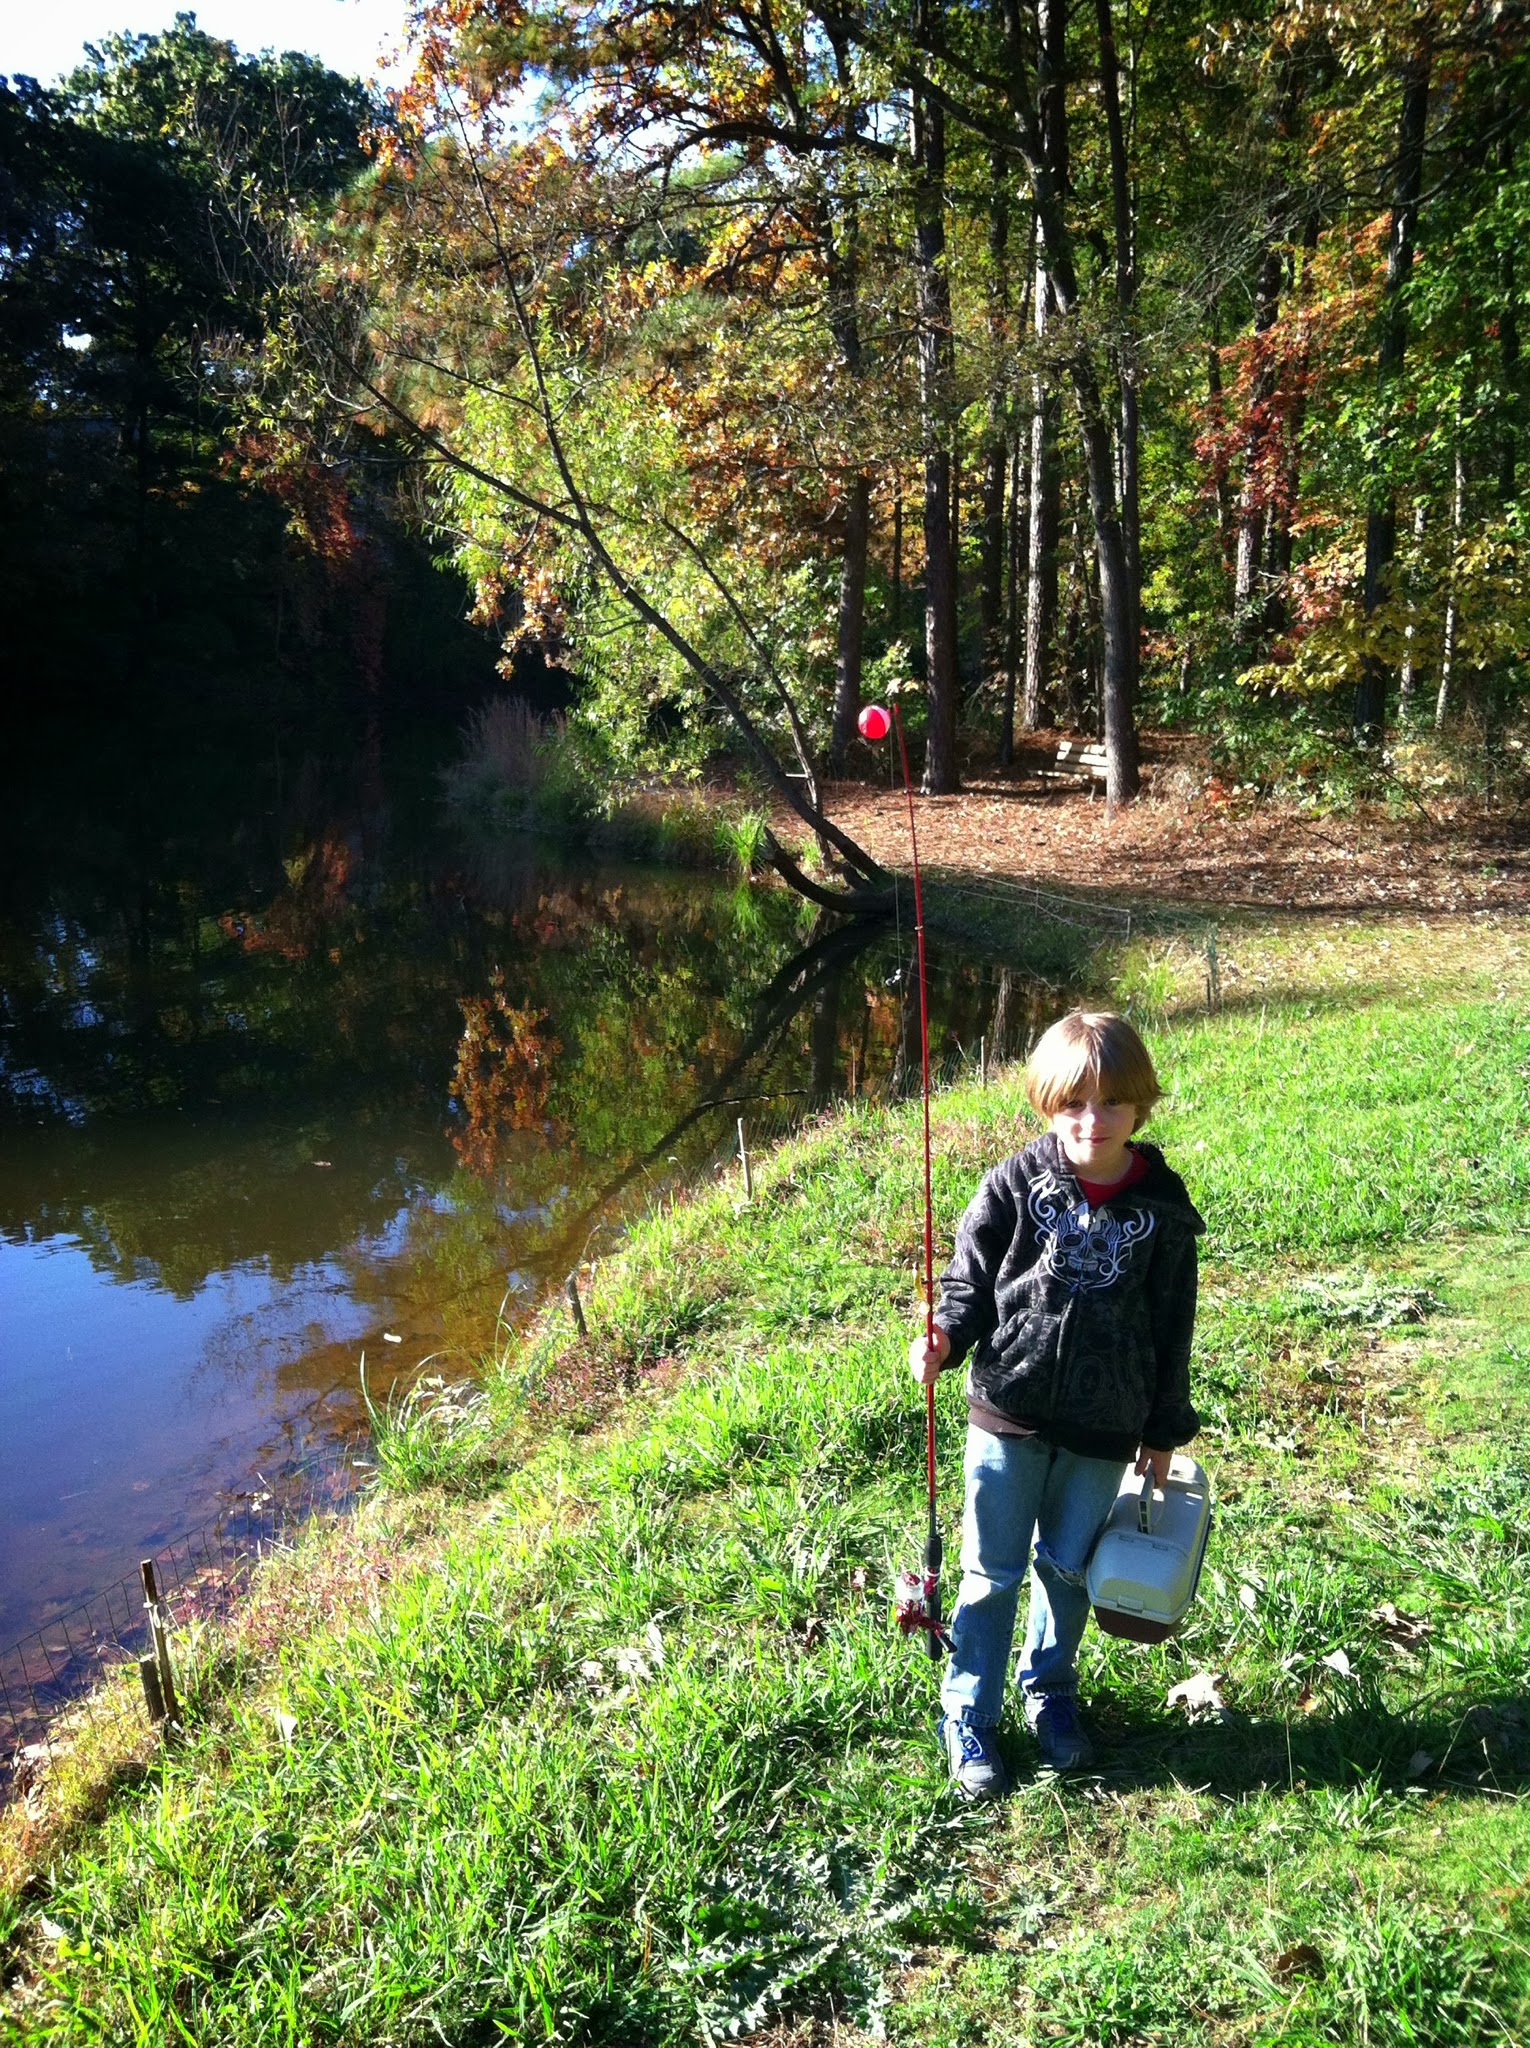
After we finished gluing, screwing and nailing the tool kit, we had to go to the weekly Cub Scout Den meeting. Liam's part of Den 7, Pack 629 of the Atlanta Council. This week was about learning to fish, which was a perfect follow-up to our little woodworking project. :-)


