Finishing side doors and adding hinges
Primary tabs
 Compressing a bit of the work here. I built the side doors, mortise and tenon corner joints (See photo), routed grooves for the panel. I glued up the center panel of 100% quarter-sawn sycamore. Finding clear, white pieces of sycamore among the remaining stock I had was a big challenge. In the end, I managed to get a clear face on one side for the outsides of the door. I debated what to do about the inside of each door. Finally, I opted to use some of the washi (Shoji screen paper) I had ordered for the front door, and taped in down at the edges on the inside of the door, covering the panel. I'll show photos of that on the completed project.
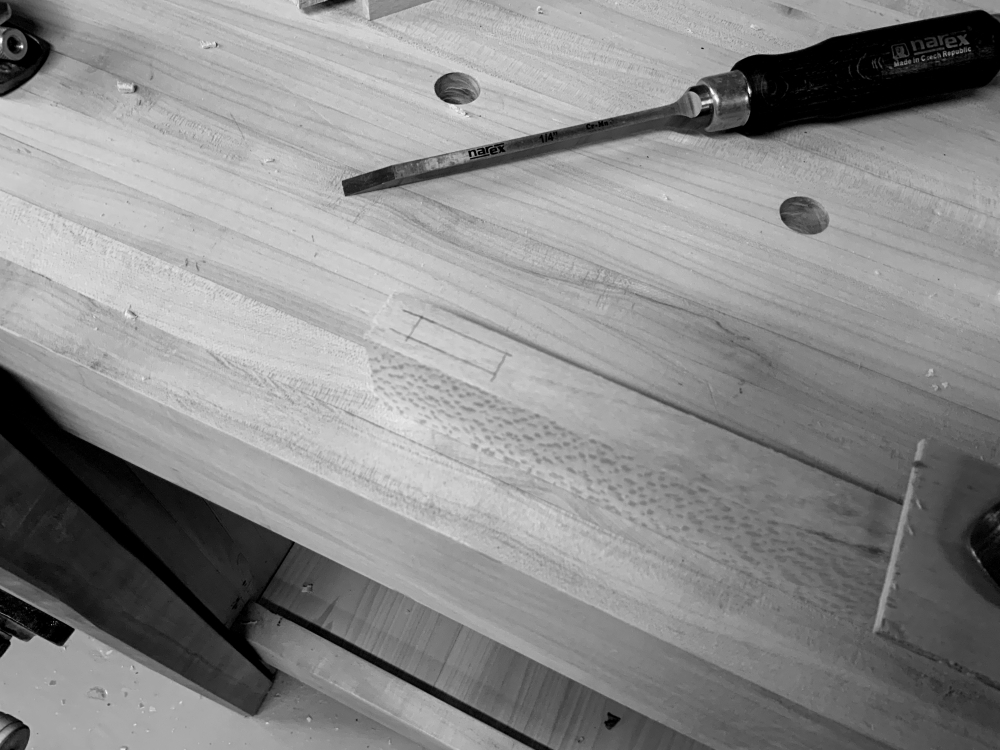
But up next was mounting the side doors. I ordered two pair of the smaller 1 1/4" tall Brusso (CB-302) butt hinges. Damn they're expensive. And I suppose that they're worth it, but it is such a premium these days to support American manufacturers. I did take some photos of the process as I cut the shallow mortises to house the hinges on the doors. Rather than a router, I just used some newly sharpened chisels and cut them out by hand.
 Again, nice to have an actual woodworking workbench to do this on. In the last nine years, I've mostly ended up doing this work on my table saw outfeed table. It's nice having so many more clamping options. Here, you can see a piece of the motto I carved into the front of the bench, "Only where love and need are one".
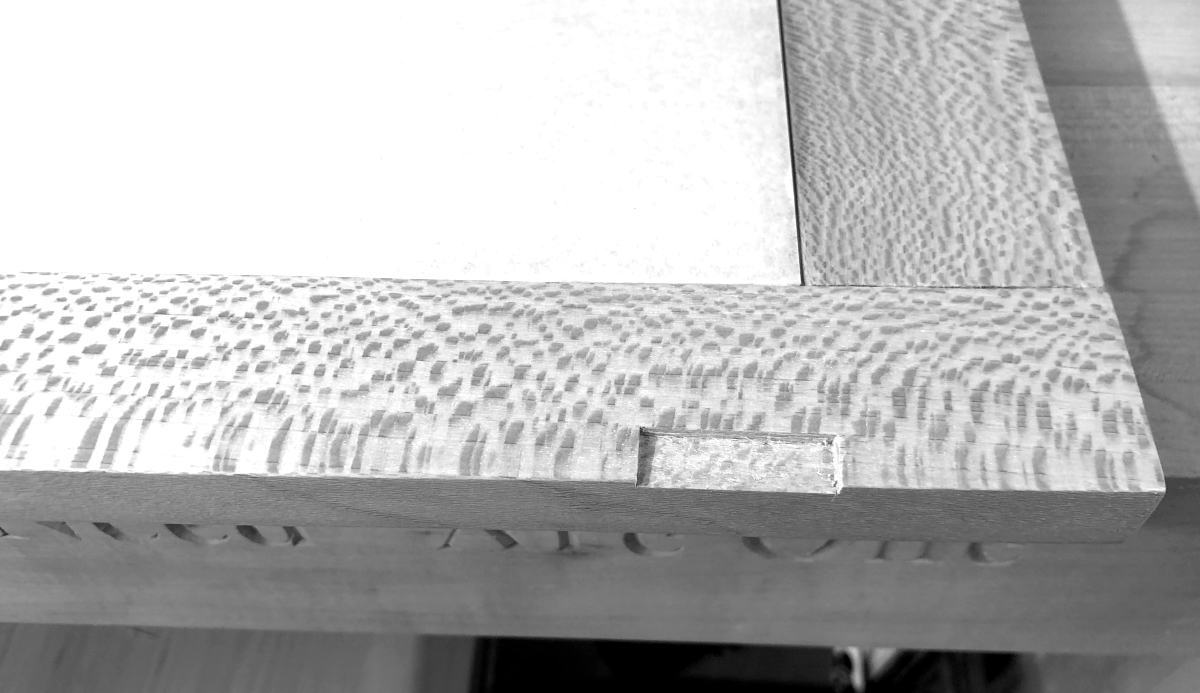
You can also see the lovely grain of this quarter-sawn sycamore. The next challenge was how to make sure after finish, I don't lose the drama of that grain pattern.
So cutting the mortise, I simply placed the hinge where I wanted it, measuring down 1 1/2" from the top of the door, and 2" up from the bottom. Then I cut a line around the hinge, and cut a depth line. I should have used the marking gauge, but I frankly didn't think of it. That's what happens when you spend too much time away from your woodworking. You forget basic tool choice options.
I've found the most important thing when mounting hinges is making sure the hole drilled for the screws are absolutely centered in the hinge holes. I used to take this for granted and eyeball it, but even in a mortise, if it's off center, the screw will drag the hinge out of vertical, and then you end up with a door that binds, or doesn't open levelly. One of the best purchases I've made was centering drill bits specifically for this use. It takes the guesswork out of hole placement.
 Once the hinges were on the door, I asked my son Liam (now 14) to assist. He held the door in place next to the chassis, and temporarily mounted the hinges in place on the side of the cabinet. Then I did the same steps to cut the hinge mortises in the chassis legs. Being careful, because I've had difficulty getting mounted doors to be level and work correctly, but this time it came out beautifully. They swing easily and stay in place wherever you leave them. Probably also evidence of the much higher quality hinges I'm using this time.
Again, I'll show pictures of the mounted doors on the final cabinet photos.
After I got the hinges mounted properly, I took them off, and sanded the doors to finish quality. At this point I also ran my first test finish piece using an offcut of the sycamore. I tried water-based polyurethane for the first time. I really like it. And yes, it maintained the whiteness of the sycamore and didn't blur the wonderful grain pattern. The test piece also allowed me to figure out how many coats to use. Just as check, I also tried putting down BLO and covered it with oil-based poly just to see the difference. Honestly, the grain would still have been very visible, but the yellowing wasn't nearly as attractive.
That's it for this update. Up next, notes on the challenges to finishing the chassis and doors, and the steps to install a velvet insert in each drawer.
