January 2020 - Bringing the Project back to Life
Primary tabs
OK, after moving four times in six years, I had two projects that I'd dragged along all across those moves . . . my workbench, and my wife's jewelry cabinet. Both projects were approaching 10 years from start, and I was both embarrassed and tired of not having them done. So last year (2019) I finally finshed the workbench. And in January 2020, after doing a bit of a reorg in my shop, I was finally ready to make the final push to complete the Jewelry cabinet.
 I didn't even know for sure if I had managed to keep all of the pieces to build the rest of it. So the first thing I did was to assess the project and find the cut parts in amongst the piles of wood that I moved between the various houses. I did find all of the pieces, especially for the side and front doors. But it was a bit of a jigsaw. The side doors, particulalry, had several large pieces of fairly thin quarter-sawn sycamore that I need to glue together into panels. And I knew that I couldn't get two faces that were clean, meaning two faces of white sapwood. So a big part of the next step was deciding on an approach to glue up and size the panels for the side doors.
I'm writing this up in retrospect, because posting details is time consuming, and I just wanted to finish this. So I'm remembering the details from January several months after the fact.
And in fact I didn't end up finishing it at that point. I got the doors put together, and then let them sit for several more months. But that's a tale for a later time.
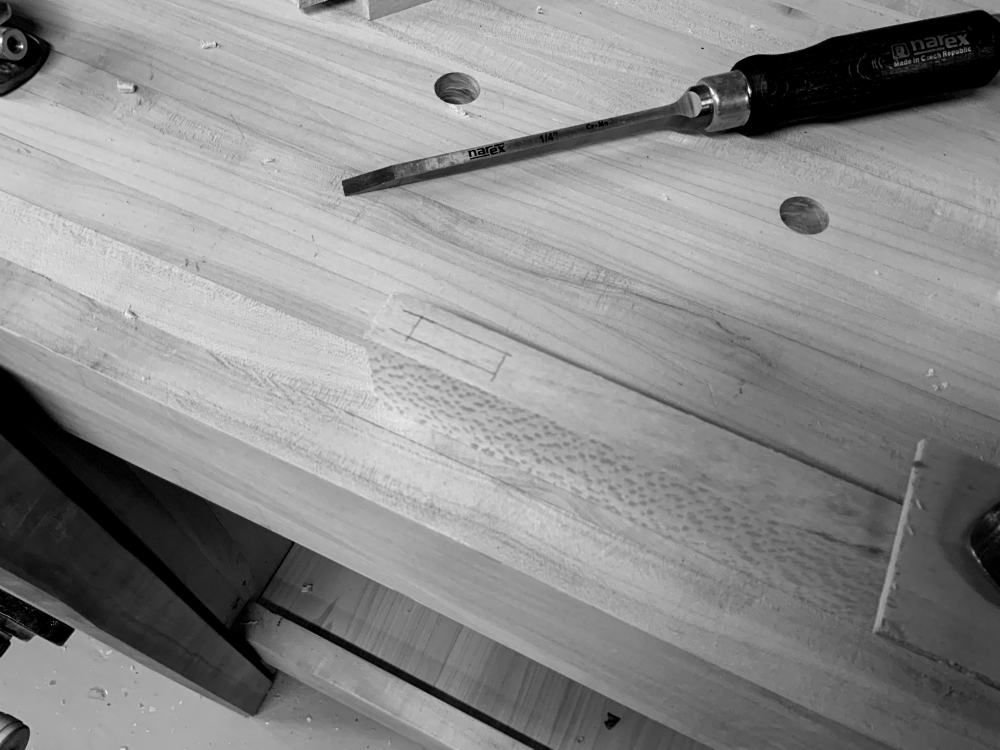
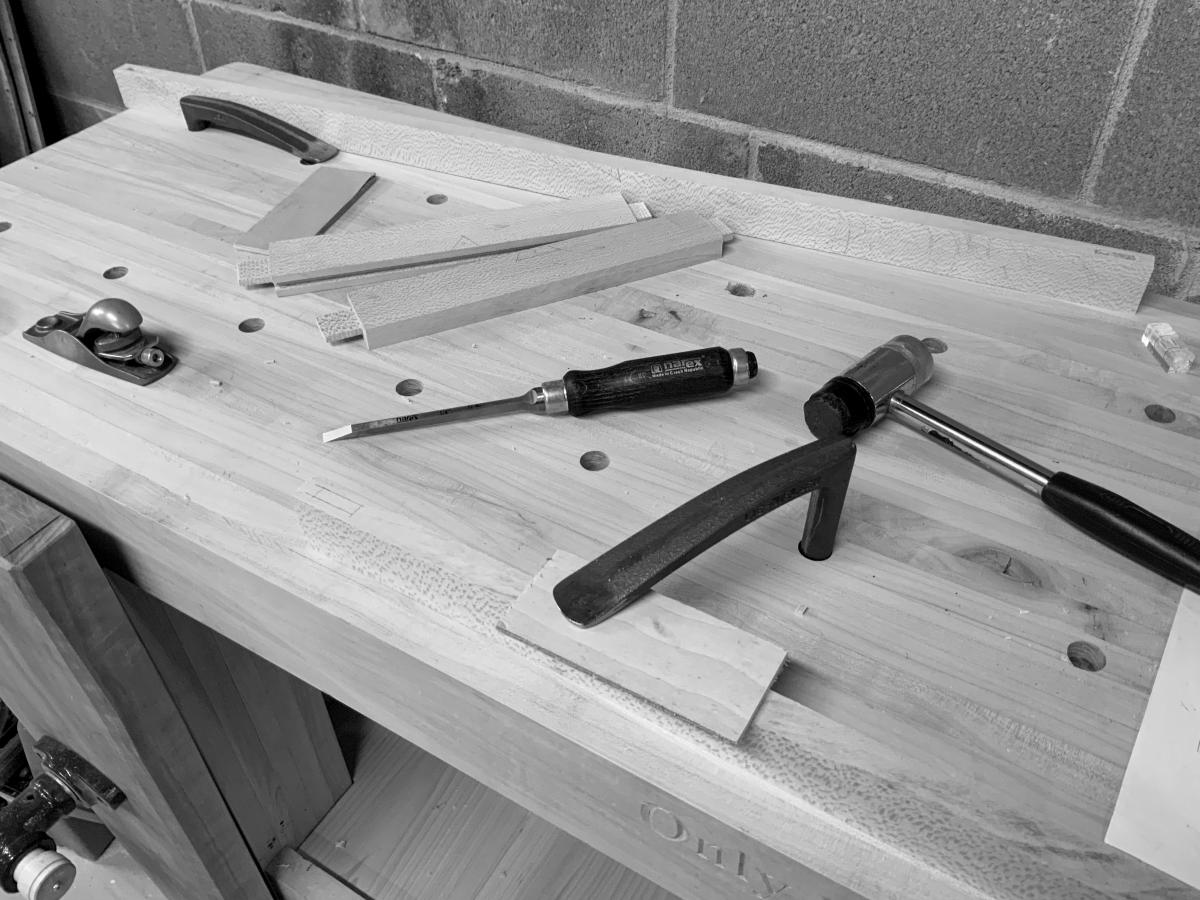
For now, I sized and glued the side panels. Then I cut the rails and styles for the two side doors to final size. Cutting the mortises and tenons was like visiting an old friend. It's probably my most reliable hardcore woodworking skill.
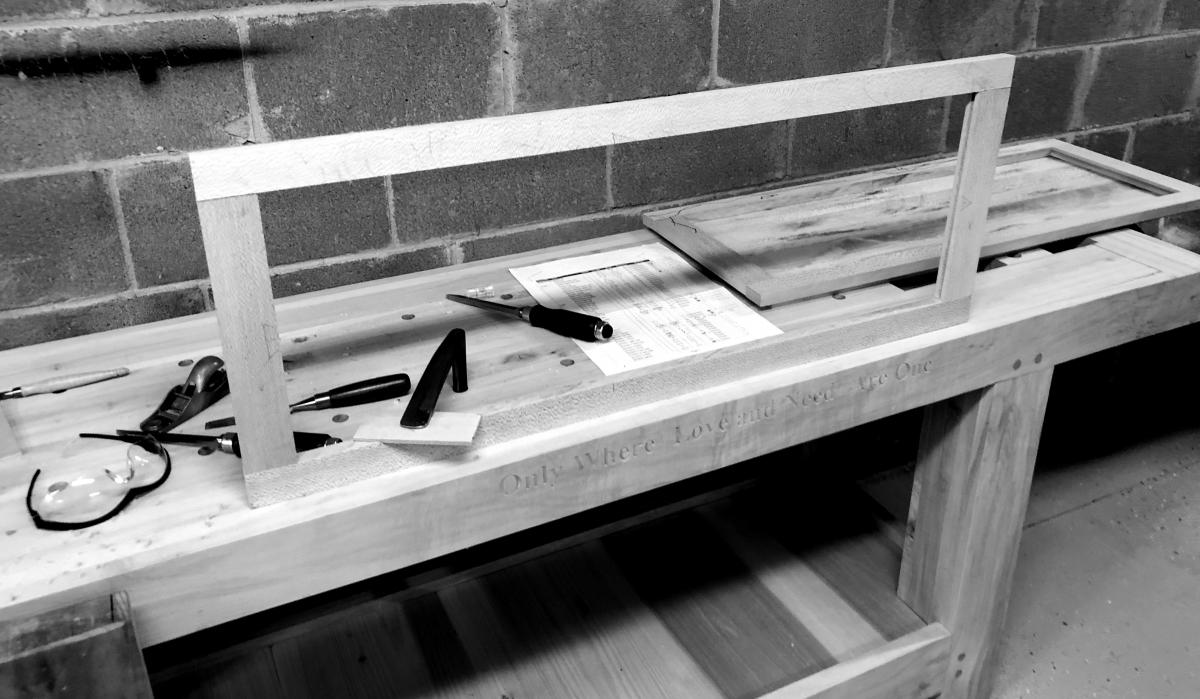
So got the frames built. And then I sized the panels to the frames. That all went well.
Finally, I needed to take a 45 degree cut off the front edge of each door. This is to fit the rather art-nouveau style of the design. Doing so, I did manage to clip into the bottom of the mortises on the top of each door. But despite my fairly rusty skills, I managed to build each door and bring it together, square and sized right. Placed against the main cabinet side, they looked good.
 And as part of the original design of these doors on the original Tom Fidgin project, I also cut a 'false' mullion of wood to run down the front quarter of each door. This was cut from sycamore. And then each door also needed a cherry handle that intersected with the front of the door and the mullion. Cutting that was fun. I've been reading and watching videos on Japanese Shoji screen construction, and this was close to that type of work.
After getting all the parts cut and the doors friction fit together . . .I left it for a couple of months . . until I felt confident to glue it all up. Actually, until I could sand everything down to a finished sanding, because finishing the panel after glue-up would have been a bear of a task.