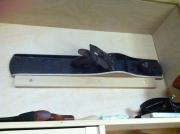
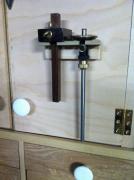
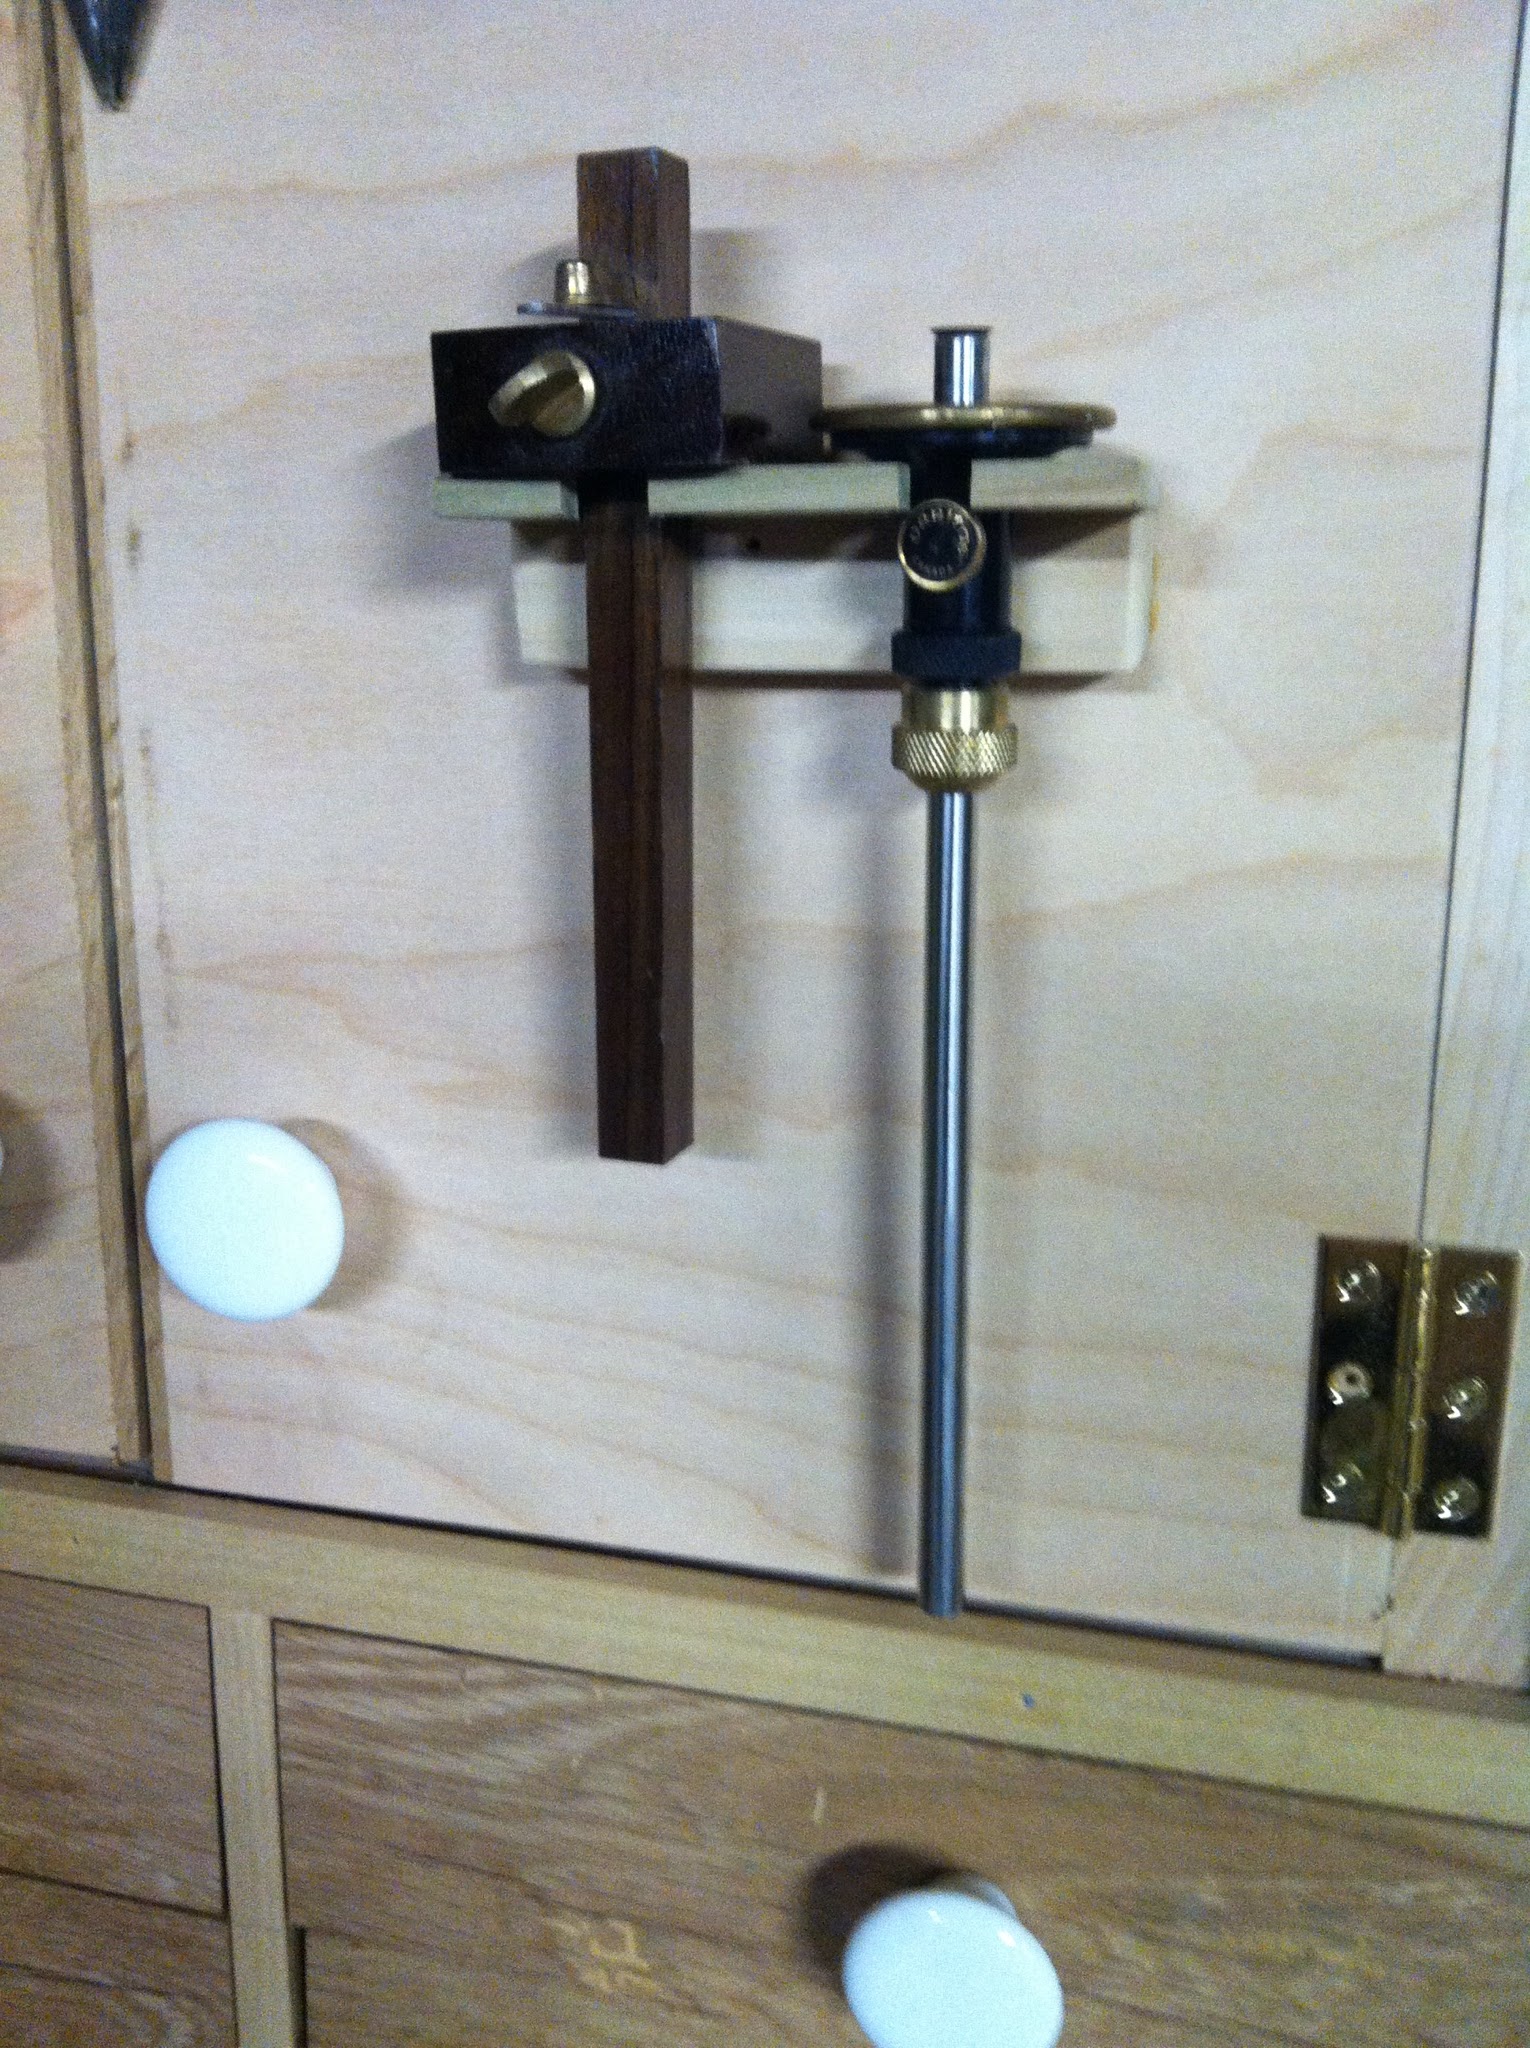
Added brackets for the No8 Stanley, the LV dividers, and marking gauges
Primary tabs
 The slowest aspect of building a tool cabinet is building all of the brackets to hold individual tools. If I had the time to devote away from family and work, I'd have done the entire thing at once, but since that isn't possible, I completed the case, and have been building brackets for individual tools as I get to them. Recently, I completed brackets for my trusty Stanley No 8 plane, my LV dividers, and a couple of marking gauges. I like the way the marking gauge and plane brackets turned out. The dividers bracket still needs a secondary brace, so it doesn't swing around when I open the cabinet's inner door.
 Except for the drilling, I try to make this 100% hand tool efforts. As an inspiration, I take a look at Christopher Bechsvoort's books and website, and also the Lie-Nielsen marketing materials. They've both done beautiful, zen-like tool holding structures over the years. Mine aren't there yet, but with each one I build, I figure it out a bit more. For instance, for the brackets I'm working on right now for my set of six mortising chisels, I noticed that Lie-Nielsen's brackets have chamfered edges all around and all surfaces are clearly finished by hand plane . . no sandpaper. I'm working to ween myself from the need to sand pieces where it isn't necessary.
Although I used some ply materials for the case, I'm trying to keep these brackets as 100% solid wood. However, they are just out of scrap lumber I have around the shop, so mostly poplar and red oak. Ihave to say that I sort of like the look of unfinished poplar. That yellow/green shade, fading to brown over time, seems very honest and natural-feeling.
