Added Grids, Lights
Primary tabs
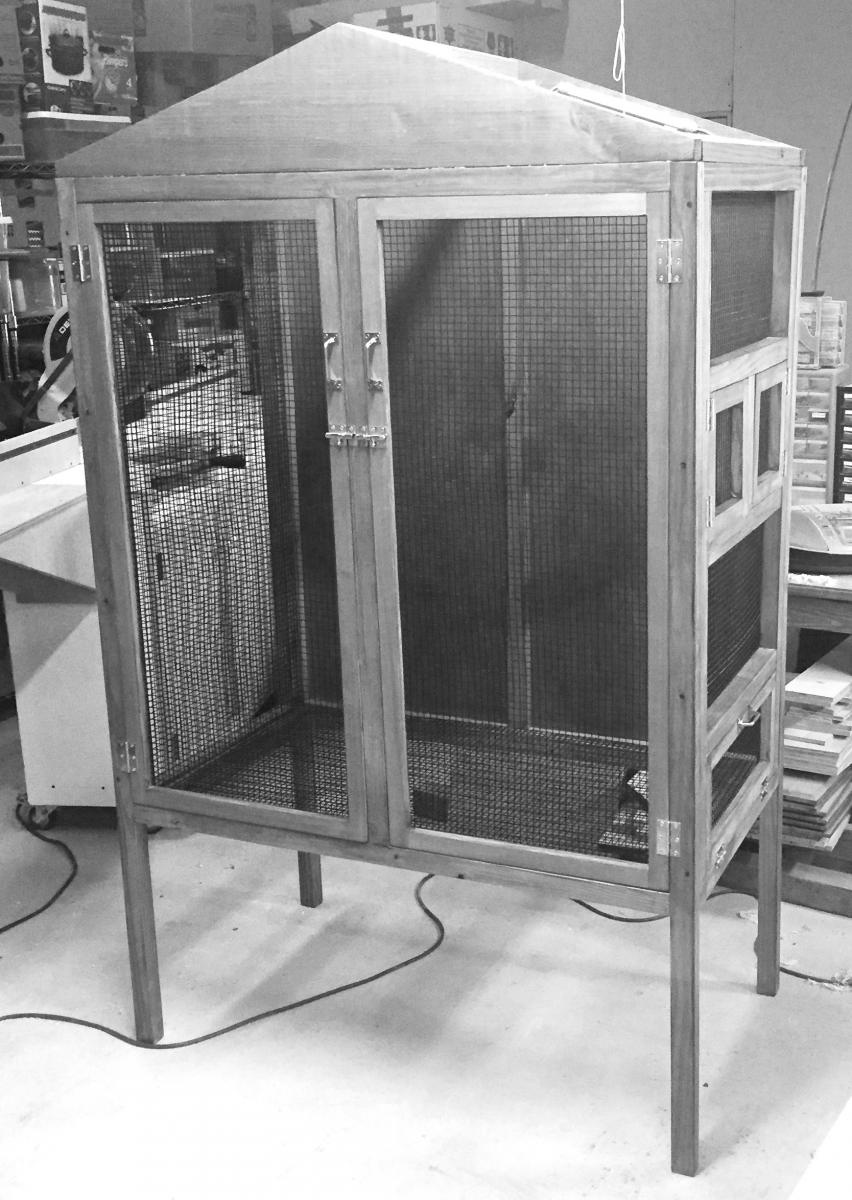
 I spent about 12 hours this weekend working on the aviary. I finished attaching the doors and door handles over the past week, so now it was time to add the grid or cage material and to finish up some interior work before adding the roof. I mentioned in a previous post that I had ordered the grid from a New Jersey fencing company. It's nice stuff, but it wasn't cheap. Well, it was actually not that bad, per unit area, but I ended up ordering much more than I needed just for this project. I wanted 24" wide pieces, so they'd fit naturally on the 24" wide sides and easily cover the bottom and doors.
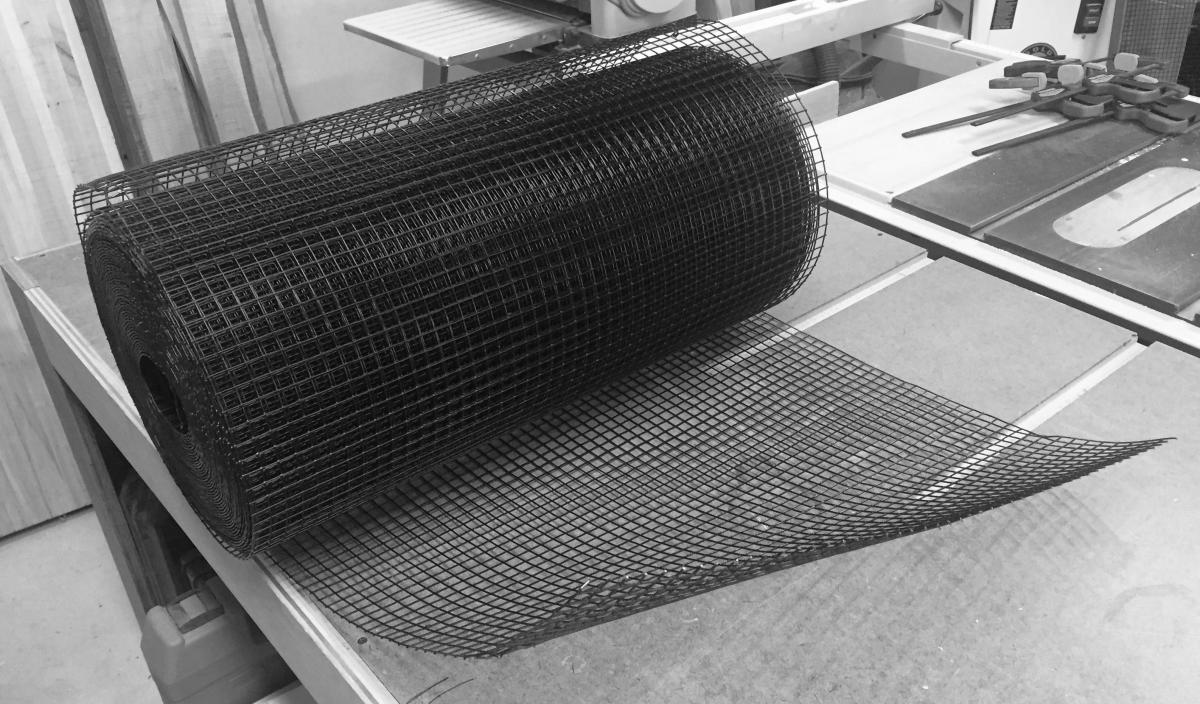
 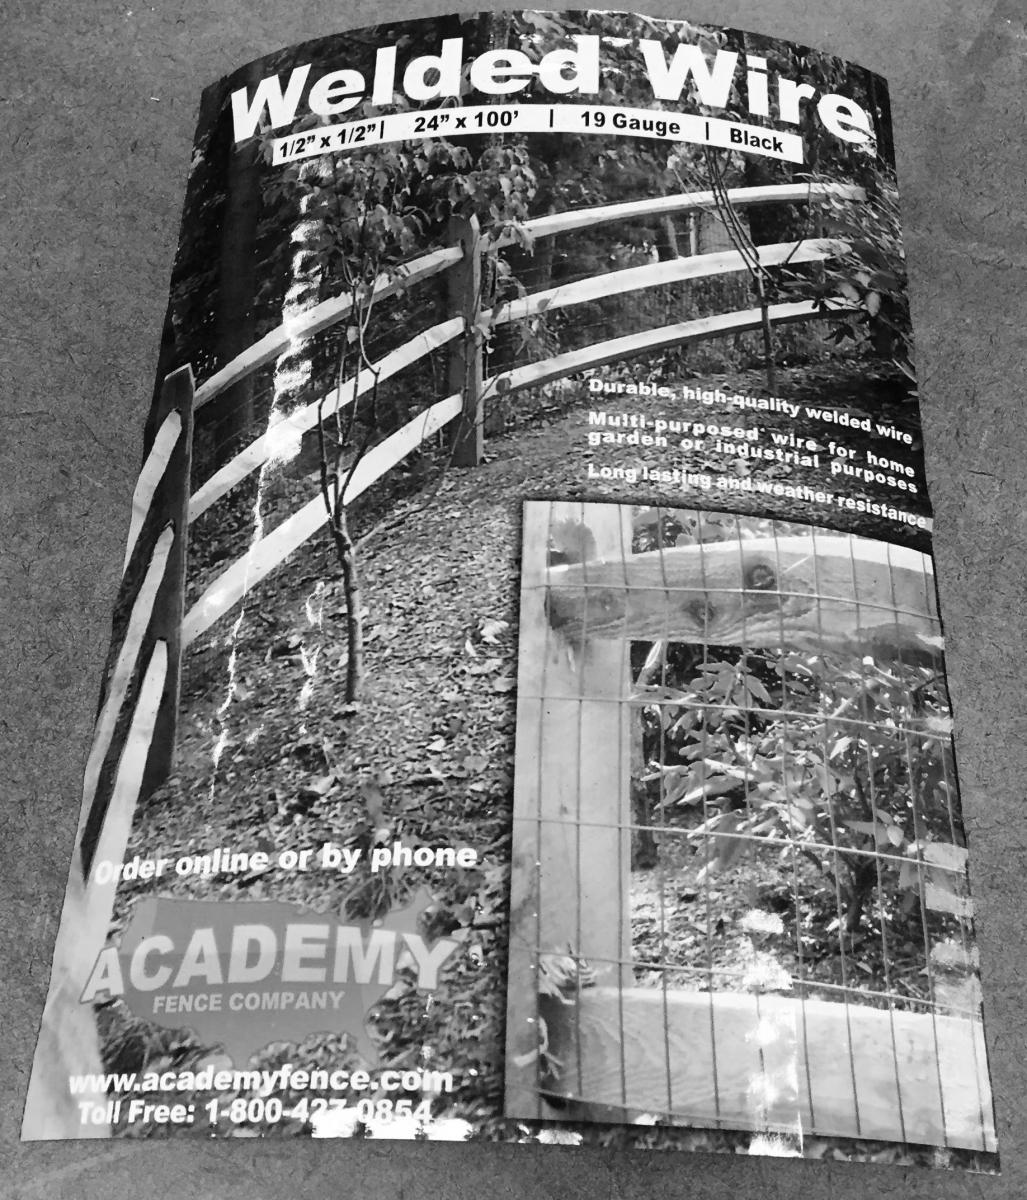 They didn't have the 24" x 50' spool in stock, so I ordered a 24" x 100' spool. That was $90. But that thing was HEAVY, probably close to 60 pounds. Thanks to that, shipping was another $45. I ended up spending as much for the fencing as I did for everything else on this project. I was a bit surprised by the label. It seems they manufacture the stuff, or at least they repackage it themselves.
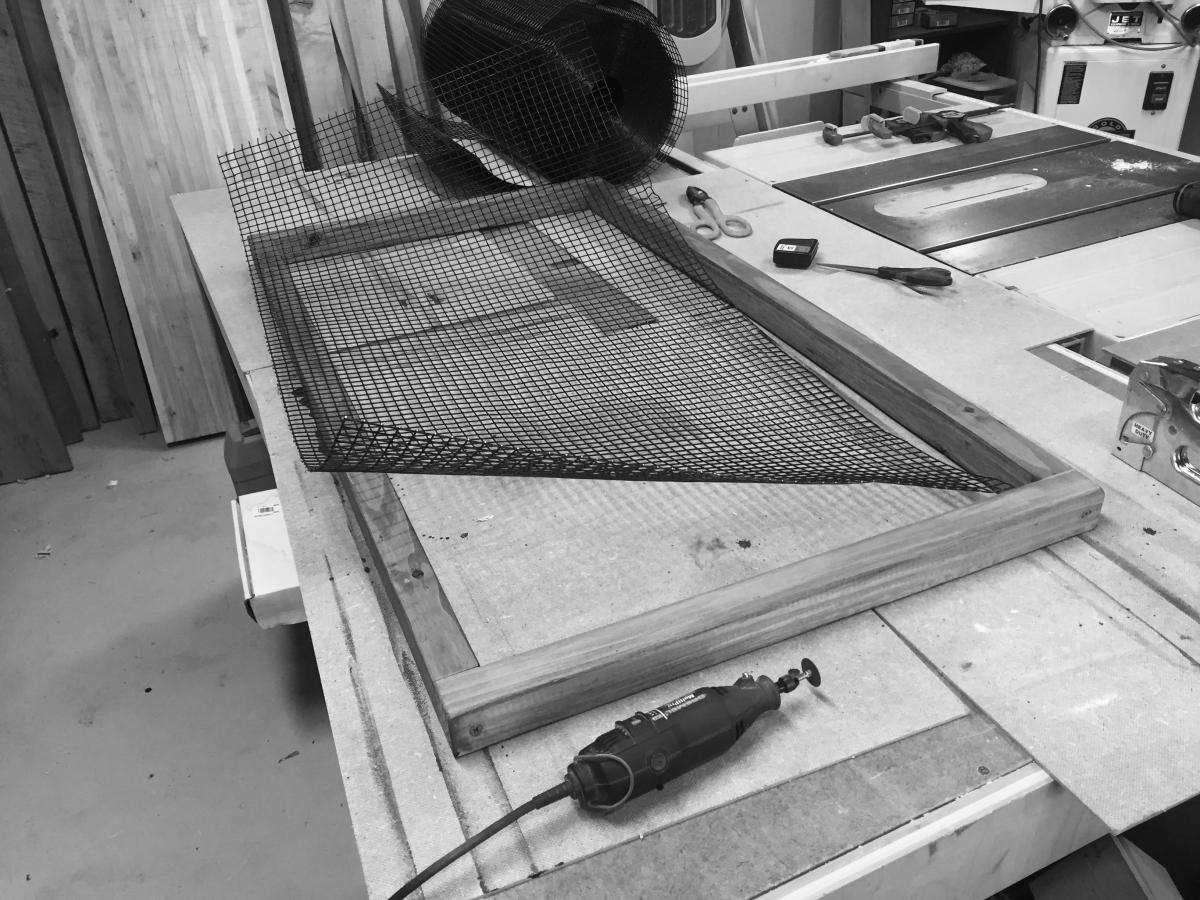
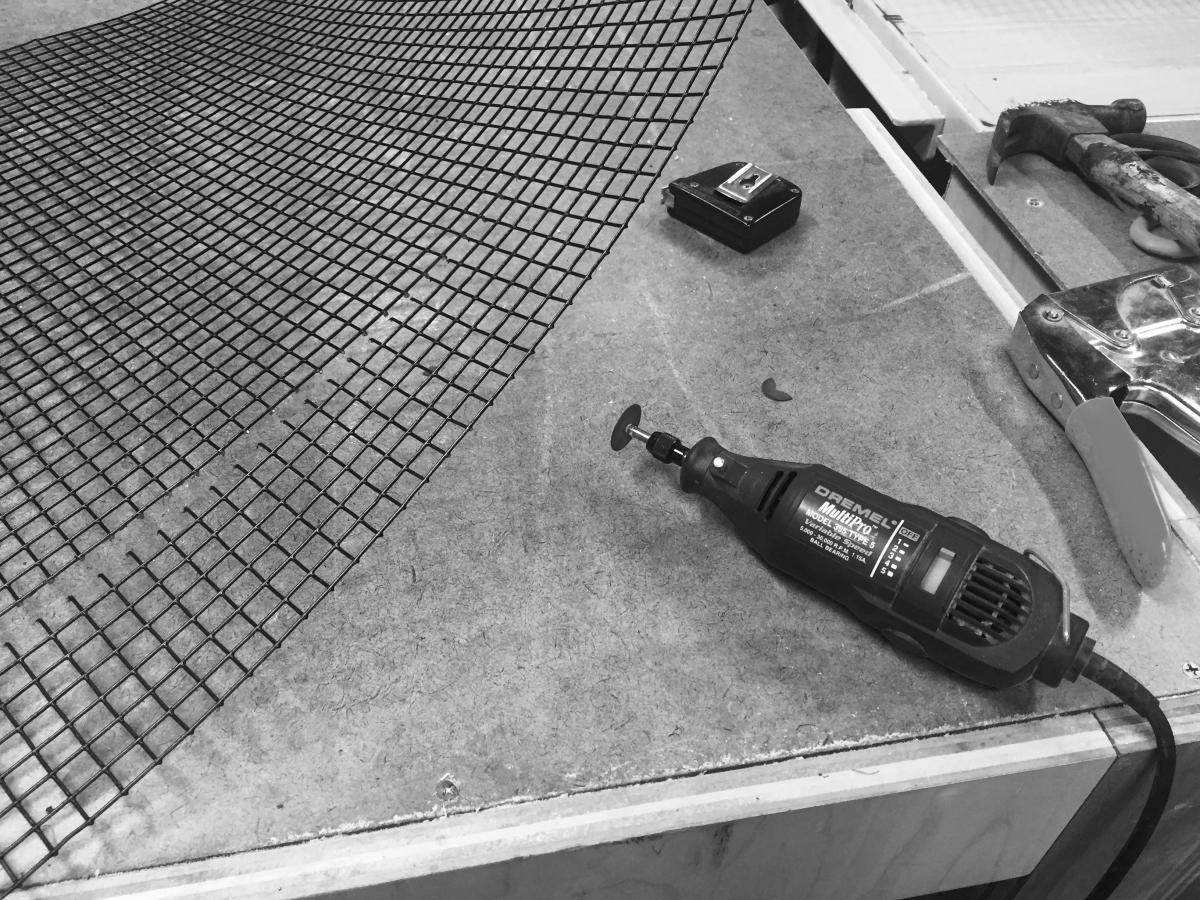 After opening up the spool, i had to figure out how to cut the stuff. I tried tin snips, which did work, but it was slow and it would probably have a) ruined my tin snips, and b) killed my hand by the end of it. So I went and hunted down my trusty Dremel tool and cutting disks. Luckily, I found them in my wife's stained glass supplies. (She steals my tools from time-to-time to finish up her glass projects.) The Dremel worked well, but had to be careful to wear safety glasses and be careful as I cut each wire. Cutting through the PVC coating and then through the wire usually resulted in a little "CHICKt" at the end of the cut, just as the disk exited the back side of the wire. This was the disk catching on the edges of the wires. I went through about 20 cutting disks, each one rather startling me as it exploded off the end of the Dremel. A couple of times I heard the pieces hit the ceiling or the far wall of the shop. Oh, and the smell of the PVC as I burned through it with the cutting wheel . . . not pleasant.
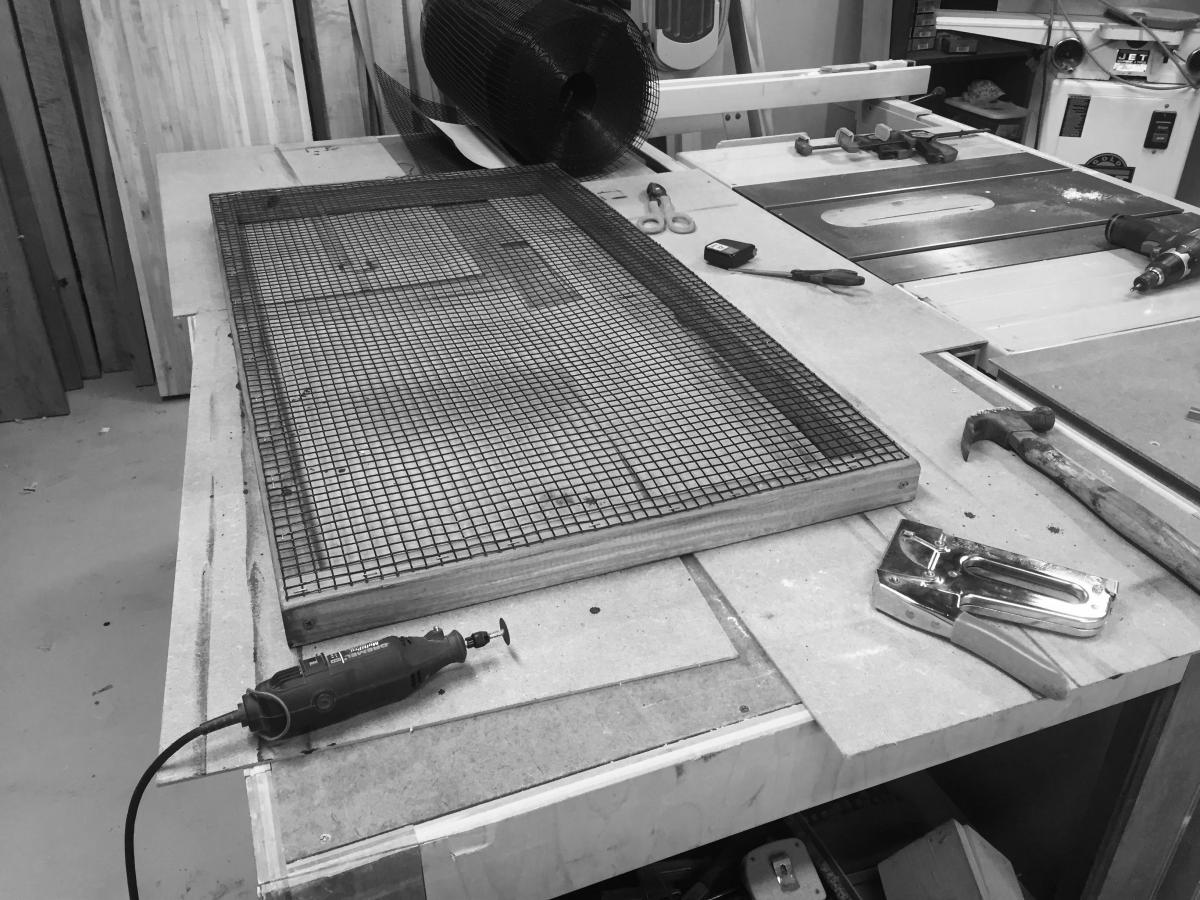
Measuring the grid material, I had to be careful to size the pieces for the doors so that they still closed correctly. All of the grids are being attached on the inside of the structure. The folks on the bird forums suggested this, especially for parrots and such, to keep the birds from tearing holes through the wood. That won't be a problem with finches, but looking at their examples, I liked the way it looked. I started by cutting and attaching the bottom grid first. Sizing was based on the 1/2" x 1/2" pattern of the grid. I trimmed away extra wires so the grids were smooth all the way around the edges. Then I stapled the grid to the frame with 5/8" heavy duty staples. Each staple fit nicely over the PVC coated wire. They went in most of the way with the staple gun, but I also went around the edges and pounded each staple in with a hammer. By positioning carefully, I could make sure the grid was held taught in the frame. I didn't quite get it tight on that first one, the base of the cage. But I improved quickly as I went around the structure.
 After finishing the base, I started to mount it in the bottom of the structure, but then I realized that once it was installed, I wouldn't be able to stand inside the aviary. That would have made stapling the insides of the other walls and doors a pain in the ass, so I set the bottom aside, to be mounted last. I worked my way around in this order:
- Cage bottom
- Front doors
- Right wall, from top to bottom
- Left wall
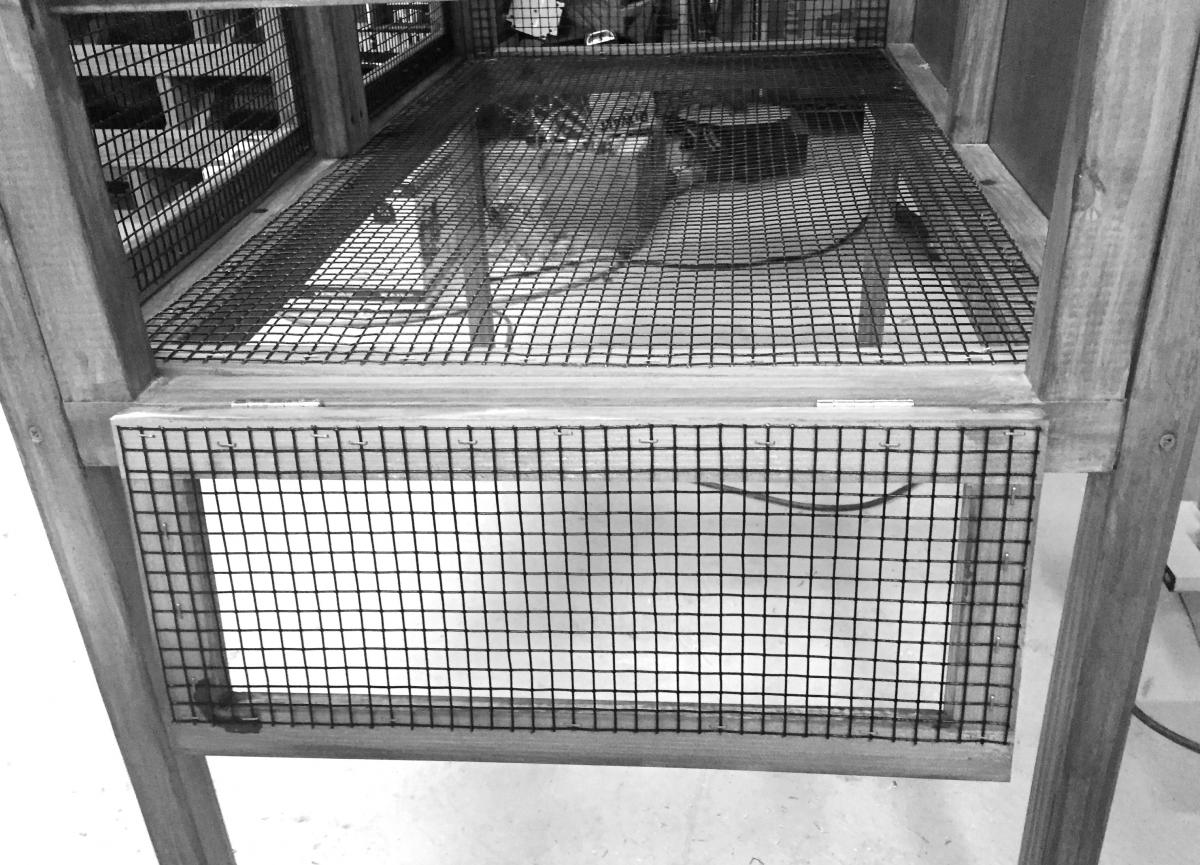 Then I went back and mounted the bottom in place by screwing through the bottom frame into the bottom edge of the walls. The only place the grid interfered with things was the bottom of the left wall. At the bottom of the right wall, I had placed a small door, and attached the grid material to the door. So there was no grid attached to the bottom edge of that right wall. But the left wall has no door in it, and the grid is attached to the entire outer frame. This is a design flaw. I ended up just mounting the cage material at the top edge of the left wall base, saving enough room that I could screw the cage bottom into bottom portion of that left wall base. It means the cage bottom hangs down about a half inch on the left side, but it's really not visible and doesn't present a structural problem.
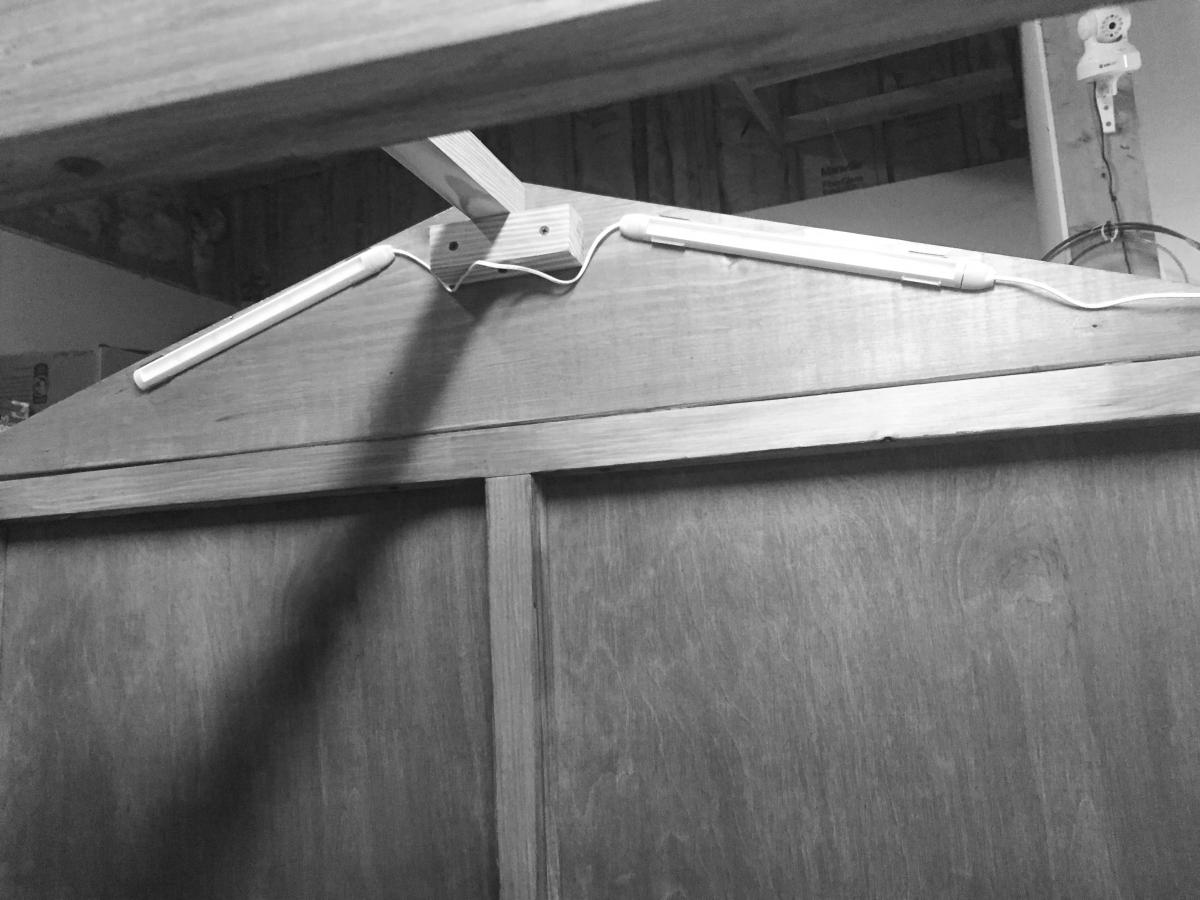 After admiring my cage building acumen, and taking several photos, I decided to mount the little LED light strips I purchased at Home Depot into the top of the aviary. I know I'm doing the roof next, and this is another thing that'll be much easier to do before the roof goes on. The light strips mount with a pair of metal clasps that screw into the surface with one screw each. A nice design. With one screw, you don't have to line them up. They swivel on their single screw and line up automatically when you press the light strip into the clasps. I positioned the lights so that the short length of cord came out the top of the back wall. I didn't want to try to rewire the cord to extend it, so I worked with what I had. (I tried rewiring an exterior LED light strip I mounted on our home's back yard deck the previous winter, and that was a nightmare. The first two worked out, but I never did get the third set working again.
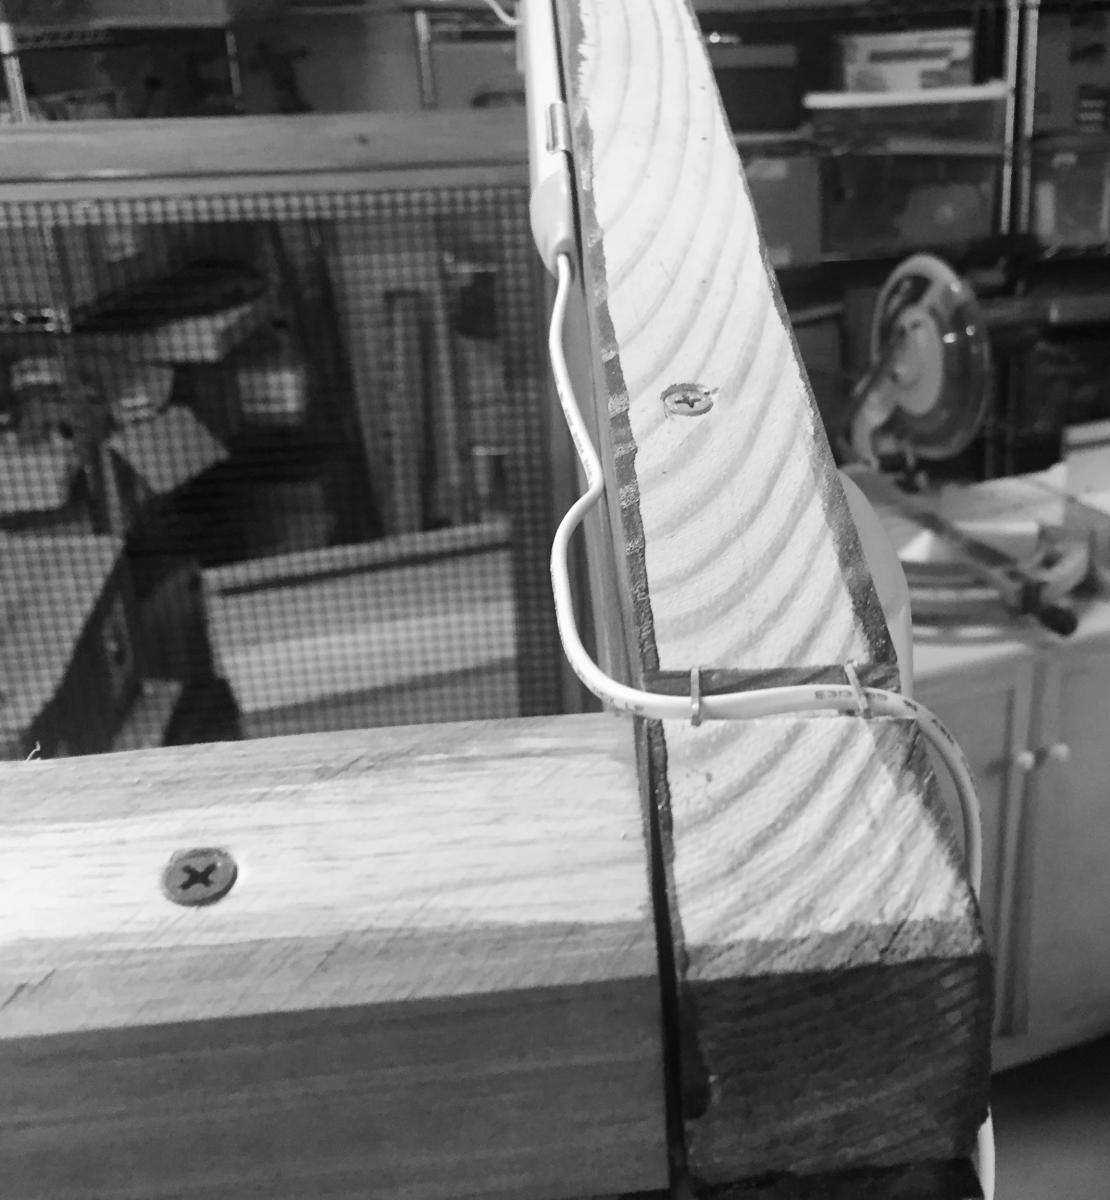
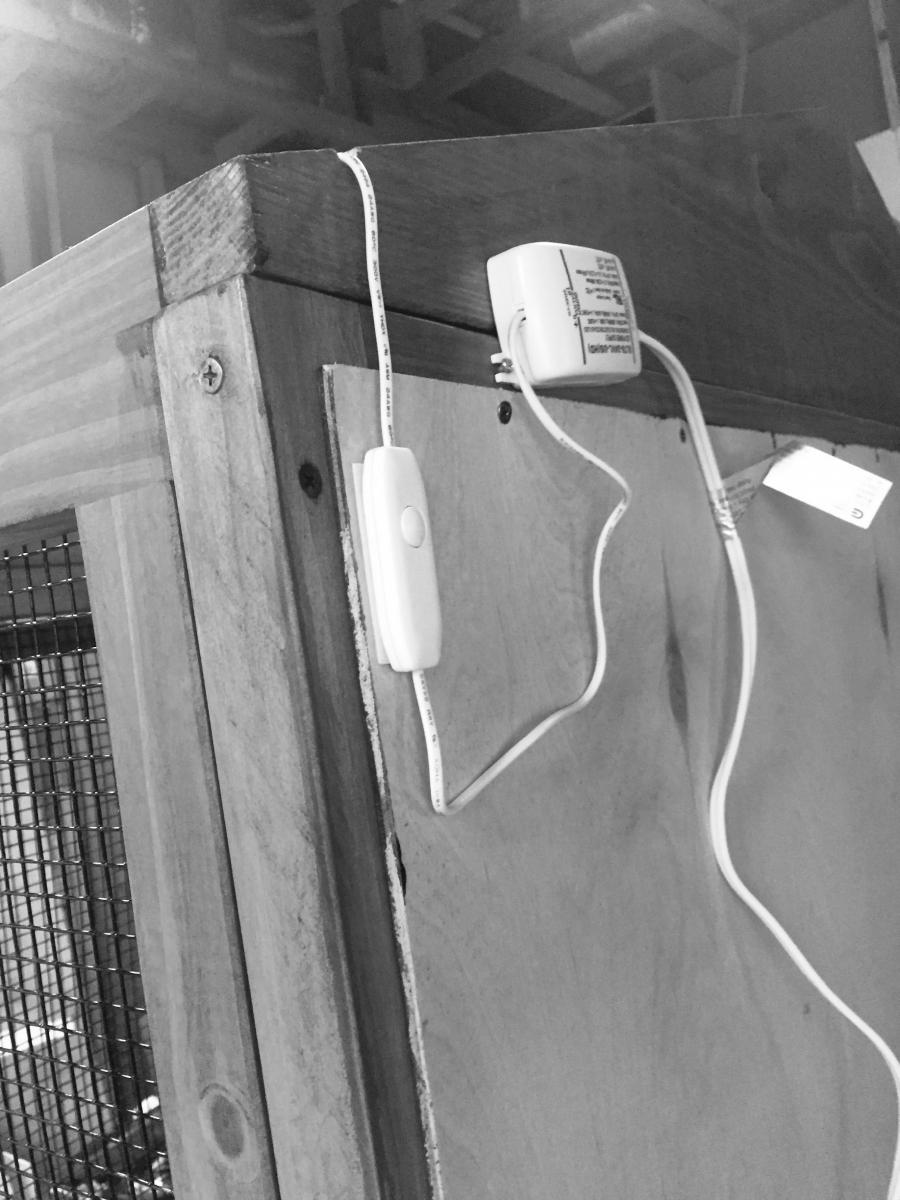 I mounted the power supply and the switch on the top of the back wall. Rather than cutting the cord and rewiring the plugs after fishing the line through the back wall, I just created a little groove in the top of the wall and stapled the cord in place. Testing the lights, they're not too bright, but they offer a good light that won't startle the birds. I plan to leave the bottom of the roof sheets a light color so they reflect most of the light down.
That was enought for the weekend. Time to relax before going back to work in the morning. I'd say I'm about 90% done with this thing now.
Oh, and I ended up using less than a third of that roll of fencing. However, the way it turned out, I'll definitely end up using it again for something. Maybe another aviary. Maybe to bury under my yard fend to keep the dingos away from mah chickens. (No, I don't really have chickens.) Still, if we end up getting a terrier or something, we may need to stop it from digging under. This stuff would work for that.
Ciao, for now.