Fitting the Tail Vice
Primary tabs
 It's been three years ago now that I purchased a Benchcrafted tail vice for this workbench. And we're just about up to the sixth anniversary of this build. Yeesh.
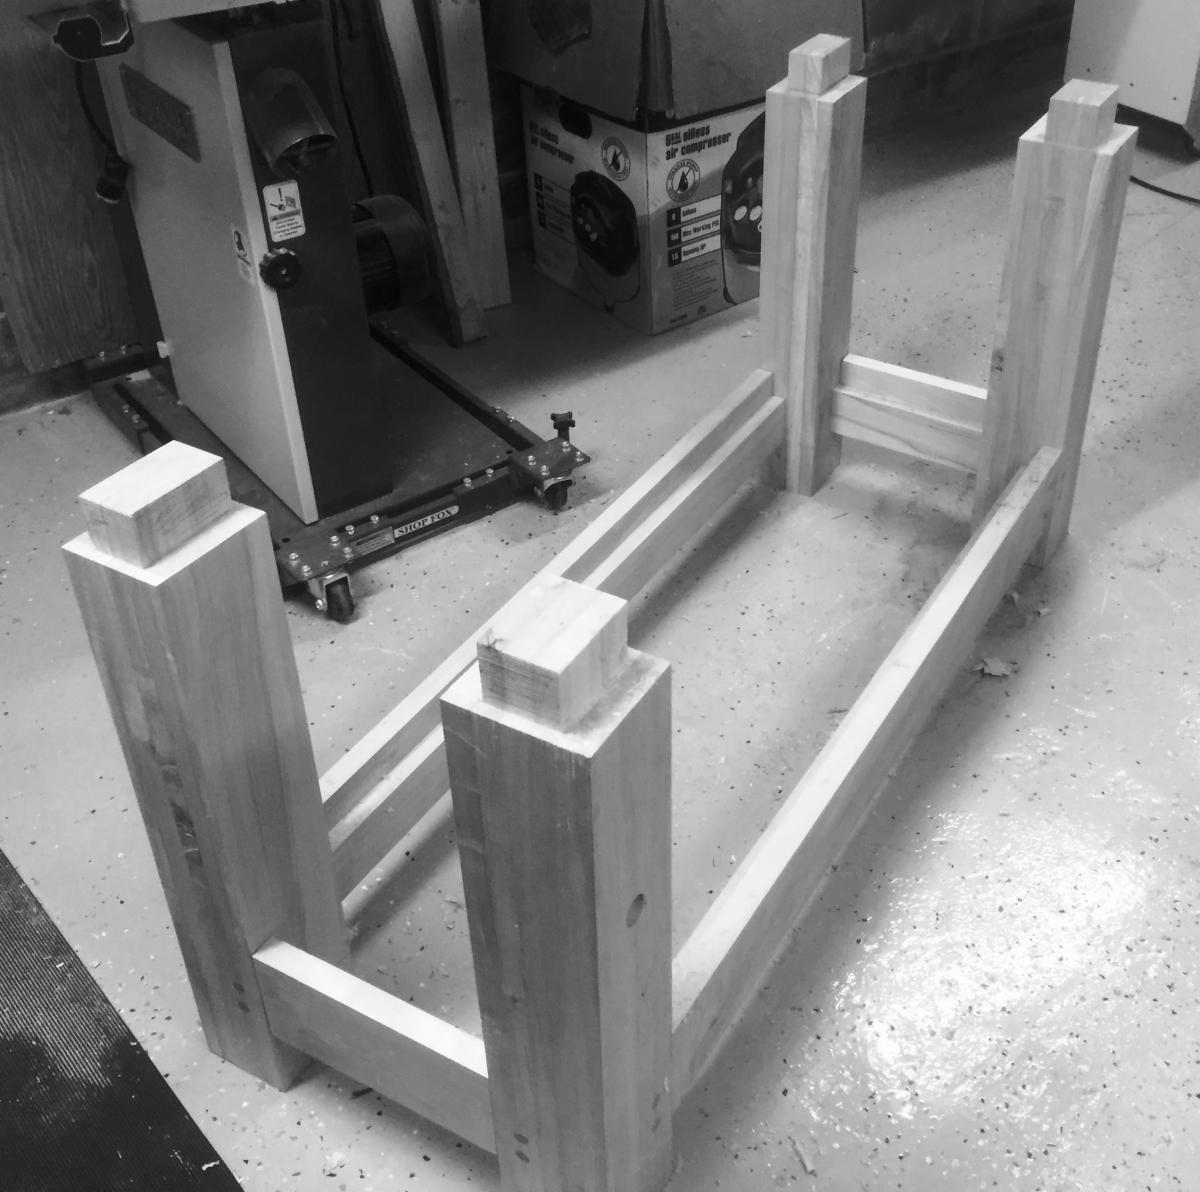
No more on that. In our fourth home, you know, the permanent one, I've gotten my shop in shape enough to get moving. On this project it meant one of the big technical challenges, installing the tail vice. Well, in all honesty, I was just trying to fit the undercarriage tenons to the top, and I realized that once I got the pieces together, I was unlikely to ever get them apart again . . . so I'd better cut the other parts I need cut on this benchtop while I have the chance.
 I did muscle the top onto the undercarriage once, and then marked up the cheeks that needed to be shaved to fit. I added a number (1), (2), or (3) to indicate the magnitude of material removal required for each cheek. Then I hauled the top back over to my outfeed table to work on the tail vice stuff. That thing is heavy! I don't know how much it is. Wait, I can do this. The Wood Database says dried silver maple weighs an average of 33 lb/ft³. The top is about 96" long by 27" wide by 3 3/4" thick. That's 9720 in³. Divide by 1728 in³ in 1 ft³, so 9720/1728, or 5.625 cubic feet of silver maple in the top. 185 pounds for the top. And I'm hauling it single handed. It's not heavy. It's awkward. (Nah, this shit's heavy.)
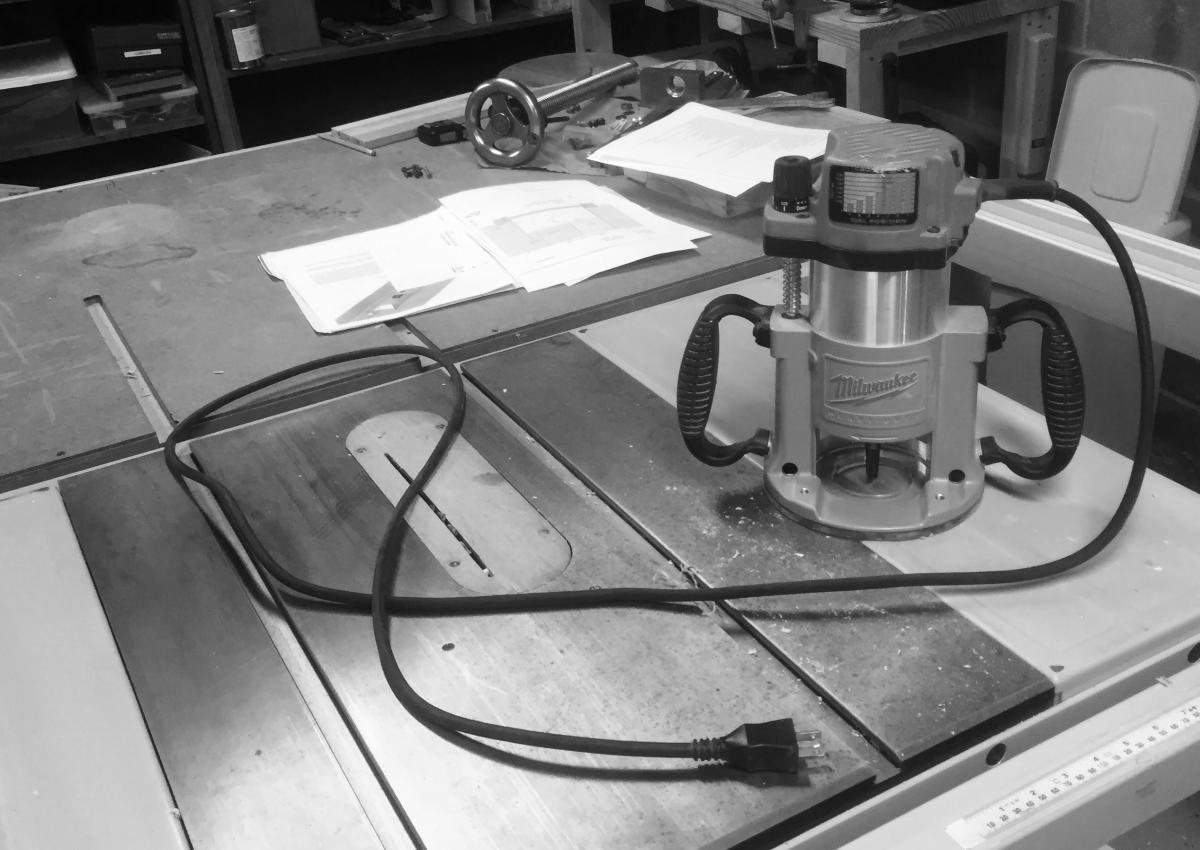
I've been mulling how to cut these slots for months, as I've been tied up in my very stressful day job. I shouldn't have worried about it so much. In the past on this project, I've always opted for the hand tool approach. But not anymore. I'm done. So I pulled out my big Milwaukee router and laid out the recesses I needed in the bottom and the top. Installed the 3/4" straight bit in the router, measured it's edge to the edge of the router circumference . . .3.25". Measure that distance from the desired hole, and screw down a straight edge board on all sides. (At least, that's what I did on the bottom. I don't care about screw holes on the bottom of this table top. Worked on the bottom side first in case I screwed anything up. Didn't. . . . mostly.)
Yeah, so I started on the bottom and got that part cut to the correct, very-deep depth. When taking on a project of this size, you never consider if you have drill bits that are long enough, or router bits that can reach deeply enough. I did . . .just barely. I forgot to take any pictures though until I turned the top over and started working on the slot for the moving dog block. For the top guides, I could clamp . . . very tightly, some straight edge boards for the sides near the edge and end, but for the other two sides, I had to think. I finally screwed together a right angled guide out of two straight edge boards, and clamped *that* in two places on the edge. Clamping pressure here was critical. This is one case where you *definitely* don't want your pieces to move.
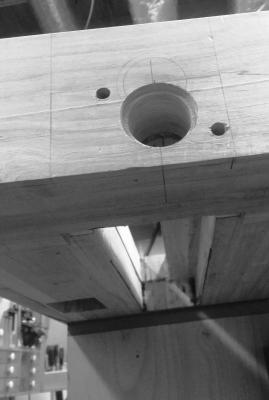
After cutting the bottom, I fit the steel tail vice guides and the dog block frame (or 'sled') into the slot to be sure it fit. Then, with those screwed in place temporarily on the bottom, I figured out where the screw came out the end cap. Cutting those holes was a bit nerve wracking. No backing out from this one. But it went quite well. I temporarily installed the screw and got it lined up with the sled. Hey, it turns, and without much effort! Cool.
 So I then used the screw's end bracket to drill the two bolt holes in the end cap. The bolts from Benchcrafted weren't quite long enough. I thought about scrounging up some of my own, but instead opted to cut a bit of a slot on the inside of the endcap, so I could get the bolt threads clear enough to screw on some temporary nuts. (The final nuts for this in the kit have nylon inserts to prevent unscrewing, and can only really be used once.)
Then just for the sheer joy of it, I ran the sled from one end of the slot to the other, and then back. It's so easy! (My leg vice screw has a bit of a kink in the very tight leg hole, so, at least for right now, turning that sucker is a bear. I'll need to open up the leg vice hole a bit before I do the final installation there.) But enough dawdling. The tail screw is installed and working, but I still have that pesky final slot to cut in the *top* of my bench.
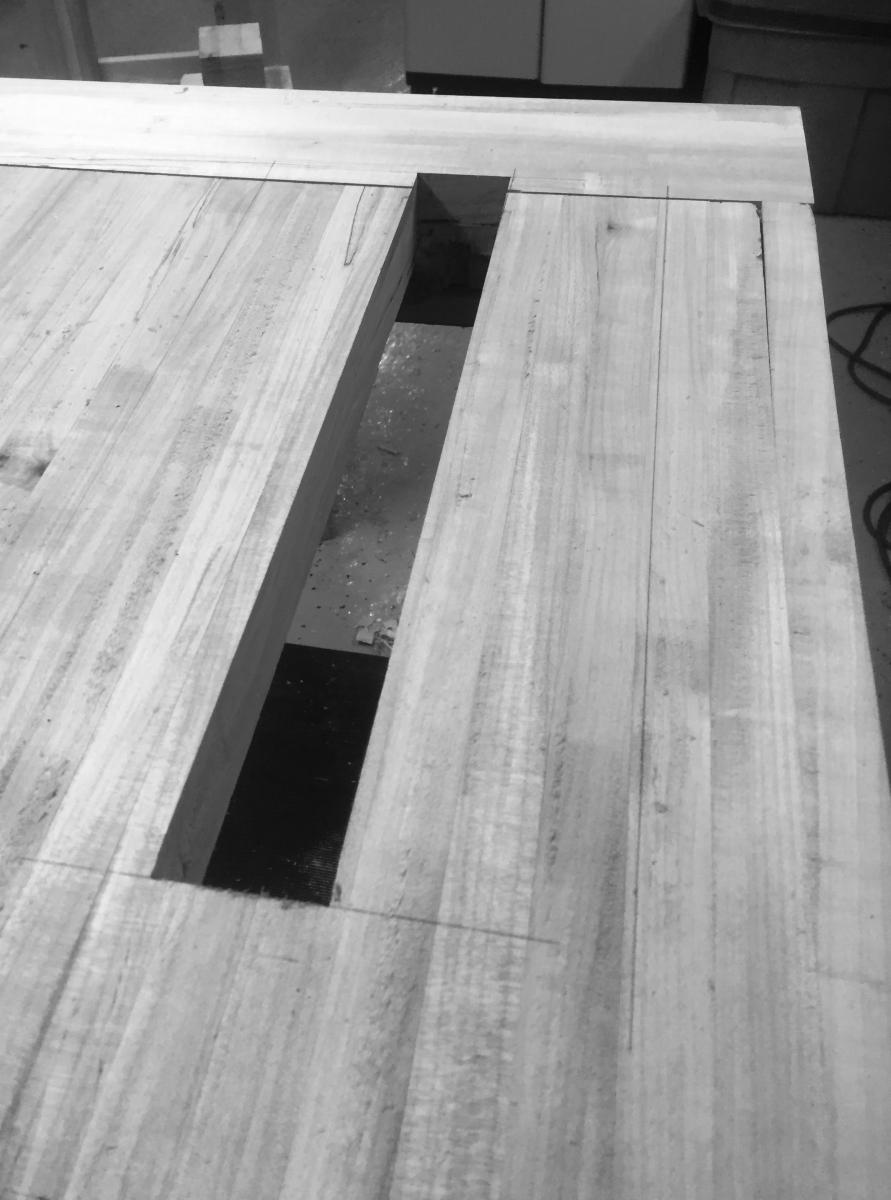
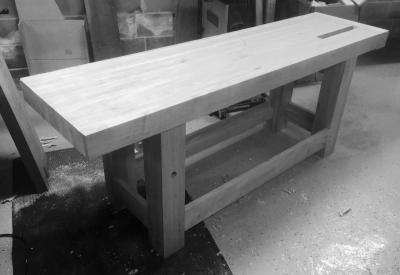
Actually, working on the bottom first turned out to be a good idea. All of the uncertainty of it was gone and I was pretty comfortable. As I mentioned before, I had to jury-rig the edge guides on the top so as to not create screw holes in my bench top. But those turned out to work very well. The result, as shown at left, was pretty, even if I do say so myself.
Once the slots were cut, I then took the time to make sure the mortises were sized for the undercarriage tenons. That involved two more trips of the 185 pound top from my outfeed table over to the legs. The last time, it was tight, but the top finally settled down as pretty as a picture on my base.
At that moment, I realized something. I had planned this bench's dimensions six years ago. I had never actually seen what a real bench at this height was. Not really. Not until now. AWSOME!
And I wasn't wrong. Once I put that top down on those tenons, it will take a damned winch to get those things separated. I'll still probably put some glued pegs through the tenons, but that's just the belt and suspenders thing. This top isn't going anywhere. Even with seasonal expansion and contraction, I doubt that top'll every come loose.
I did also spend an evening working on the bench dog block for the sled. I cut a chunk off the five foot long slab of 8/4 hard maple I bought for the front vice chop, and cut it down to dog-block size. (1 7/8" wide, by 4" long, by about 3 1/2" thick, for the record . . . the thickness will change when I plane down the top of the block after it's installed in the slot.)
Some major progress on this project for once. The end is in sight.

