Workbench Stretchers
Primary tabs
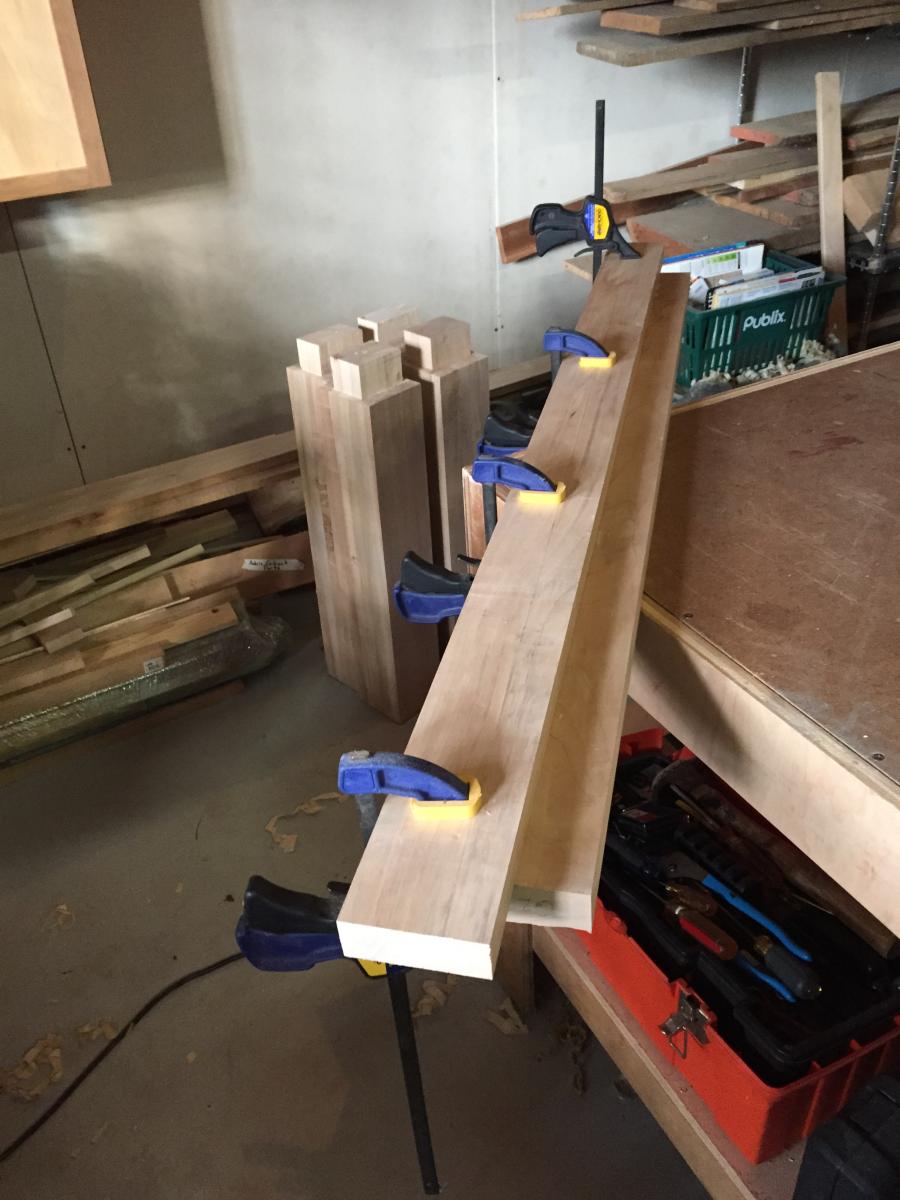 In the last month, I've made some progress. I had finally picked out the pieces to function as stretchers for my bench, sifting through my dwindling supply of silver maple lumber. I don't have anything really thick, so I made each stretcher by cutting a long piece to function as the tenon on each end, and a shorter piece to thicken the center of each part. I managed to thickness plane and joint all of this rough lumber back around the New Year, then I glued up my stretchers.
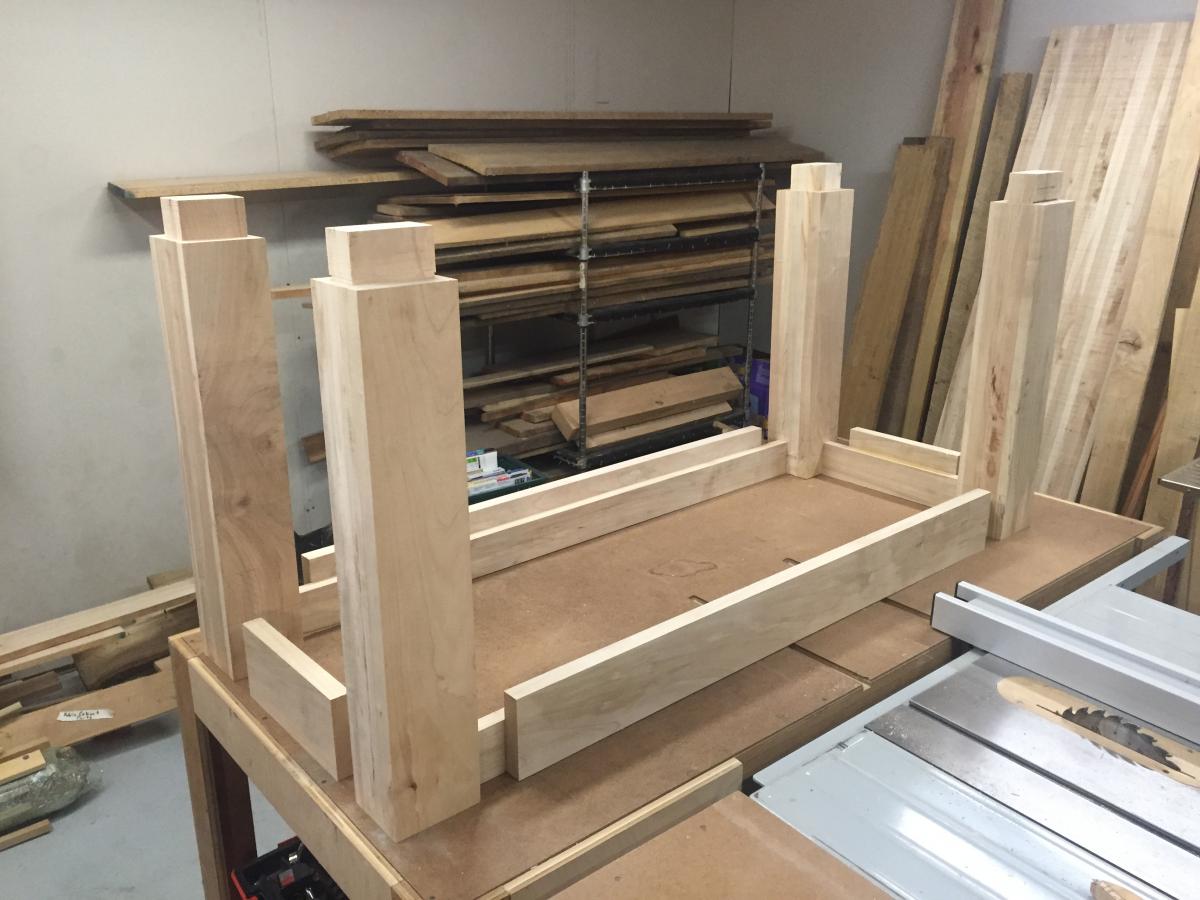
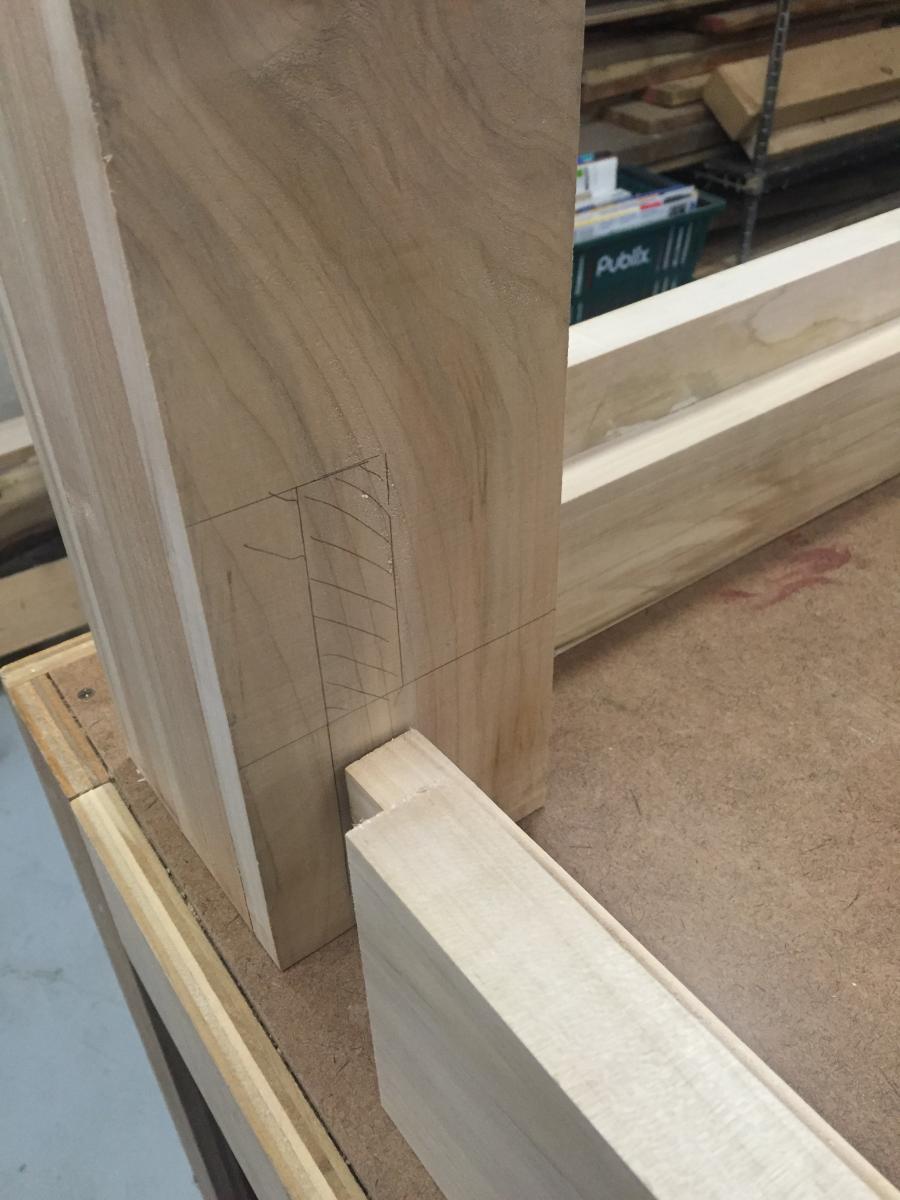 With all four stretchers glued and once again jointed square, I laid out the entire undercarriage of the workbench for the first time. I Used the tenons to mark the mortises on the legs. As in the original Christopher Schwarz design, I'm trying to make all of the outer surfaces of the bench fit on the same plane, so the legs and edges of the bench will all serve as bracing surfaces for work. Having that shared plane for the outer surfaces of the stretchers and legs made it easy to layout and mark the mortises. I just placed both pieces on a flat surface and traced around the tenen end.
Once everything was marked, I planned to use my drill press to hog out the bulk of the mortise, but with large Forstner bits, I needed to use the rarely used laser on the drill press. I knew the laser was misaligned, but now the batteries were also dead. So, I cleaned up the drill press, r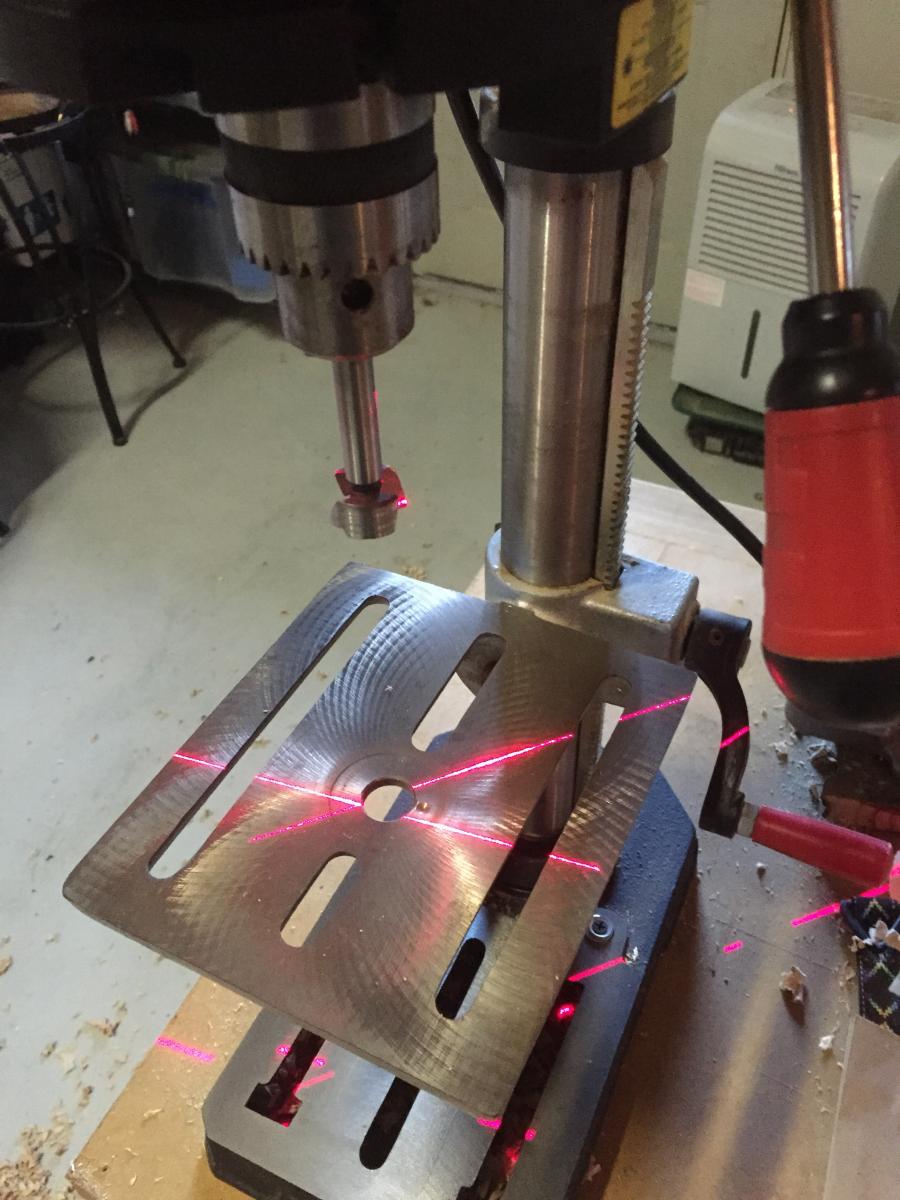 eplaced the batteries and used a scrap of plywood with several test marks on it to callibrate the lasers. That really helped the process, and it was nice to get that long-needed shop maintenance done.
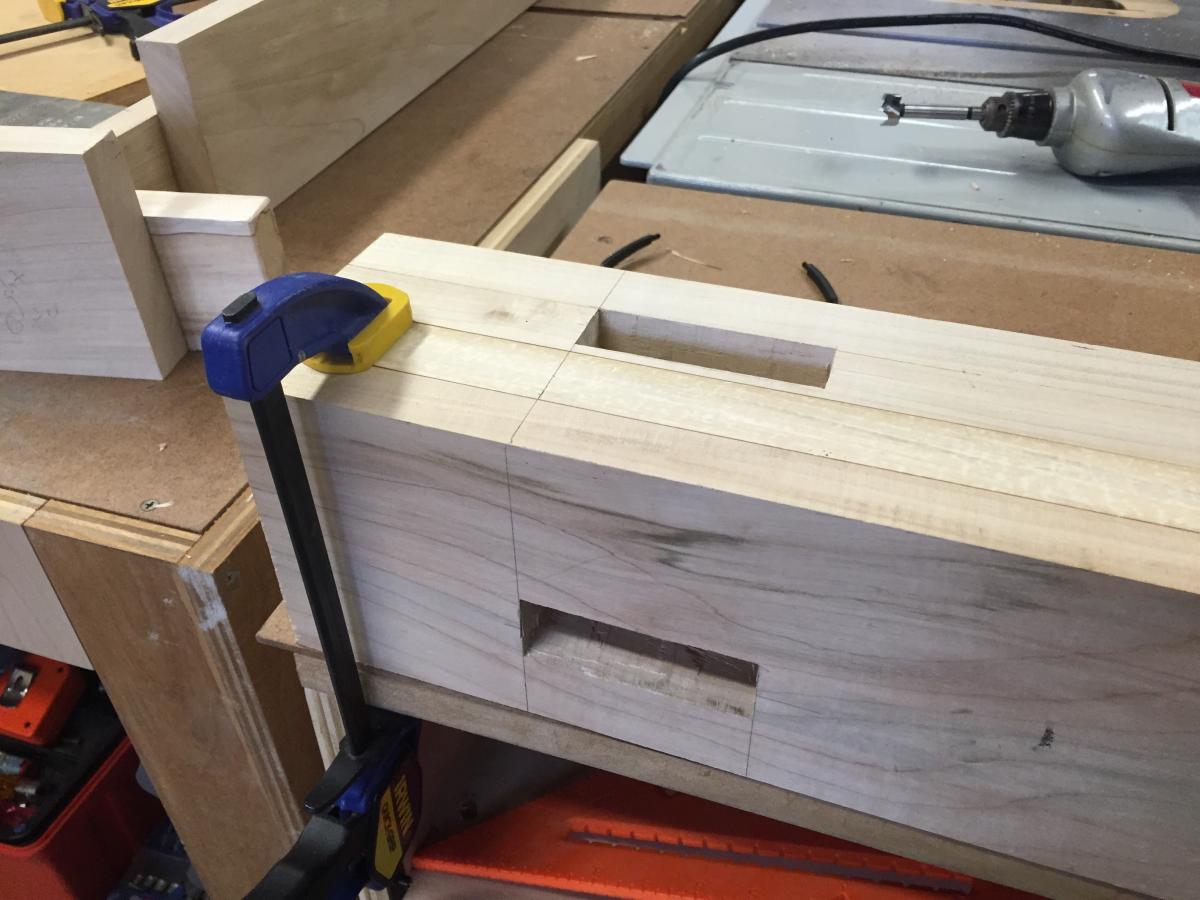
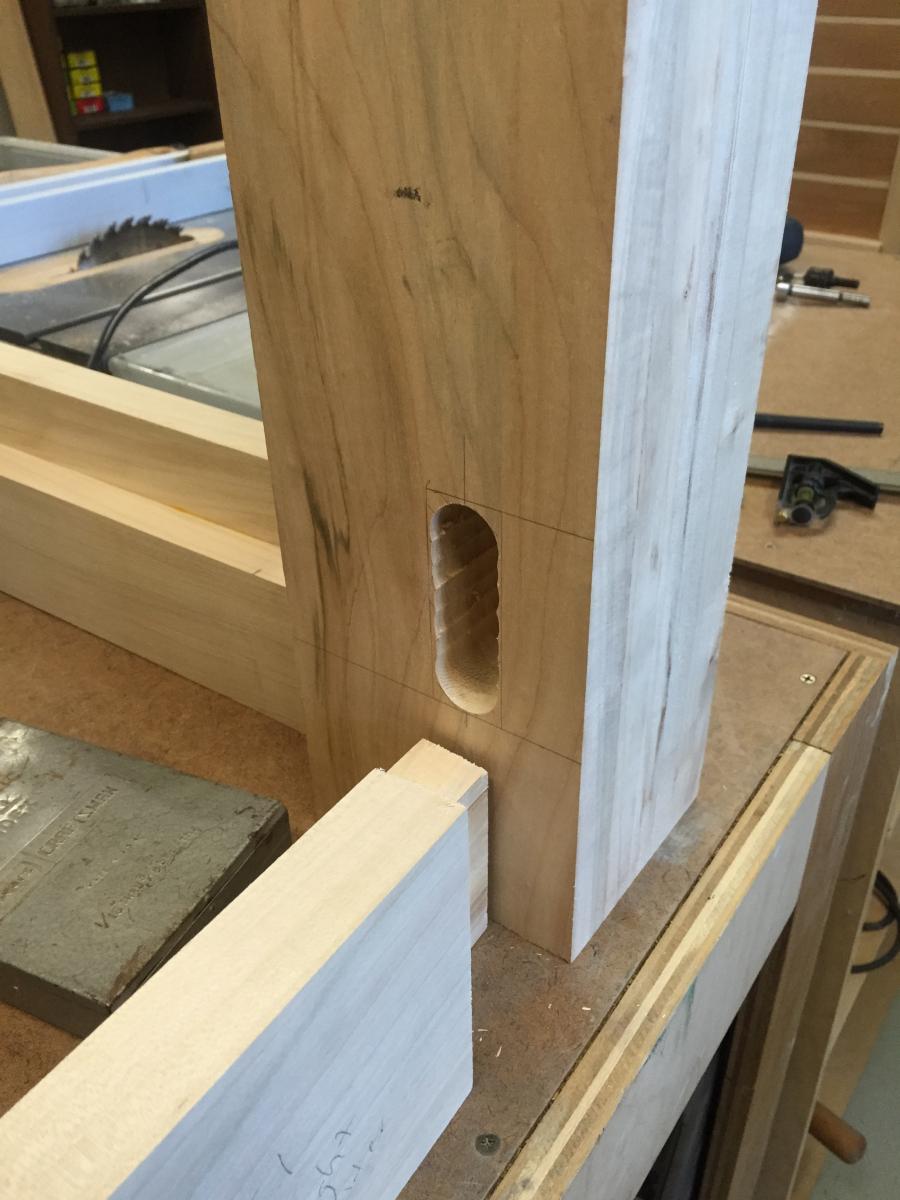 I drilled out the mortises, two on each leg. That took about an hour, being careful not to drill outside the lines. However, my little drill doesn't have the throw to go the full 2 1/4" inches down to fully reach the depth of the tenons, so I pulled out my Dad's old corded 1/4" drill to make the holes about an inch deeper. I think that's about the largest amount of wood chips I've made in a couple of years. One thing that became apparent as I drilled was that this maple is of widely varying hardness. Some of these boards are much software in places where the wood got sort of punky from sitting in damp storage as they dried. Nothing too bad, but it was something to adjust for as I drilled.
 Finally, I started the process of chopping out the corners of all of the mortises and fitting the tenons to each. As of today, I've managed to fit three of the eight joints together. With all of the pounding, each one takes me about 20 minutes to clean up and fit.
These are the first consistent days woodworking over several weeks that I've managed since probably 2012.