Silver Maple Roubo Workbench
Primary tabs
A Roubo-style hand-tool-centric woodworking workbench with a Benchcrafted wagon vice on the right front corner and a green Woodcraft leg vice on the left front leg. Built from silver maple lumber milled from a tree that grew in the front yard of my parents' Ohio farmhouse.

Update 10/8/2017 - Working on the face vice . . . and there is a problem.
Update 9/4/2017 - Installed the wagon vice. Turned a set of bench dogs out of maple.
Update 8/13/2017 - Pinned the top to the legs.
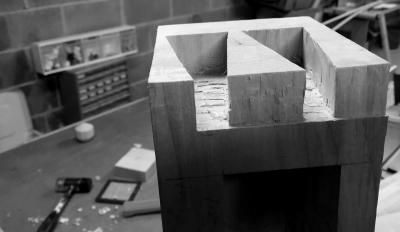
Update 7/5/2017 - Just shy of the sixth anniversary of this project. Like some cathedrals, I suspect the world will have changed and the original design will have gone out of fashion so far that it's back in fashion once more. Finally attached the top to the undercarriage. This past weekend was the big effort to cut the recesses needed to fit the Benchcrafted tail vice hardware. This is the first time I've actually seen the bench at its intended final height.
Update 3/8/2017 - Attached the front edge of the benchtop with the carving onto the benchtop. Glued and pegged the the bench undercarriage.
Update 2/12/2017 - A bunch of work on the benchtop and benchtop endcap. Since the beginning of the year, I've fit the endcap to the benchtop, installed the leg vice hardware in the front leg, created the dovetail joints to connect the bench front to the endcap, and carved my credo into the benchfront board.
Update 11/6/2016 - Cut the tenon for the benchtop endcap. Cut the endcap to length. Laid out the mortise on the endcap. Spaced the legs and undercarriage against the bottom of the benchtop, and laid out the benchtop front piece carving. (I left one strip of silver maple to function as the carved front edge of the benchtop. That way, if I screw up the carving, I can replace it more easily. But not having it attached to the top at this point is screwing up my leg, endcap, and vice spacings. So it's time to just carve it and glue it the rest of the benchtop.)
Update 10/6/2016 - Getting this Roubo workbench finished has taken so long it's already outlived the trendiness of building a Roubo bench. Given the pace, it'll probably still be an ongoing project when the Roubo finally comes back around and is popular again in 300 years. Well, the shop in the new home is slowly coming together, and more importantly from the perspective of this project, I've managed to find all of the parts of the workbench. That includes the two sets of vice hardware. I'd say what I hope to do next, but it's foolish to listen to me about my hopes about my woodworking projects.
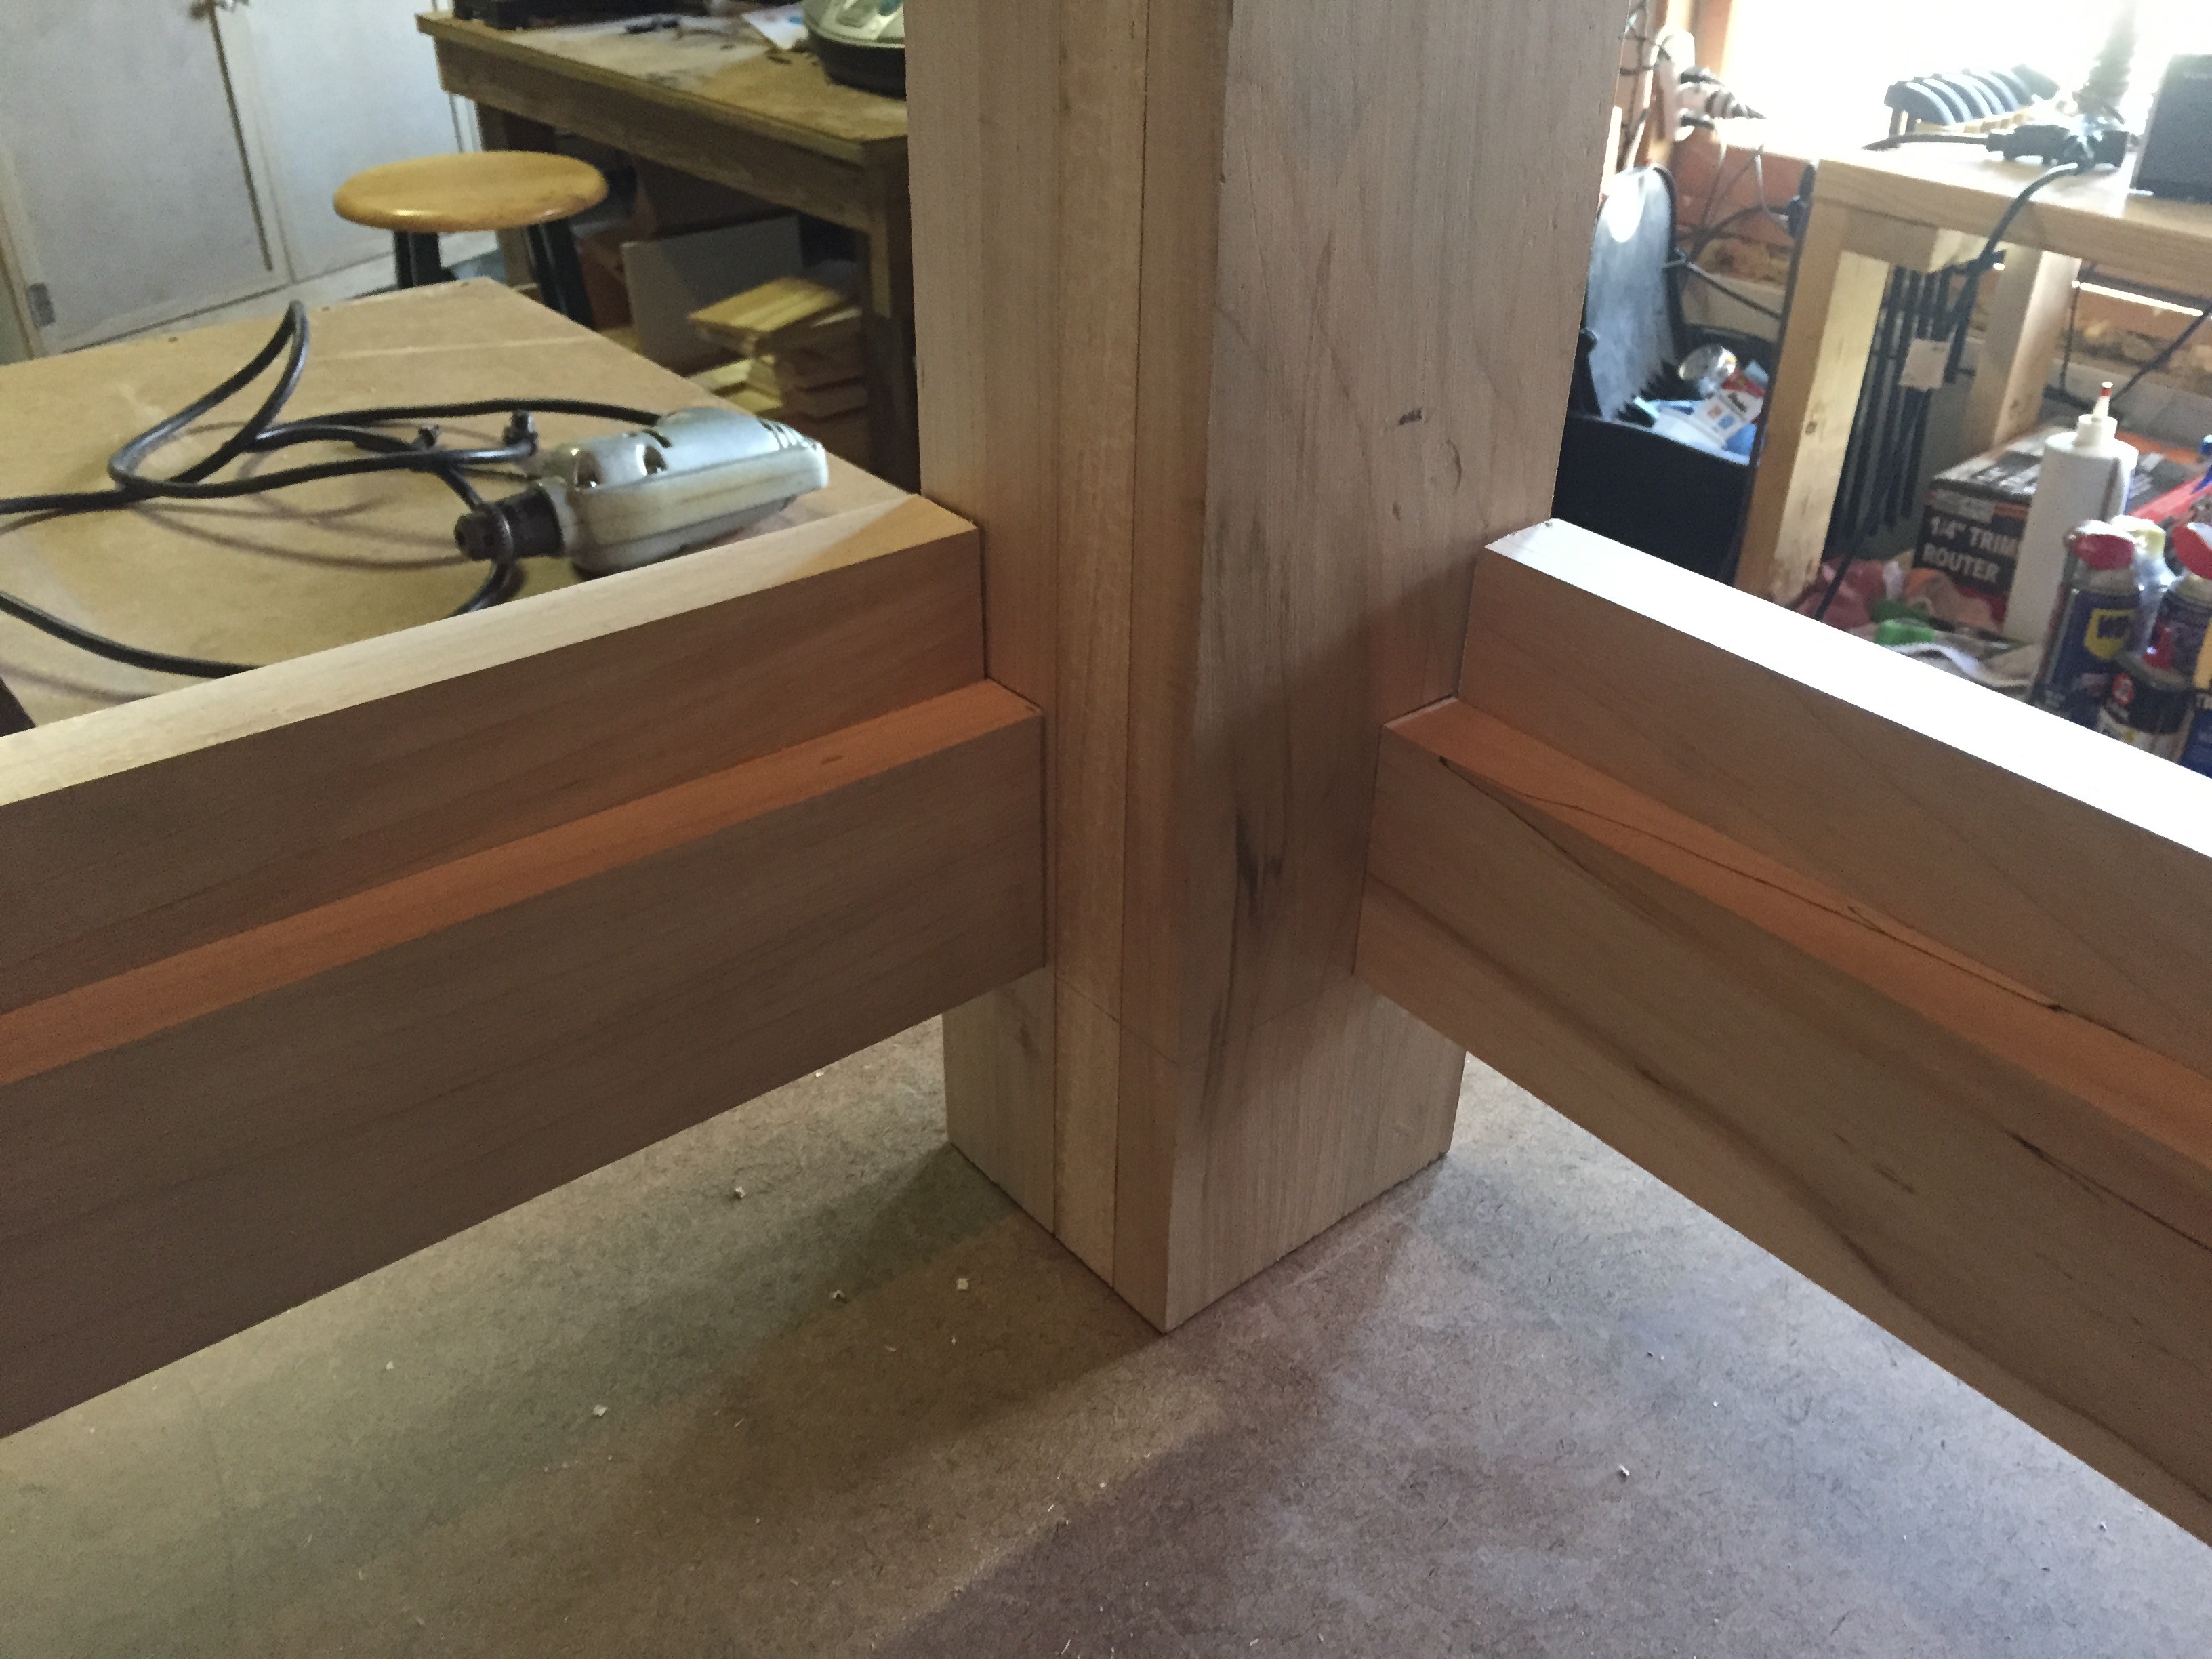
Update 3/5/2016 - 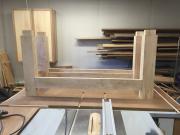 Finished fitting the stretchers to the legs by finishing the mortises with chisel and mallet. Cutting all eight mortises took about four hours, split up over about eight evenings.
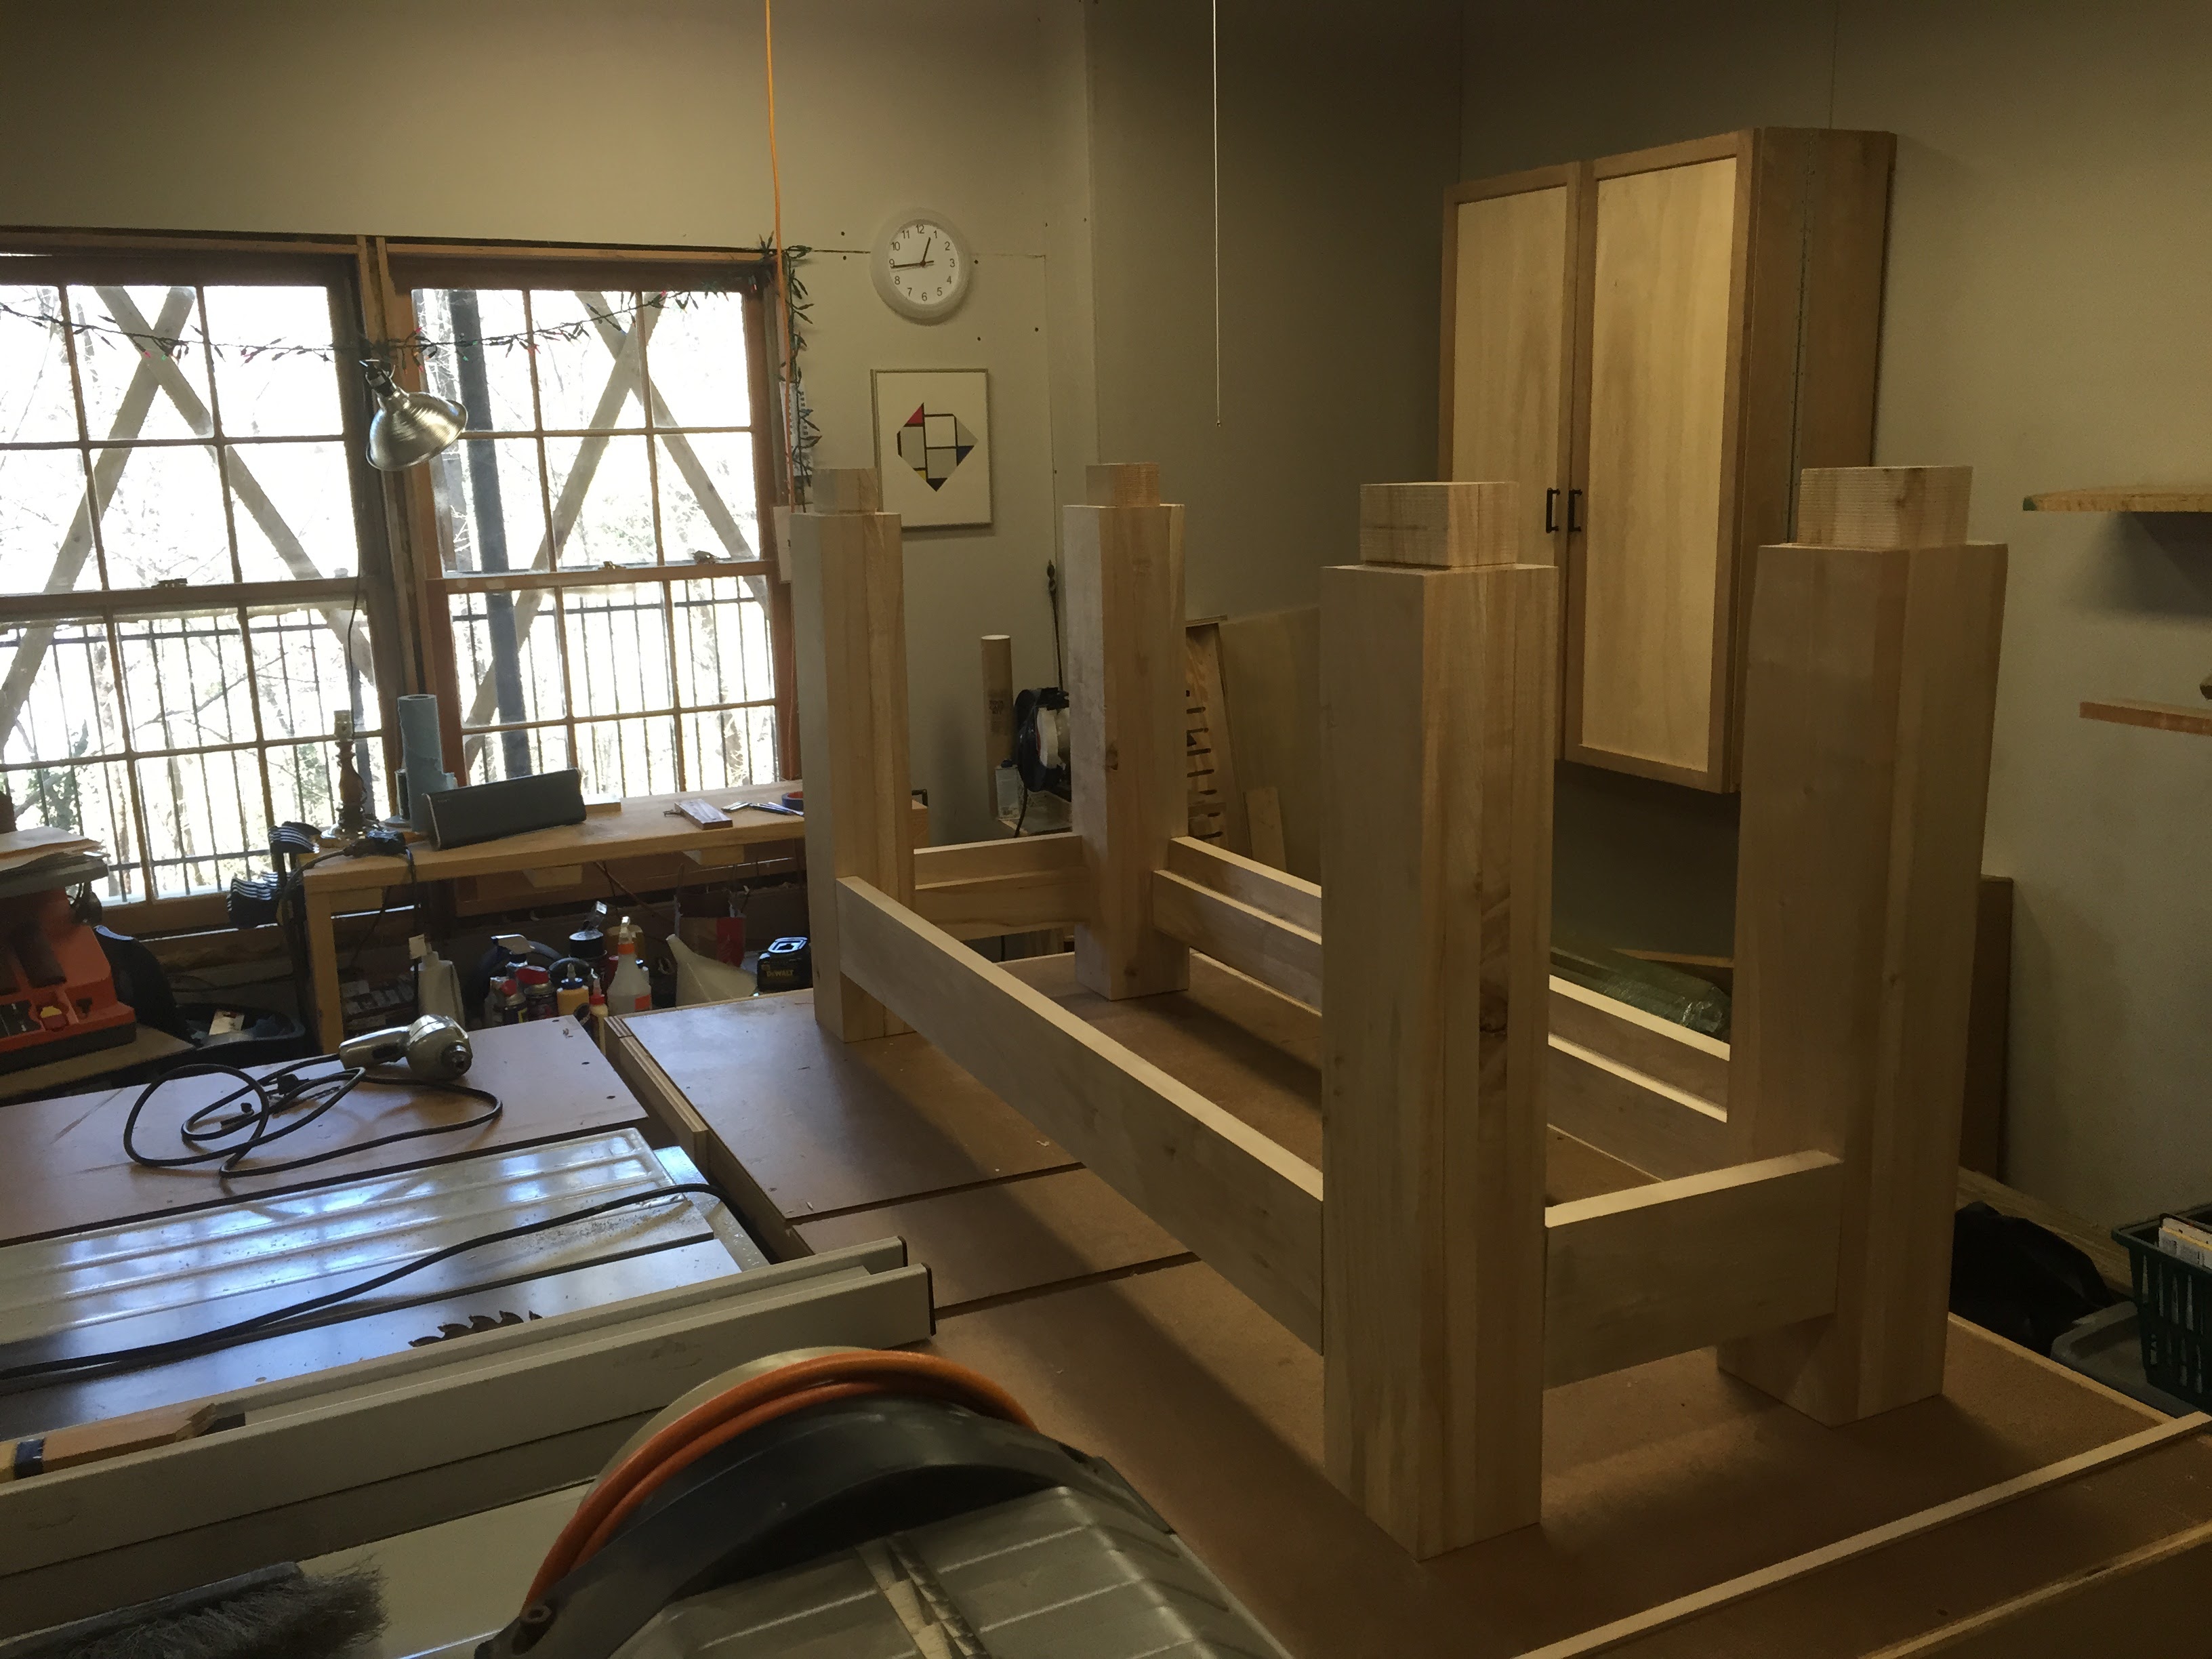
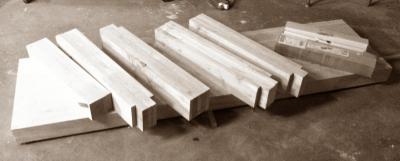
Update 2/23/2016 - Much work lately. Picked the stretcher lumber, planed and jointed it. Glued them up into stretchers with de-facto tenons. Laid out the mortises and started fitting the stretchers to the legs. Full Report.
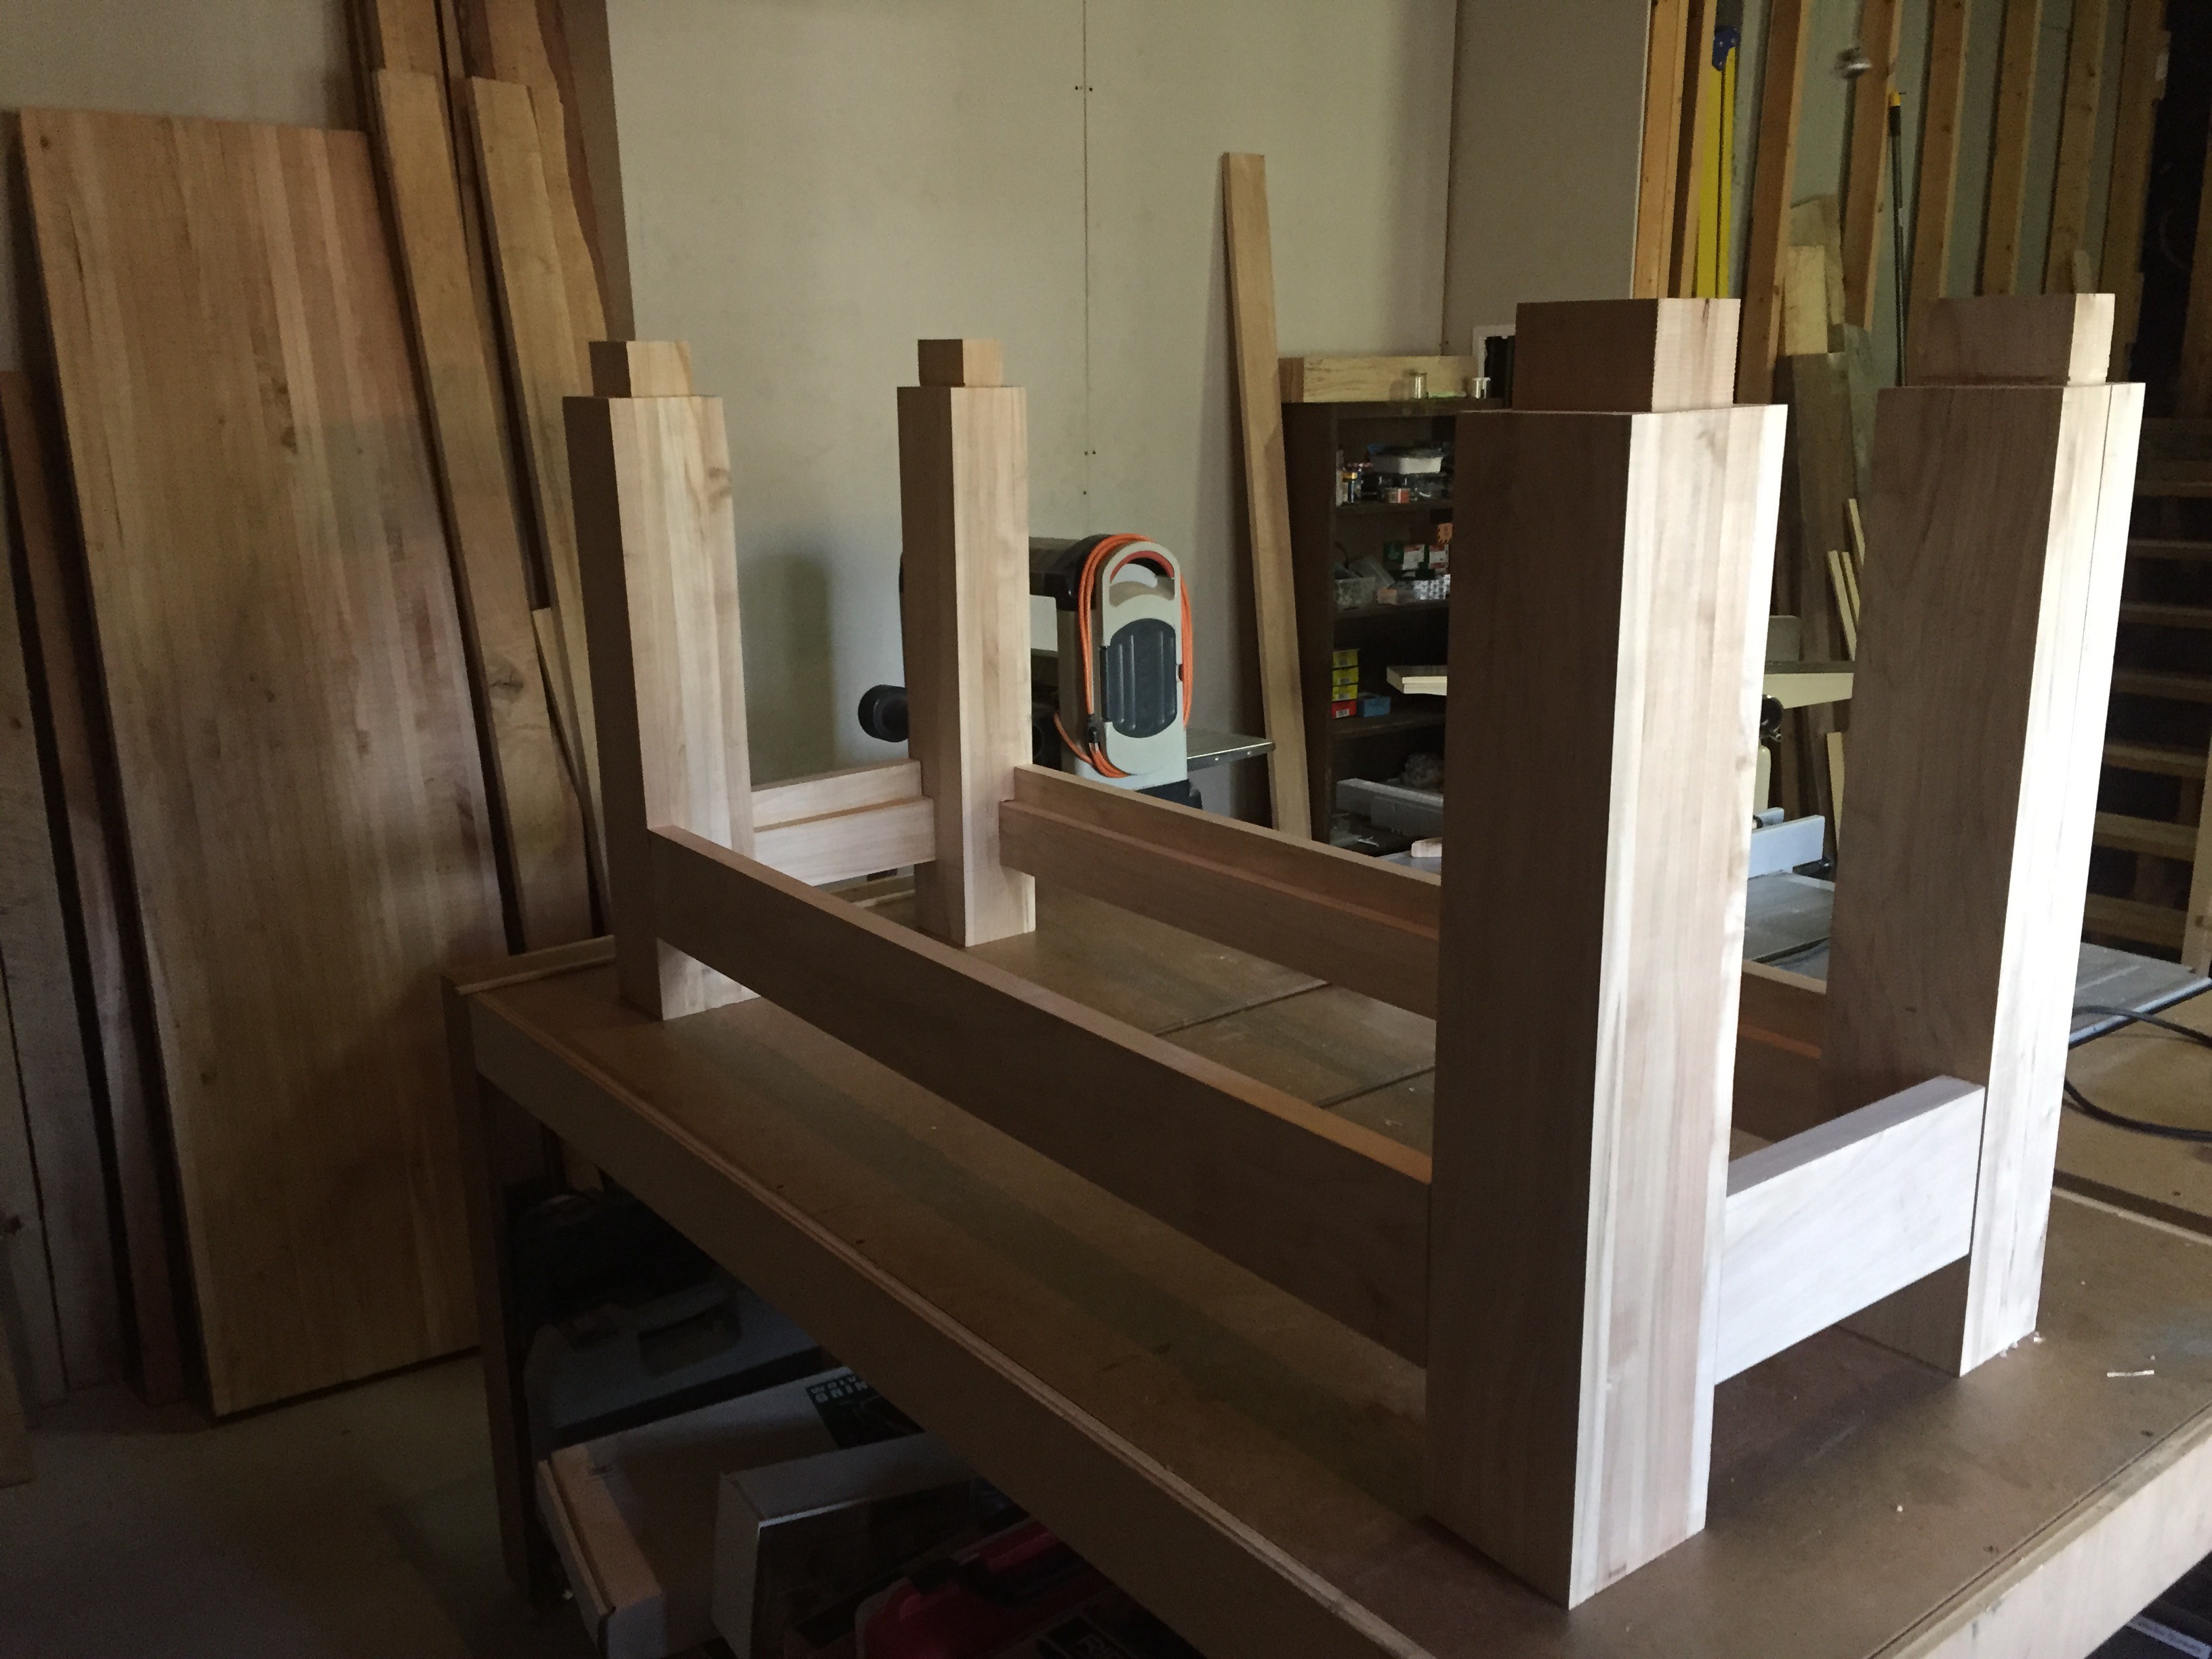
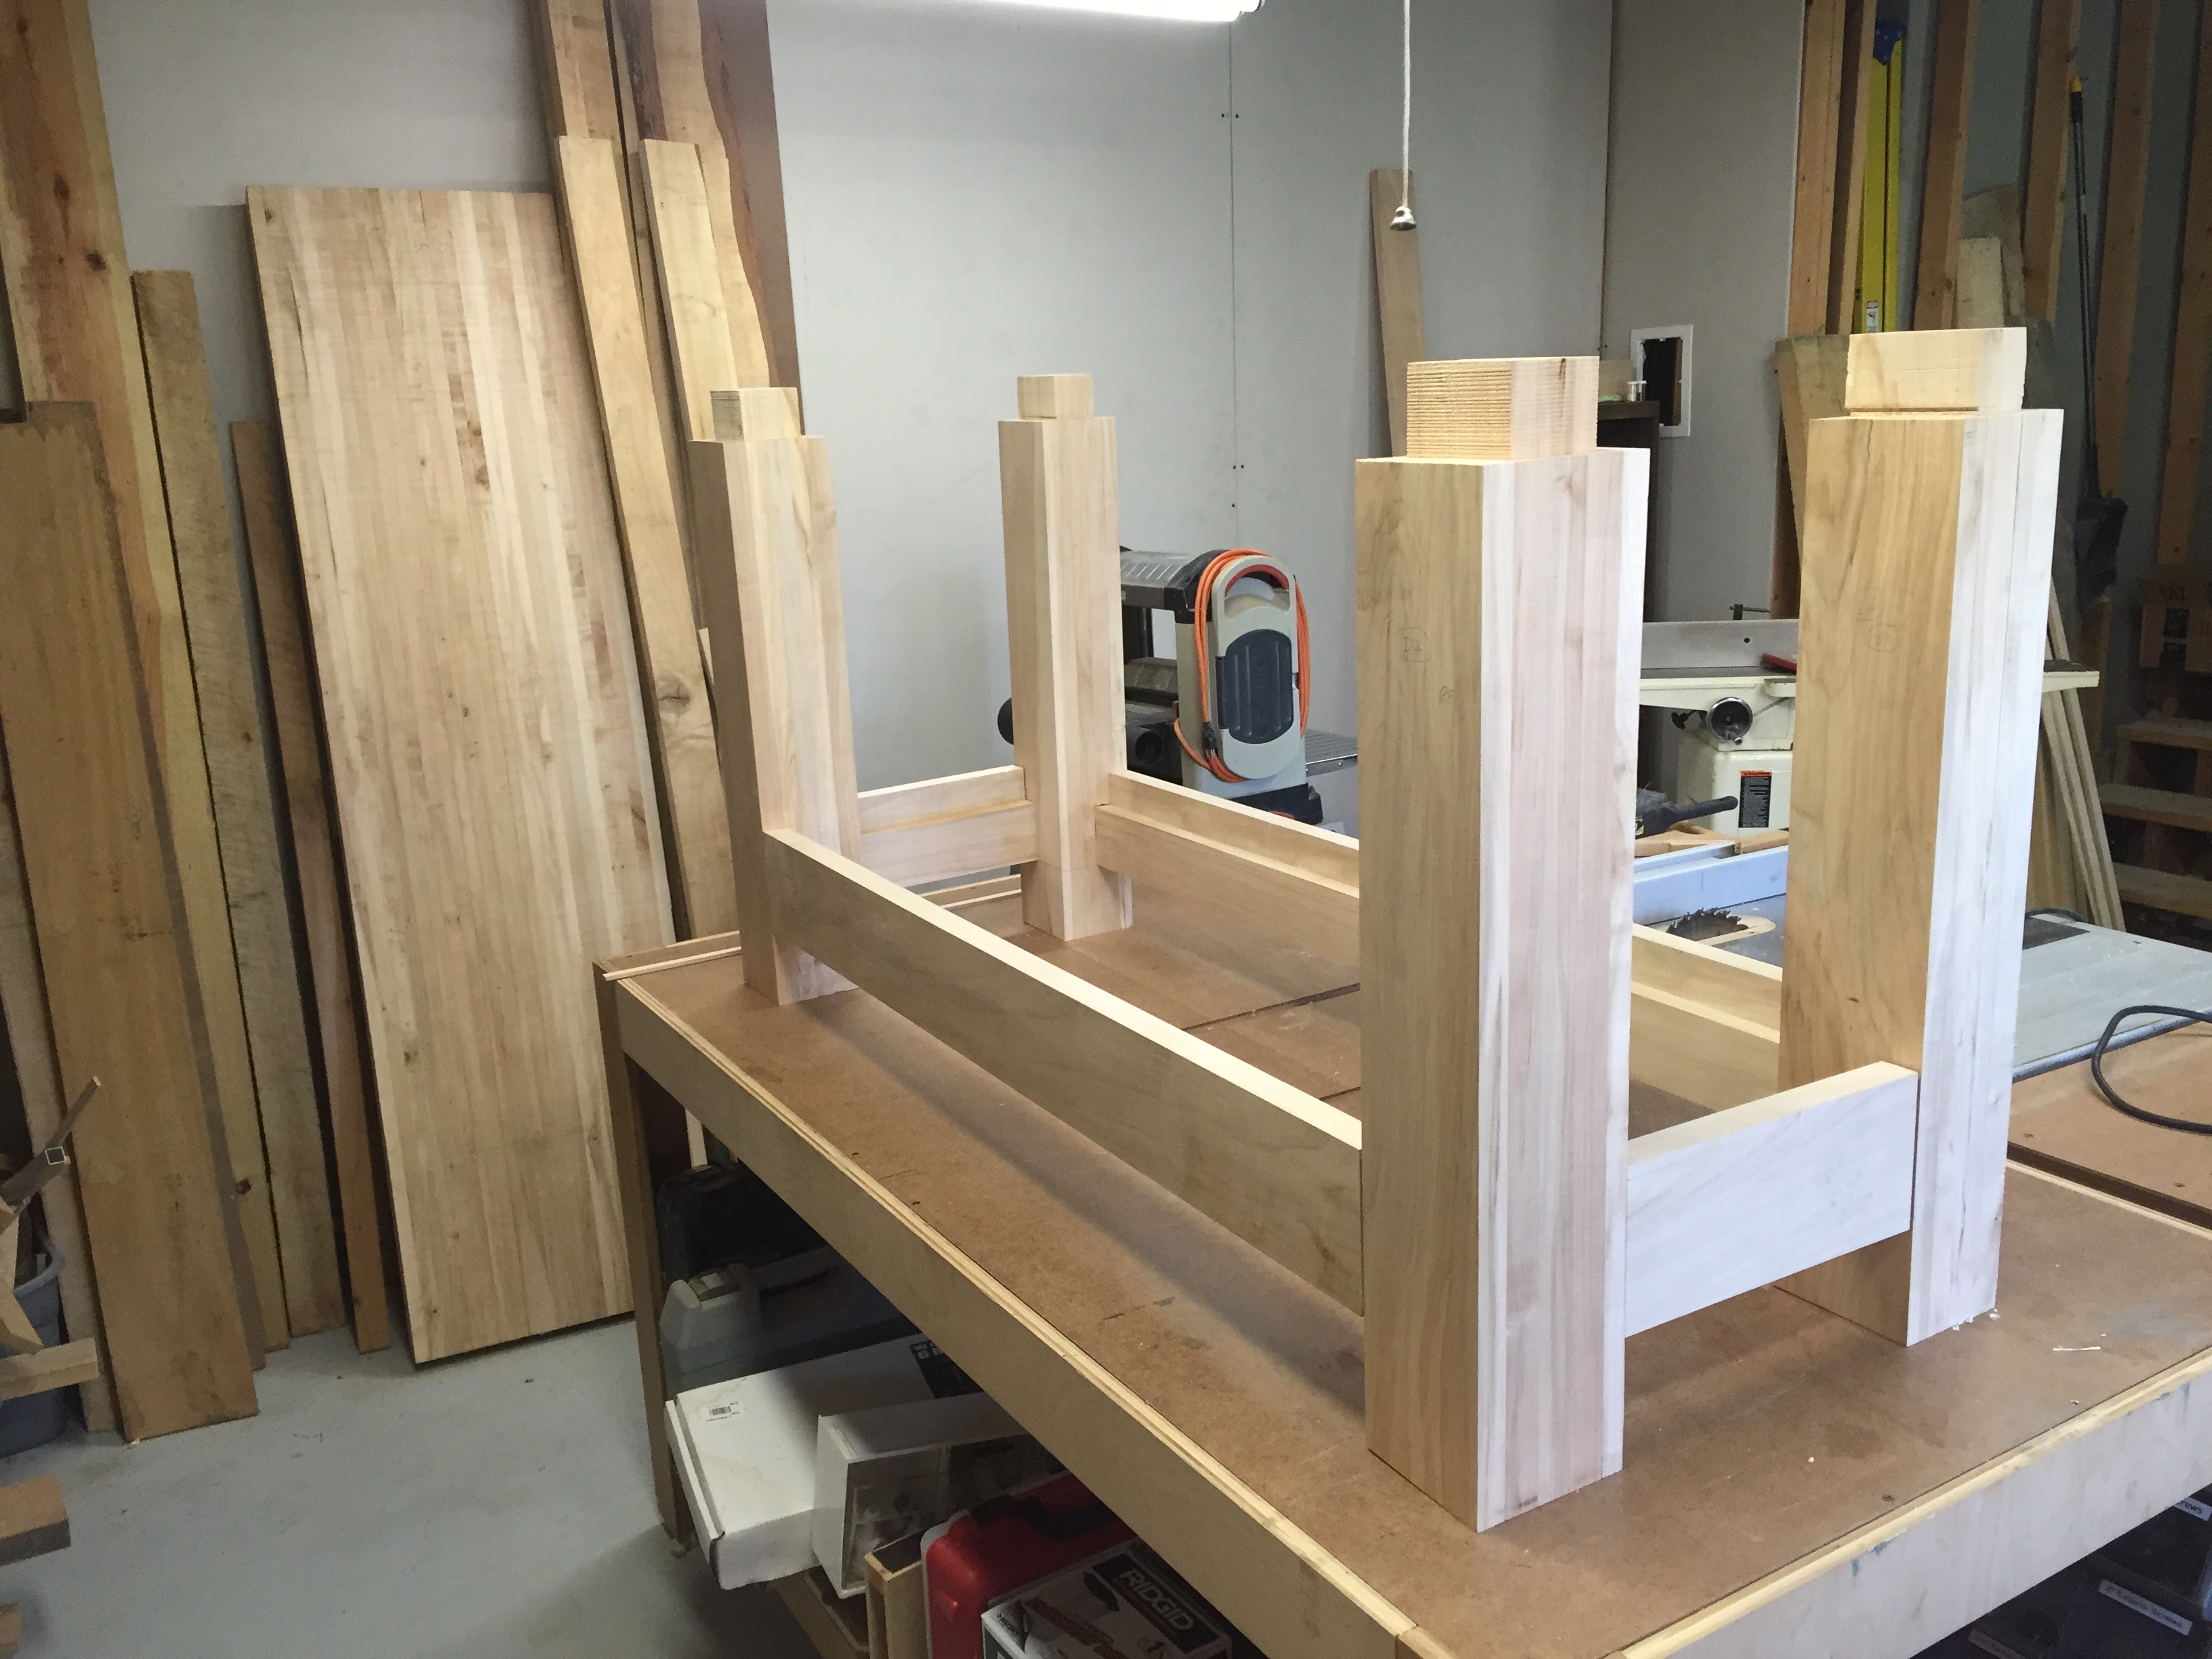
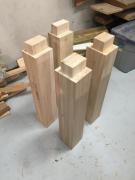 Update 11/15/2015 – I've noodled around in the shop from time-to-time over the past three months, but this past couple of weeks I finally made some progress on one of my real projects. The silver maple bench is finally progressing. A couple weeks back, I picked out the planks and planed them for the undercarriage. And this past weekend, I did some detail work getting the dimensions and tenons right on the legs. More details here and here.
Update: 10/24/2014 - Moved to the new house, set up the shop. Pulled out these bench drawings and tried to get it moving again. Squared the bench legs. Well, tried. The table saw is roached in its squareness somehow. Doing more damage than good.
Update: 10/15/2013 - Actually, I've made a lot of progress on this project over the past two years, despite moving, losing my mother, changing jobs twice, and working on about 10 other projects in front of it. I just haven't updated the status of this here. Given that assertion, I'm still startlingly far from completing this thing. So where am I on this one. I've been stuck on the fourth leg. This whole thing needed to be built up from laminates of 1" to 2" thick lumber, since that's what I had available from the tree that was taken down in 2010. My old crappy workbench has been gone for over two years now and I still don't have a good clamping device for projects. I'm now using the tablesaw outfeed table I built last year as a (poor) substitute. The photo at right shows the current state of things. Just two days ago, I finally managed to get my Jet jointer working well enough to finally flat the wavy-as-hell boards for the fourth bench leg. And I glued up the fourth leg on Sunday. I'm currently rebuilding the photo gallery to go with this project, so you can see of the interim steps I took getting to this step.
Update: 10/20/2011 - Gluing up the slats for the workbench top the last two nights. I've got 24 1" thick slats, each 4 1/2" wide and 80" long. I'm gluing them in sets of 4. I can do one set each evening. I'm trying to set the curves in each pair of slats to oppose each other, so that the natural curve of each slat pushes the middle apart. Then, when I clamp them, I get the ends tight and work from the middle outward. I only have enough clamps to do one glue-up each evening. I'm probably using too much glue, but better that than too little is my theory.
I have to say, each of these 4" x 4" top sections is HEAVY. This thing is going to be truly massive. After I get all 6 of the 4" sections glued, I'm going to make sure I have parallel edges and glue up three sections at a time, with heavy cauls. Then I'll run the two 12" wide sections through my planer.
I'm not sure how I'm going to handle the two 12 inch sections together. I'm hoping that by that point, the laminations will have forced themselves to be pretty straight. But physically, it's going to be quite a challenge to glue the two benchtop halves together, accurately, without help.
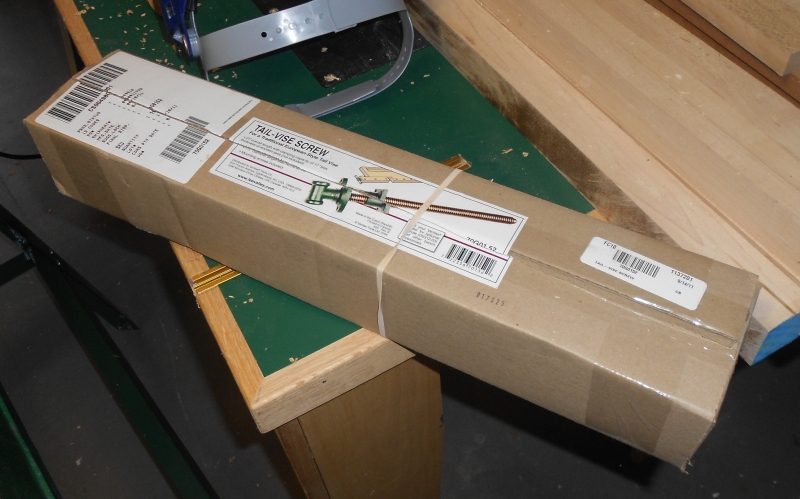
Update: 10/17/2011 - Well, I did manage to accomplish a bit on the workbench over the past few days. I finally finished planing the laminate boards for the top, that's 24 ready for glue-up, which I plan to start this week. I also received the Lee Valley tail vice, which I plan to use for the leg vice. And I finally decided that I need to do some more planning on the design, the joinery, and the dimensions before I can proceed. I've updated the project image to show a Sketchup render of the basic shape. (The proporations are accurate.)
First report: 9/23/2011 - Last year I committed the cardinal sin of any woodworker who thinks their shop environment is just fine and who is trying to avoid unnecessary expenses, I read Christopher Schwartz's now-legendary tome on woodworking benches, Workbenches, from Design & Theory to Construction & Use. So now, of course, I simply have to build a Roubo. It's almost a joke among woodworkers these days. Read the book, spend 2 to 3 years getting up the gumption to build the massive Roubo workbench that the author describes. (Strangely, almost no one seems to want to build the other one he describes in the book, the English bench.)
At any rate, I did need a bench. My old one was Home Depot special I bought about 20 years ago and which currently functions more as a dance partner than a good place to clamp and work on wood. Frankly, it's a piece of crap and it's falling apart. It offends most of the Schwartzian sensibilities when it comes to workholding, and I can't say that I disagree. It has a tool well. And yes, it just collects dust and junk. It has a drawer that just gets in the way of my attempts to clamp to the bench top. And the legs are just basically ready to fall off. So I need to build a bench.
Despite Mr. Schwartz's recommendation, I really didn't want a pine bench. I'm sure it would work, but it's just too much of a copy of what he did. I needed another option, but I don't have the thousands of dollars it would take to buy the couple hundred board feet of rock maple that would be required. I didn't know what to do. Then fate intervened. The farmhouse in Ohio has, for all of living memory, had a giant maple tree in the front yard. It has been suffering for the past few years, dropping branches in every storm. Finally, about 2 years ago, it dropped a massive branch in the yard, and it showed a massive wound; the two foot diameter branch was hollow, almost out to the sapwood. The tree had to come down. This was devastating for my family, like losing an old friend.
But I asked my sister to assist in getting a sawyer to the site. He agreed to haul away some of the good parts of the tree, and cut it into lumber. This isn't a hugely desirable lumber tree, I understand. It was a silver maple; a pretty tree, but not prone to that beautiful clean creamy maple that gets used in lots of woodworking projects. It was likely to be kind of 'stained', grayed and streaky. And it proved to be so. But I don't care. It was going to be the source for my new workbench, and then I could preserve a part of the tree that sheltered the front porch of our family home for four generations. If I build it well, the bench will live longer than the tree, which seems a fitting memorial for it.
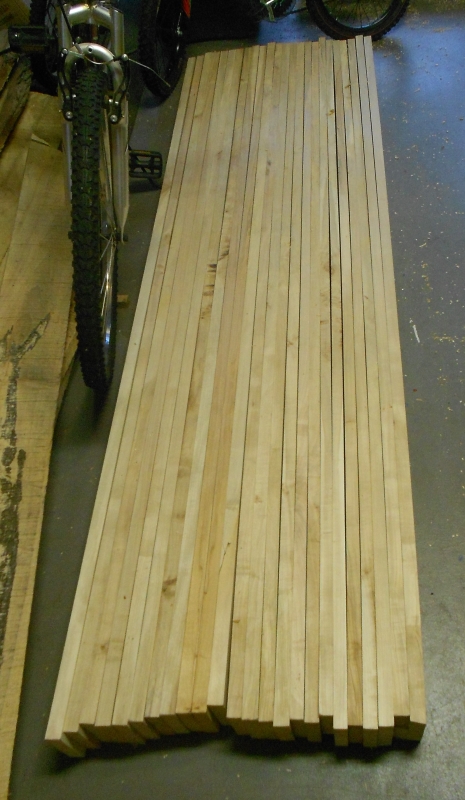
It was cut to 4/4 and stacked in the old dairy barn on the farm. There it stayed for about 18 months. In July, I bought and assembled a harbor freight folding trailer, so I could drive up from Florida, load a bunch of this wood, and drive home. Then I stacked it in my garage workshop until I could figure out how to attack this thing. Finally, a couple weeks ago, desperate to reclaim some of the space in my garage, I started cutting pieces to be used for the bench top.
As of the end of September 2011, I have the 25 pieces cut for the 24" wide top. I've planed 8 of them so far. This will take me a while to complete. Especially since I'm also committed to finishing my wife's jewelry armoire ASAP as well. I'll post updates as I get things accomplished.
I'm prone to overthinking things, and Sketchup just exacerbates that tendency. I didn't want to overthink this, so I sketched up the basic dimensions on paper and went from there. I'm planning to have a deadman on the front and a leg vise on the left front leg. I've already ordered the simple screw hardware for that from Lee Valley. I'm planning to install the Benchcrafted tail vise as a wagon vise on the right end, but that will have to wait for a retrofit. I can't swing the $350 pricetag of the Benchcrafted hardware right now. (Too much money sunk in quarter sawn sycamore, cherry, and hardware for Adriana's jewelry cabinet to be very spendy on this bench, this season.)


")