Crochet Blocking Board
Primary tabs
My sister asked me if I could try making a 'Crochet Blocking Board'. This is a tool for flattening and straightening squares of crochet-work. It's comprised of a flat board with a grid or array of holes drilled in it accompanied by a set of dowel pins that are used to stretch the crocheted piece while wet.

 I got started in early September on this. I went and bought some plain clear pine at the local Home Depot. I didn't want anything difficult to work with, especially with all of my recent efforts to shape hard-as-hell maple. I bought a set of 3/4" thick 6" wide boards and glued up a 24" by 24" square. No biscuits or dowels. It's just edge glued.
  However, after looking at that 2' square panel for a few days, I realized I had gone way too big. And I asked my sister, and she agreed. So I cut it down to an 18" x 18" square.
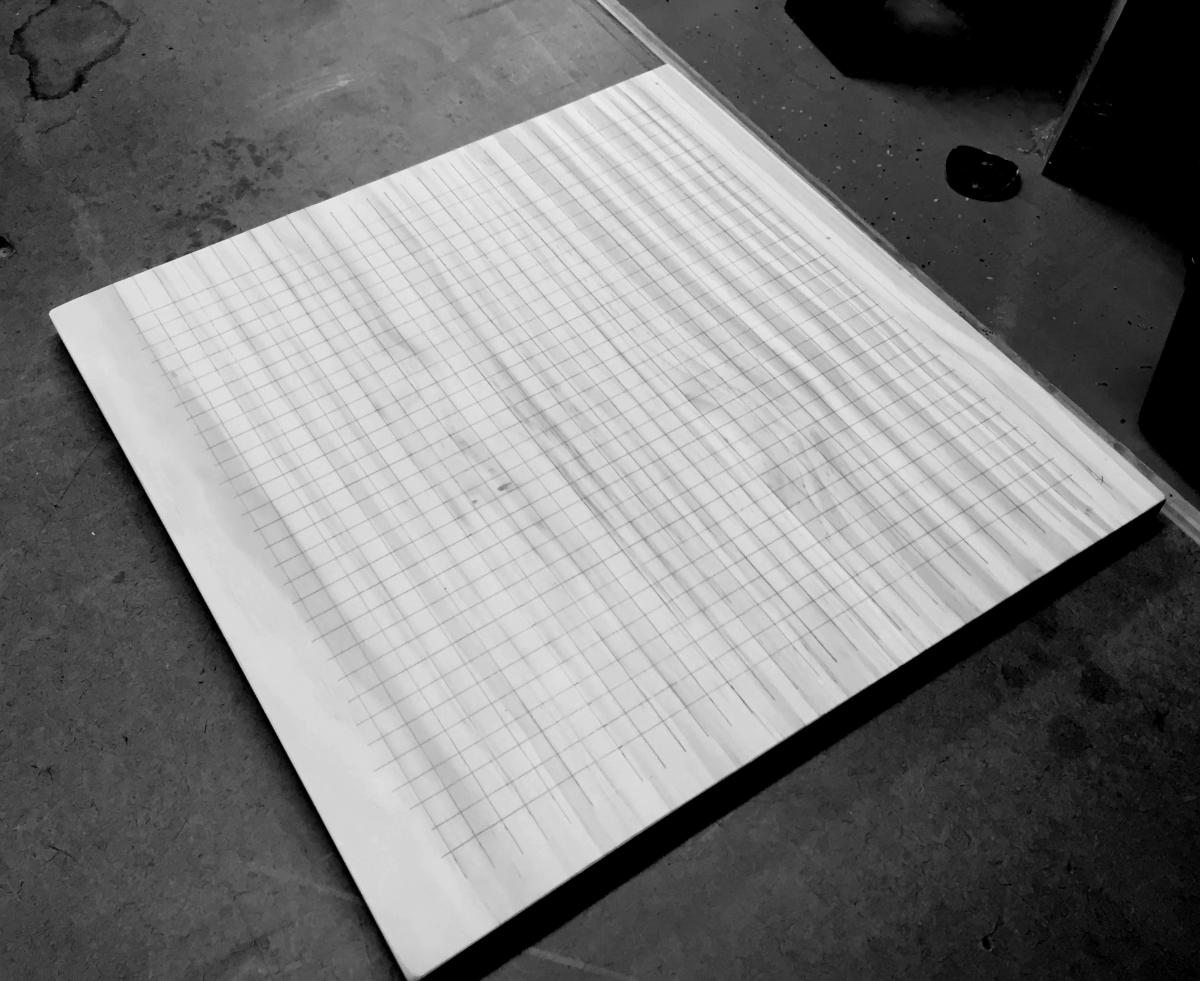
I laid out a 1/2" x 1/2" grid. I had asked if she wanted the radial pattern that some of the premade blocking boards had, and she said, "No, it'll be more adaptable for me if it's just a plain grid, but larger than those." Then, after penciling the lines, I used a spring loaded awl to punch a small divot at teach intersection. That really helped later as I was trying to keep the holes evenly spaced.
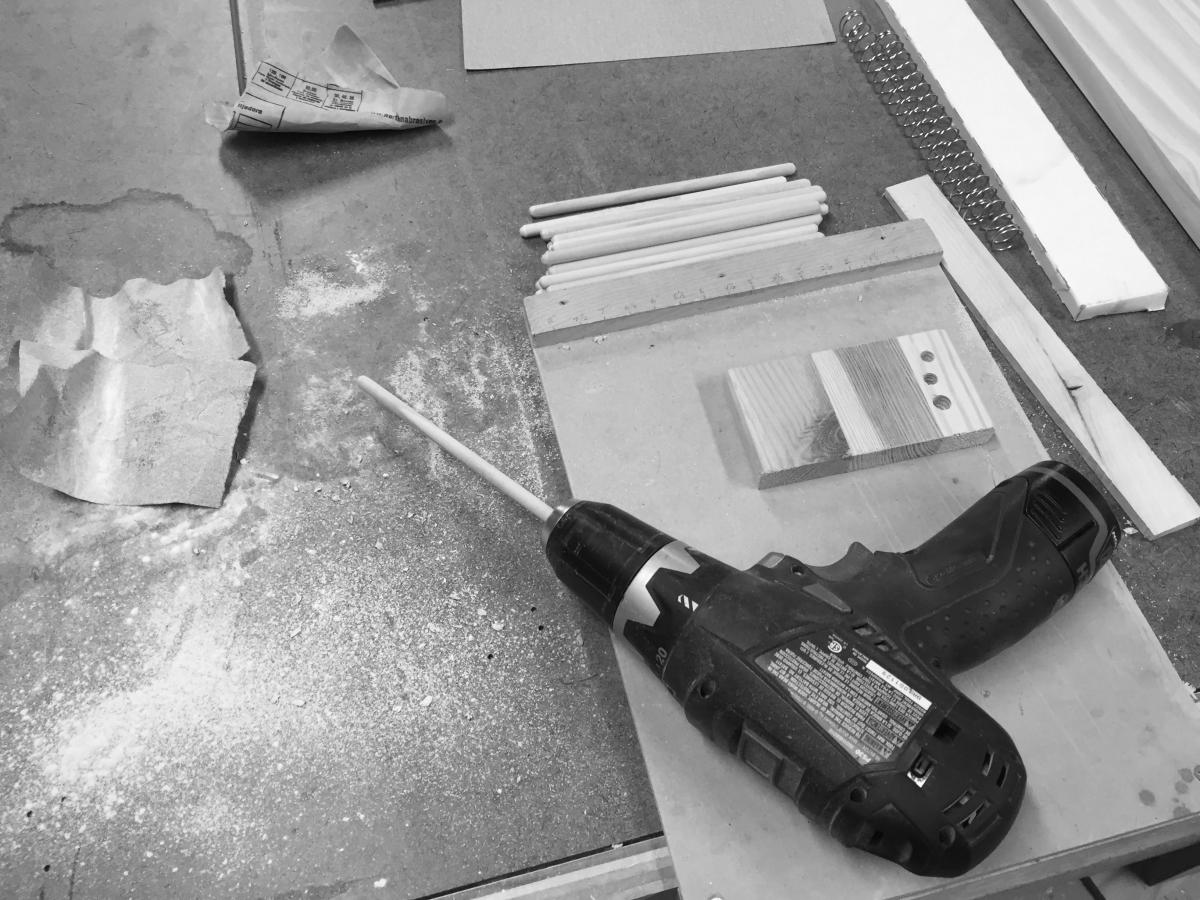
Next, I needed to buy some dowels and size the drill bit. Originally, I bought 1/4" dowels, but that turned out to be too wide, especially when I realized she wanted a 1/2" grid. So I bought another set of dowels - 1/4" diameter this time. At 1/2" by 1/2", anything larger would result in holes with too little spacing, and any smaller diameter and the dowels would probably break when used. I cut the dowels to 6" long.
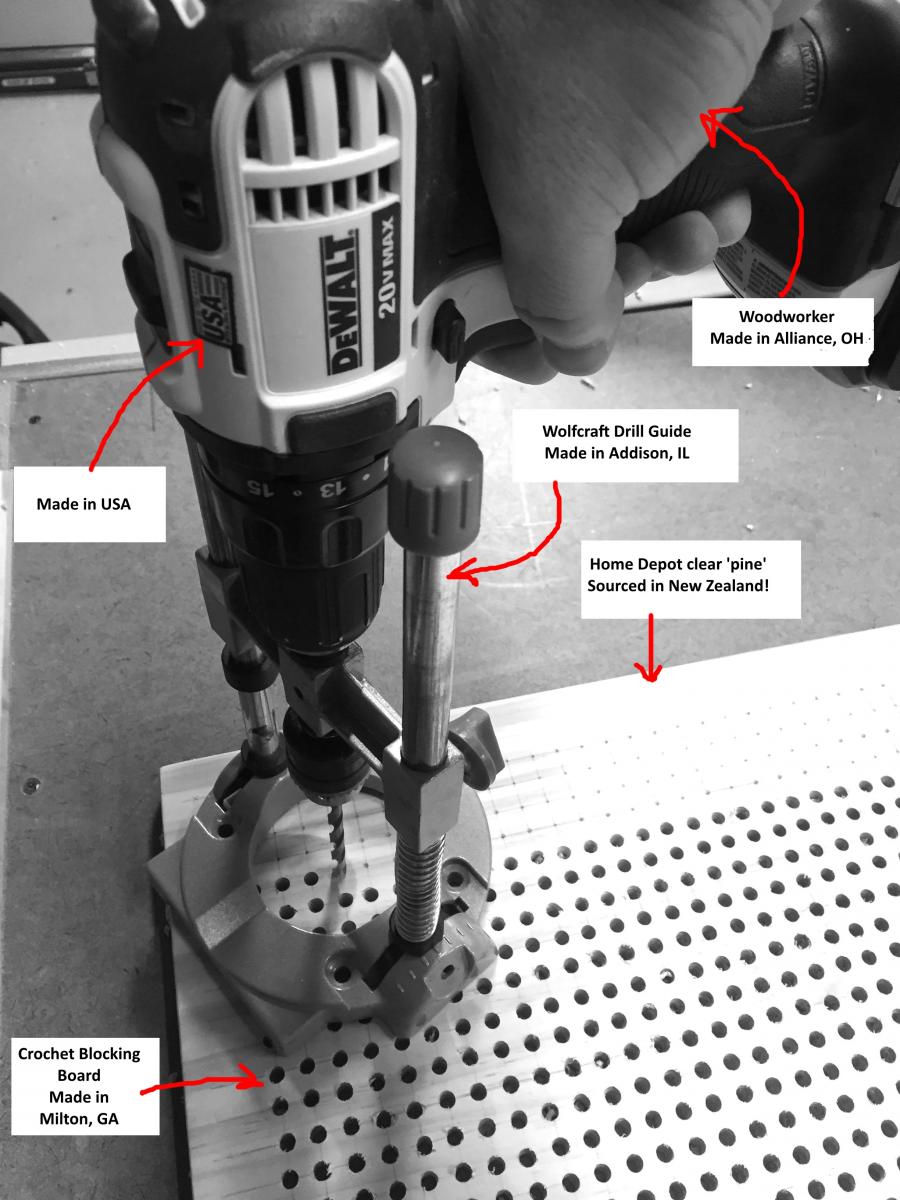
 I realized that I couldn't use the drill press to make sure the holes were square, so I needed a jig. I suppose I could have just created my own in a hard hardwood, but I wanted to buy a tool. So looking on Amazon, I found the Big Gator Tools V-drill guide. I was going to order it, but I really wanted to support some of my local woodworking shops. I've written off using Woodcraft because of their horrible habit of outsourcing U.S. tool designs to cheap factories in China. But I've heard that Highland Woodworking down inside the perimeter in Atlanta still supports U.S. companies. So I took a drive down. Unfortunately, they didn't carry the Big Gator guide. What they had was this big contraption drill guide.
 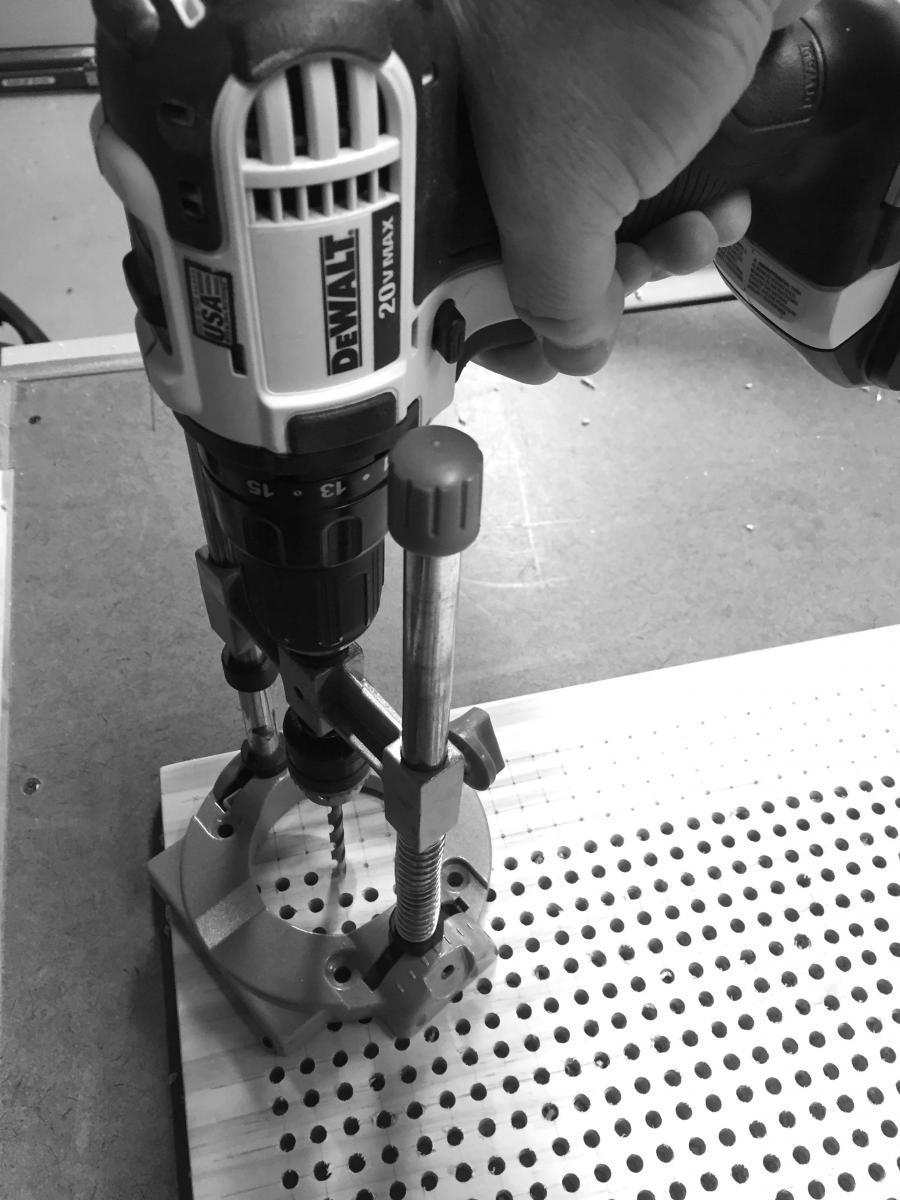 I thought about it, and finally bit my tongue and bought that. It's the Wolfcraft Drill Guide, which I believe is also U.S. made. But it's a much bigger thing to accomplish what I was trying to do, and about twice the price. I probably will also order the Big Gator guide at some point, but I just needed something to let me drill straight holes, and I needed it today. (but that trip to Highland WW was wonderful. I always like going down there. I never want to underestimate my good fortune at living within a 30 minute drive of not only a Woodcraft, but also a Rockler, and the one and only Highland shop.) But you get the idea why I want to support local shops.
 Getting back to my shop, I put together Wolfcraft guide, which is not a small undertaking, I must say. Thank goodness the instructions are pretty well written. After it was all together, I attached my drill. (The guide comes with it's own integral chuck, which is nice, and really solid, and probably why this thing is so expensive.) Then the drilling started. That went on for an Age of Man. or possibly longer. Nine hundred and sixty one holes.
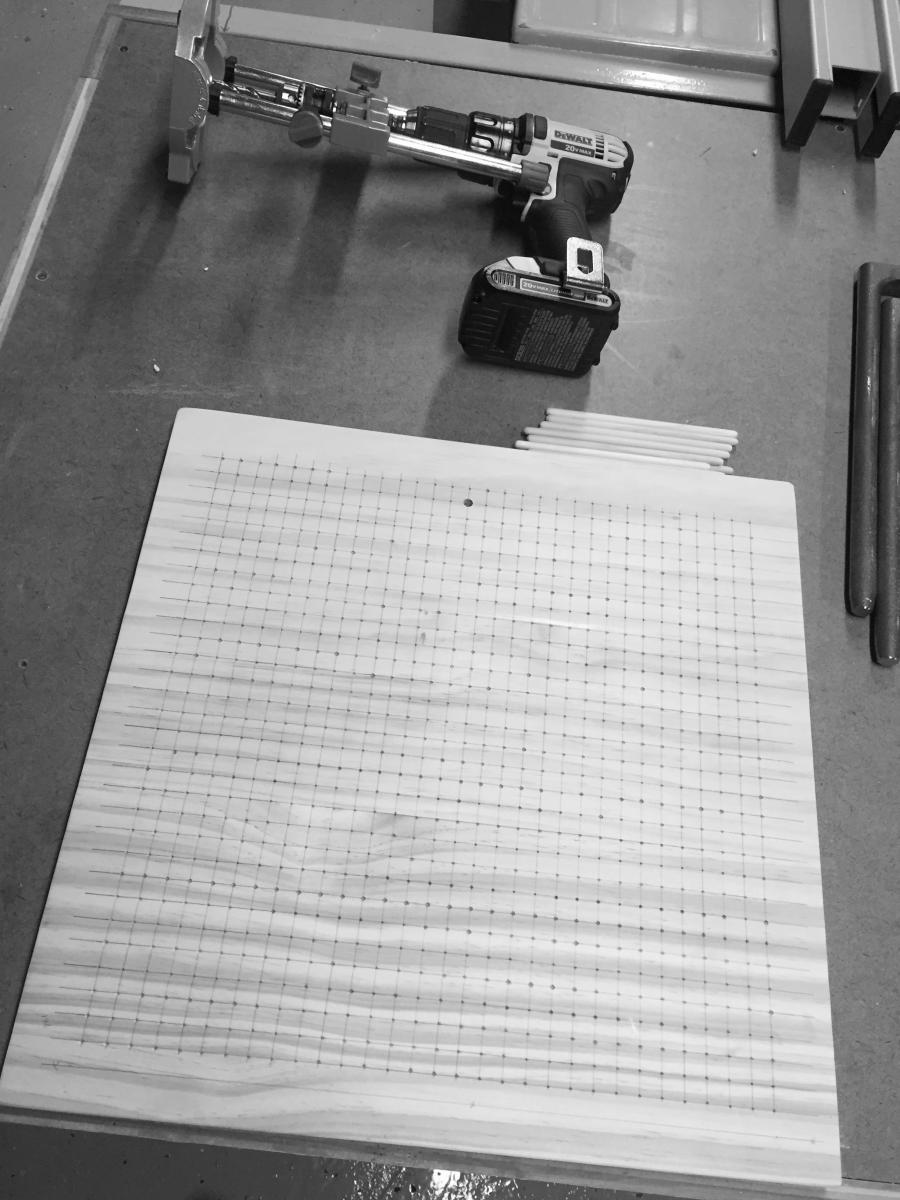
I used a really nice 1/4 spur edged drill bit. I can't remember what they're called. It was a special set I had ordered from Lee Valley several years ago. Anyway, using that drill bit design turned out to be a bit of a mistake. But I didn't figure that out until I was about 200 holes in, and committed.  Here's the damned panel with most of the holes drilled. It took me about 8 hours to drill all those holes. Yes, the Etsy boards seem like a bargain.
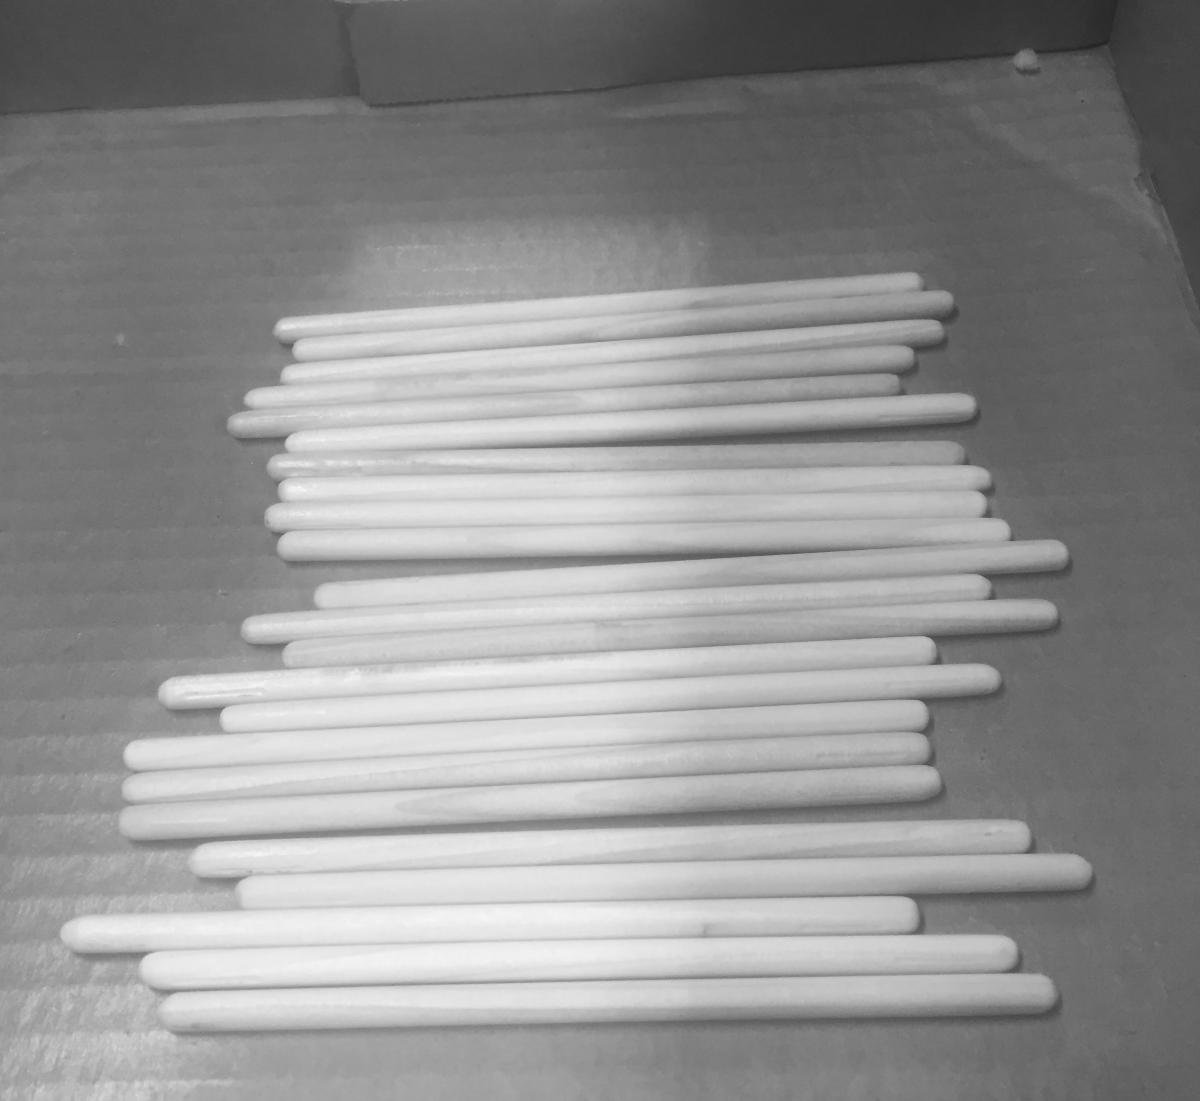
 I used a trick mentioned by a Youtuber who gives a tutorial on making just this type of crochet blocking board. Let me see if i can find it and I'll link it here. Oh yes, here it is . . Buffalo Countertops & Crafts. At first I thought it was kind of a waste of time, but I did end up making about 20 of those dowel pins. Getting them sanded was much easier by putting them in my drill and sanding while they spun. So that step only took about 30 minutes.
Next I needed to sand down the panel and make sure all of the drilled wood chips were out of the holes. I could get about 90% of them out just by turning it over and banging, but finally I had to use my number one favorite unsung tool . . . the forceps. Individually pullling out the last few chips was surprisingly Zen and mindful. Weird.
 Then after a last conversation with the customer (i.e. my sister Holly) about the project, I realized that I needed to give everything some basic water protection. When the crocheted item is stretched, it is first soaked with water, dried a bit, and then stretched on the blocking board. So I put polyurethane on both the panel and the pegs. The pegs I just sprayed in a box, turned them about four times and sprayed another coat to get all sides.
 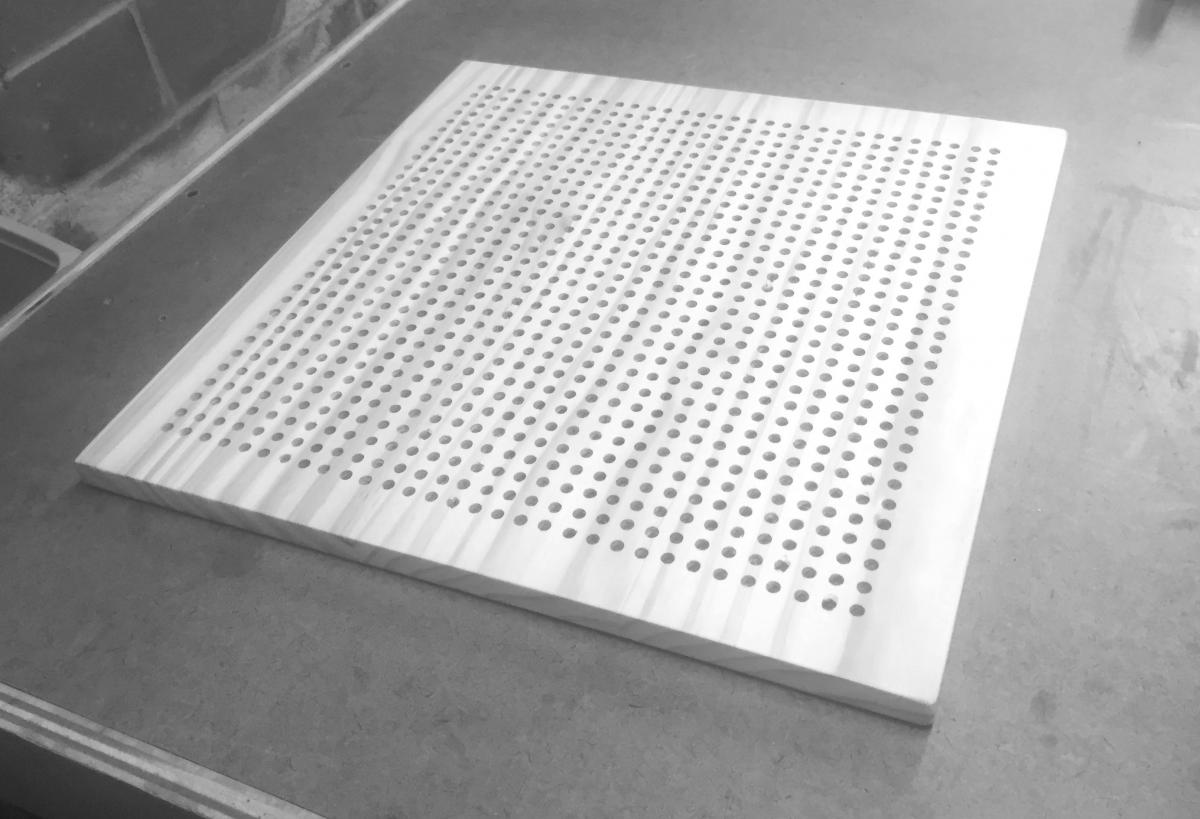 The panel itself was also sprayed so I could get at least a little bit of the finish down into the holes. I didn't want too much there, because it would make the pegs too tight. I didn't want to have to sand them down anymore. They're already very spindly for the required work they need to do.
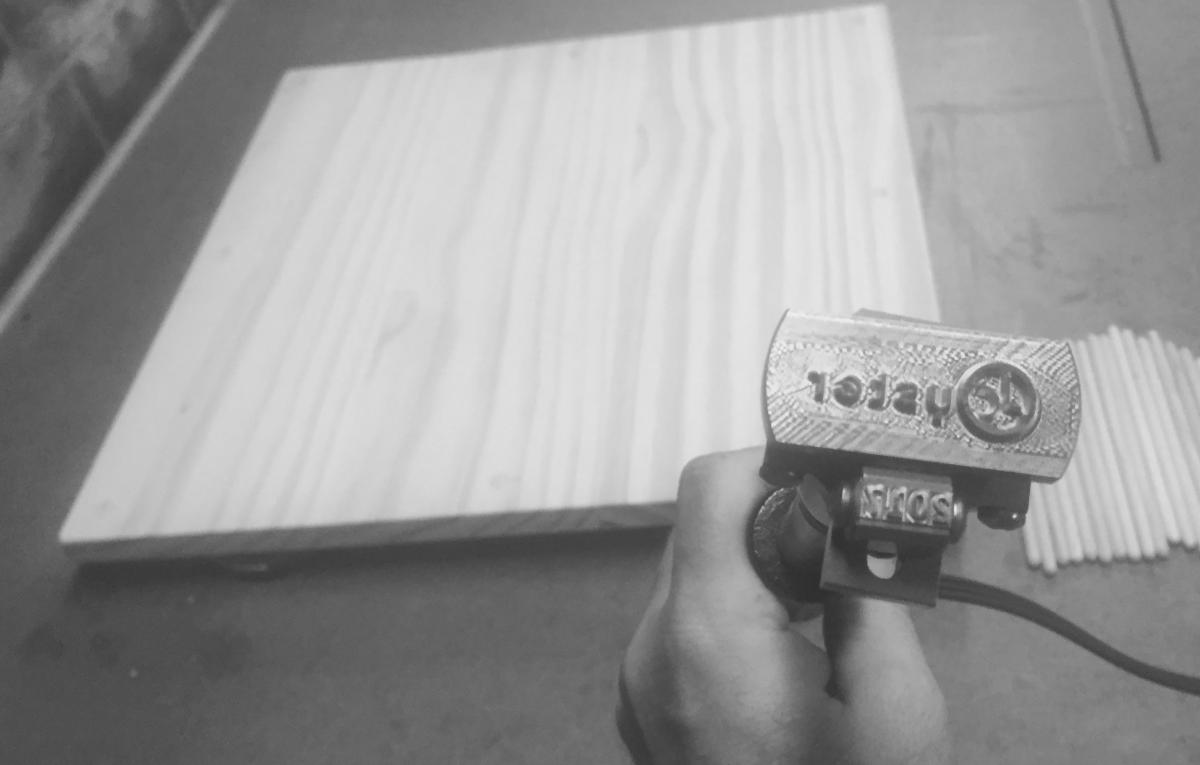 And finally, my first real completed end user product out of the shop in quite some time, I decided to pull out my old Oyster-branded branding iron and date this thing. I *think* I backdated my last project. I don't think it was really 2012 the last time I used this iron. But it was probably at least four years ago. Shocking how fast time goes when you have young children and a job that works you 80 hours a week.
 All finished. Now I just need to ship it to Holly. I of course missed getting it down in time to send it back with her after Dragon Con by about three days.

There are a ton of examples of such blocking boards for sale on Etsy. My sister pointed me to a couple of them, but this was the example she sent. She thought they were a little expensive, especially for the size, and was hoping I'd make her a little bigger one. I, of course, went overboard and initially designed and laid out a 24" square board, but . . .
- It was too big for her to work with
- She had flown down from Ohio to Georgia to attend DragonCon, and I was planning to give it to her then, But there was no way she could fit a 2' square board anywhere in her luggage.
So I cut it down to 18" square, which . . THANK GOD! Because if I had gone ahead with my plan for a 1/2" on center grid of holes at 24" square, I'd still be drilling holes a month later.
As it was, I did go with the half-inch on center hole grid. I gave myself an inch and a half border, but that still resulted in a 31 x 31 grid. Yes, I drilled 961 holes. Those Etsy blocking board don't seem that overly expensive to me anymore.
The big one, I used the spur edge drill bits to try to get clean edges on all of the holes. Two problems with that: 1) The most import spec about these holes was centering them on the divots I had made very 1/2". Unfortunately, the center spur of these drill bits is the same height as the edge spur. So getting the bit to center on the divot isn't easy. That took extra time. And . . .
2) Spur edge drill bits are intended for hard woods. They have a nasty habit of grabbing and ripping out the edge of the soft pine I was using. I only had about 8 or 9 holes of the 961 that did this, but it's a bit ugly.
The only other change I might make is to make the pins a bit longer, maybe 7" or 8". But at 6" it seems quite usable.
Overall, a nice, quick, fairly fun project . . . with a ton of drilling. I passed the time listening to podcasts - The FlopHouse and the Accidental Tech Podcast in this case.
Dimensions: (Panel) 18" x 18" x 3/4"
(Pegs) 1/4" diameter by 6"