Glass Cabinet Conversion of Ikea Chest of Drawers
Primary tabs

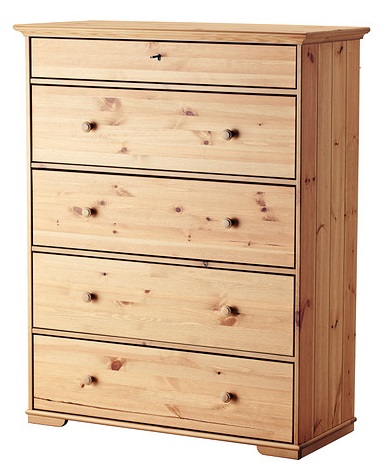 Our youngest is four. In the middle of our moves from Florida and then last year from one Roswell house to another, my wife bought a chest of drawers at a thrift store for his new bedroom. I'd like to build all the furniture we need, but I've been so dishearted by my lack of woodworking productivity the last couple of years, I haven't even tried. It looked like a decent piece . . . pine with four large drawers and then two at the top. It looks a bit like the one shown at right, but with a pair of side-by-side drawers instead of a single drawer at the top of the case. Ours also has a small rail around the back three edges of the top. (Sorry, I didn't think to take a picture of the chest before I tore it apart.)
Anyway, that chest worked well for about a year. But then we moved to our second Roswell house, and it didn't take the move well. During the move, the bottom of the case broke, and several of the drawer bottoms sprung open. It turns out the bottom of the case wasn't solid. It was just a single pine board Ikea'd in at both ends to the side walls. When one end of that board broke loose from its dowell and screw wedge (or whatever it is you call those Ikea joinery hardware things) the integrity of the whole case was lost. The bottom drawer started slipping off of its track, and then a couple of months later, the next one up, and so forth. We limped along with it for most of a year, but then my wife found another used chest that was much more robustly constructed and so we replaced it in his room. This old cabinet was sitting in the downstairs foyer, where I was going to take it out to the curb for others to ground-score. But while it was sitting there, my wife had a thought . . . maybe we could turn this old chest of drawers into a cabinet for her stained glass supplies.
I wasn't hopeful. I figured the sides were some weak form of manufactured sheet-good. But heck, I hadn't done much in the shop and thought I could at least reclaim the drawer front hardware if nothing else . . .
 So I took the old chest down to the shop, took out the drawers, took out the slides and interdrawer structure, which wasn't much, and figured out how to create a three shelf cabinet for glass storage. Stained glass, as a material, usually comes in 12" x 12" pieces, so I created three 13" tall shelves with vertical dividers to function as dividers. These types of glass dividers are quite common in the display shelves at glass supply stores.
Two weekend days later, and 1 ½ sheets of half inch ply and MDF later, we now have a glass storage cabinet. The intention was to be quick and functional, not pretty. My wife seems happy with the results. And this cabinet is MUCH stronger now than it was before.
I had intended to sheathe the entire insides with ply to increase the strength, but once I took out the old hardware, I realized the sides aren't chip board or something else crappy, but pine planks. It had plenty of inherent strength, it just needed better, more robust joints. Each shelf has a back stop glued and screwed to the shelf at 16" deep and each shelf and backstop are glued and screwed to shelf supports that I attached to the inside sides of the case. The 14" deep by 10" tall glass dividers are glued into miters in each shelf and backstop.

A quick and efficient build . . . it was useful for me to:
- Get back into the swing of things in the shop
- Check over and verify the alignment of my table saw, which had been an open question after the last move
- Although this was mostly a power tool effort, just working with marking gauges, measuring tools, and some other hand tools . . . it just felt good