

Installed Wagon Vice and Turned Benchdogs
September 3rd, 2017 - Installed the Wagon vice and turned a set of bench dogs
I've done a lot of work in my shop the last two months. I just haven't had the time to post about it. Because of that, I'm going to summarize. I also didn't get pictures of a lot of this.
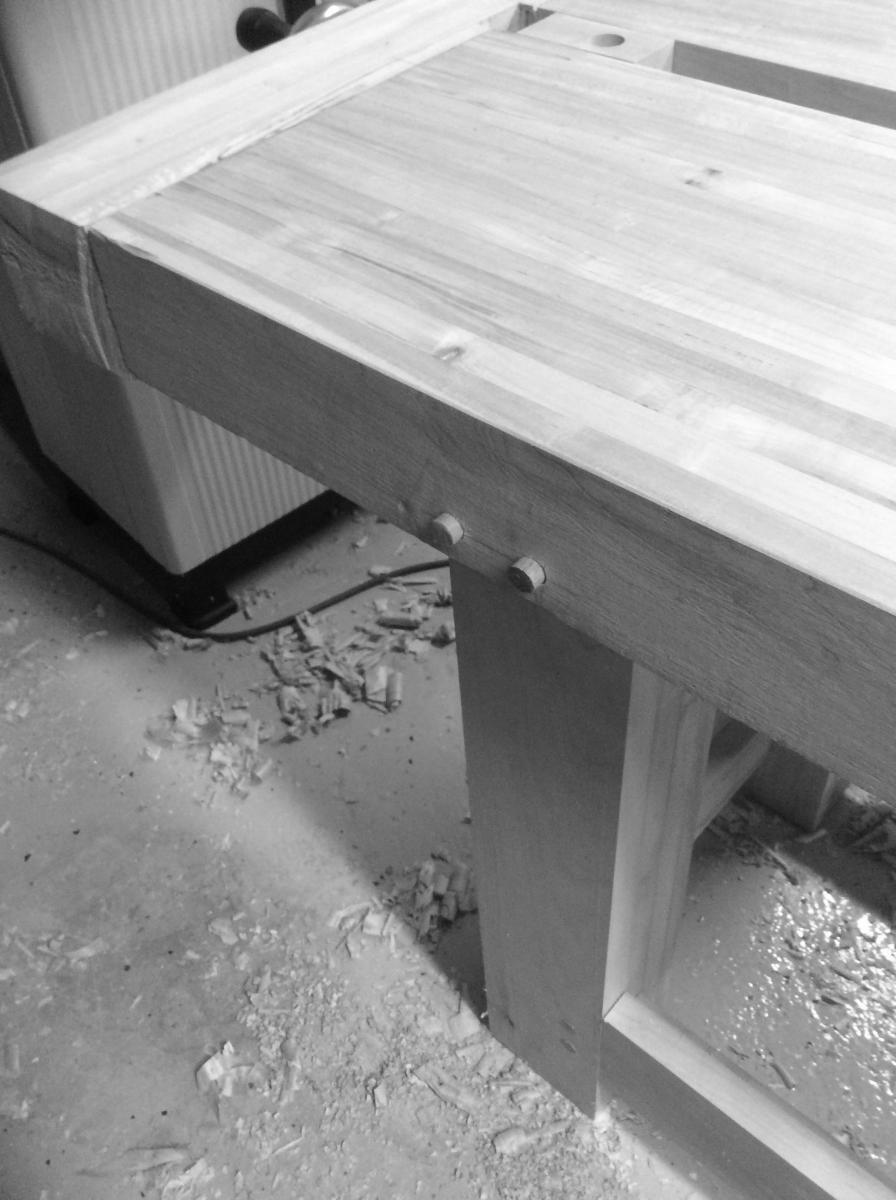
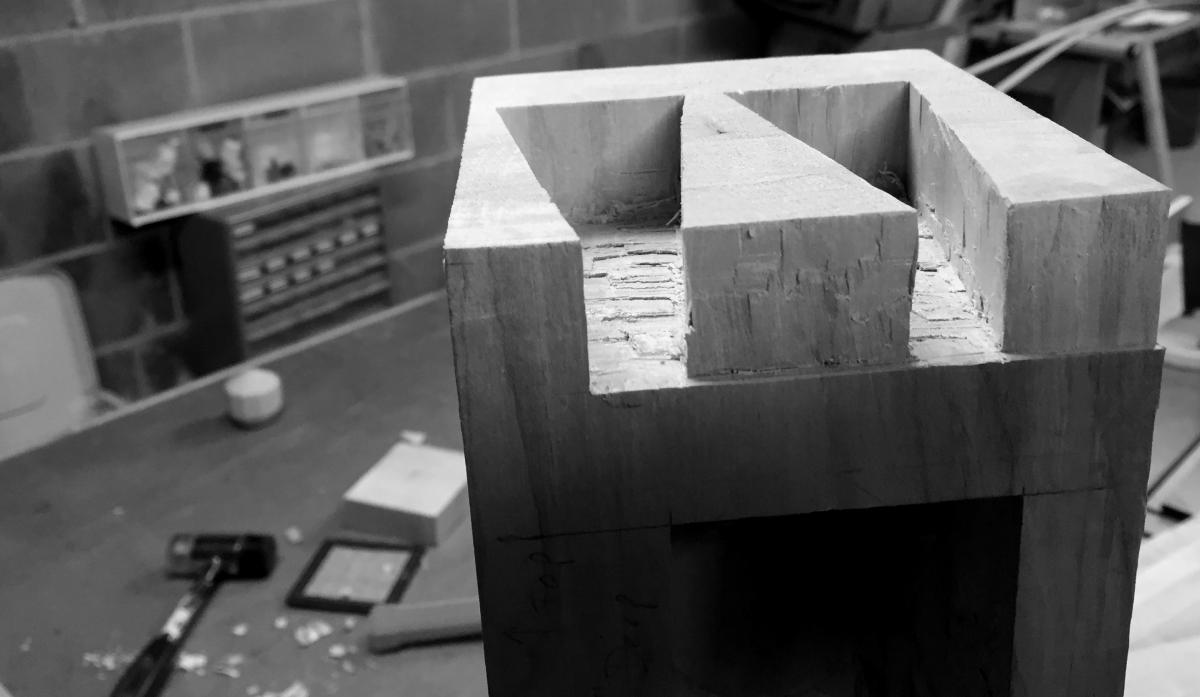
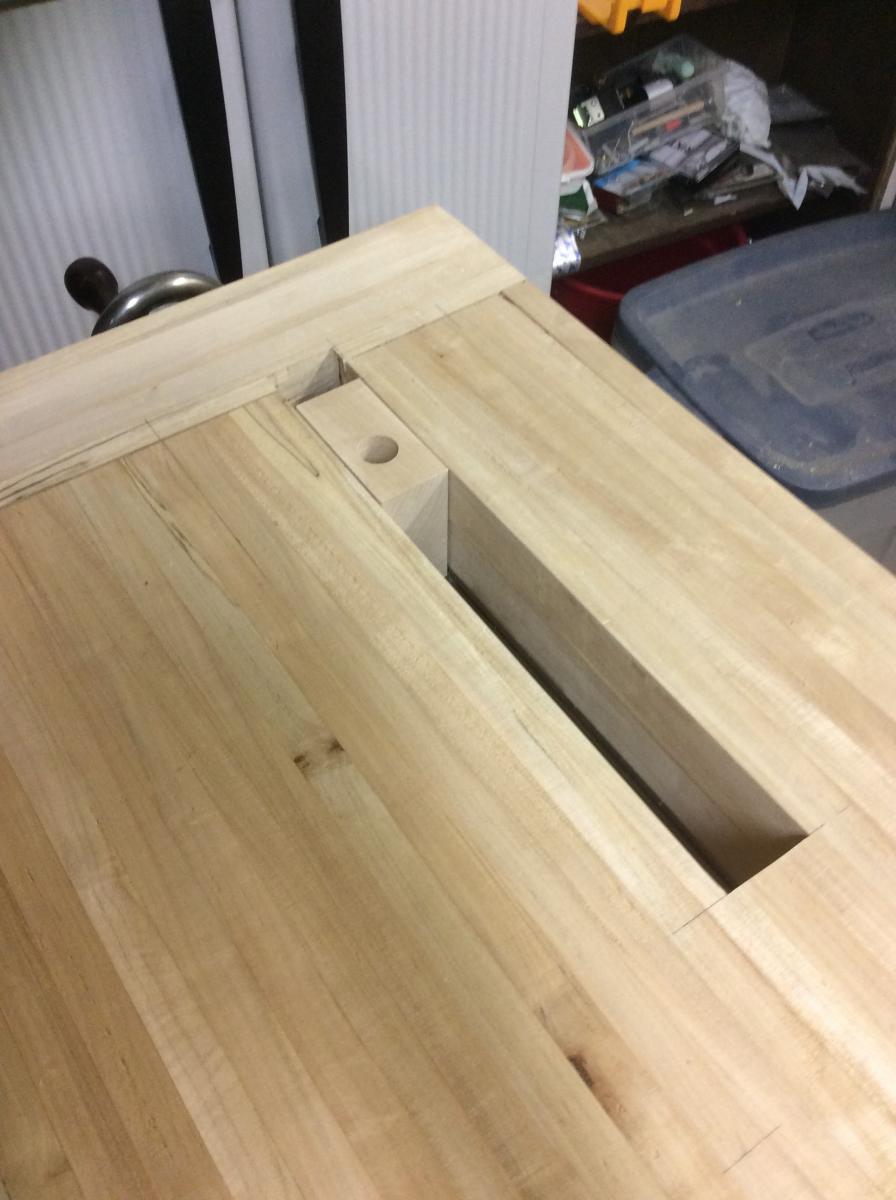 So I installed the Benchcrafted wagon vice hardware, and shaped the vice block from a piece of hard maple. ( A piece of 12/4 left over from my hall table project way back in 2005 or something.) I got the vice mounted cleanly and shimmed so the screw and vice block turn easily all the way from one end of the slot to the other. That took a couple of days of fiddling to get right.
 Then I went in and drill dog holes in my bench top. Two rows of 3/4" diameter holes down the length of the bench. I picked 3/4" because I assumed that was the standard. Every bench dog fixture from Veritas, and every available holdfast on the market is 3/4", so no big whoop picking that size, right? No, of course not. I now find out that The Schwartz has come in and decided to screw up one of the only universally accepted standards in the hand tool woodworking world. (I only found out about his new company, Crucible, and their 1" diameter holdfast a few days. I think I want to write my take on his justification 'rant' in a separate article.
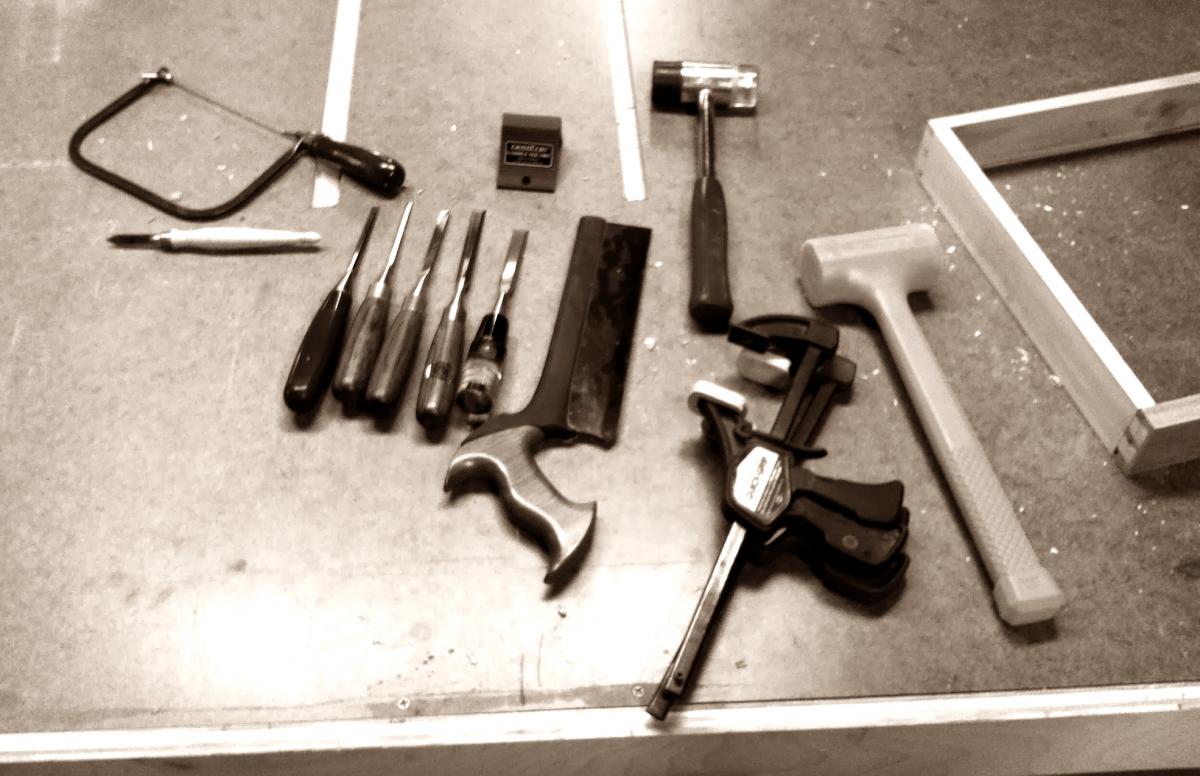
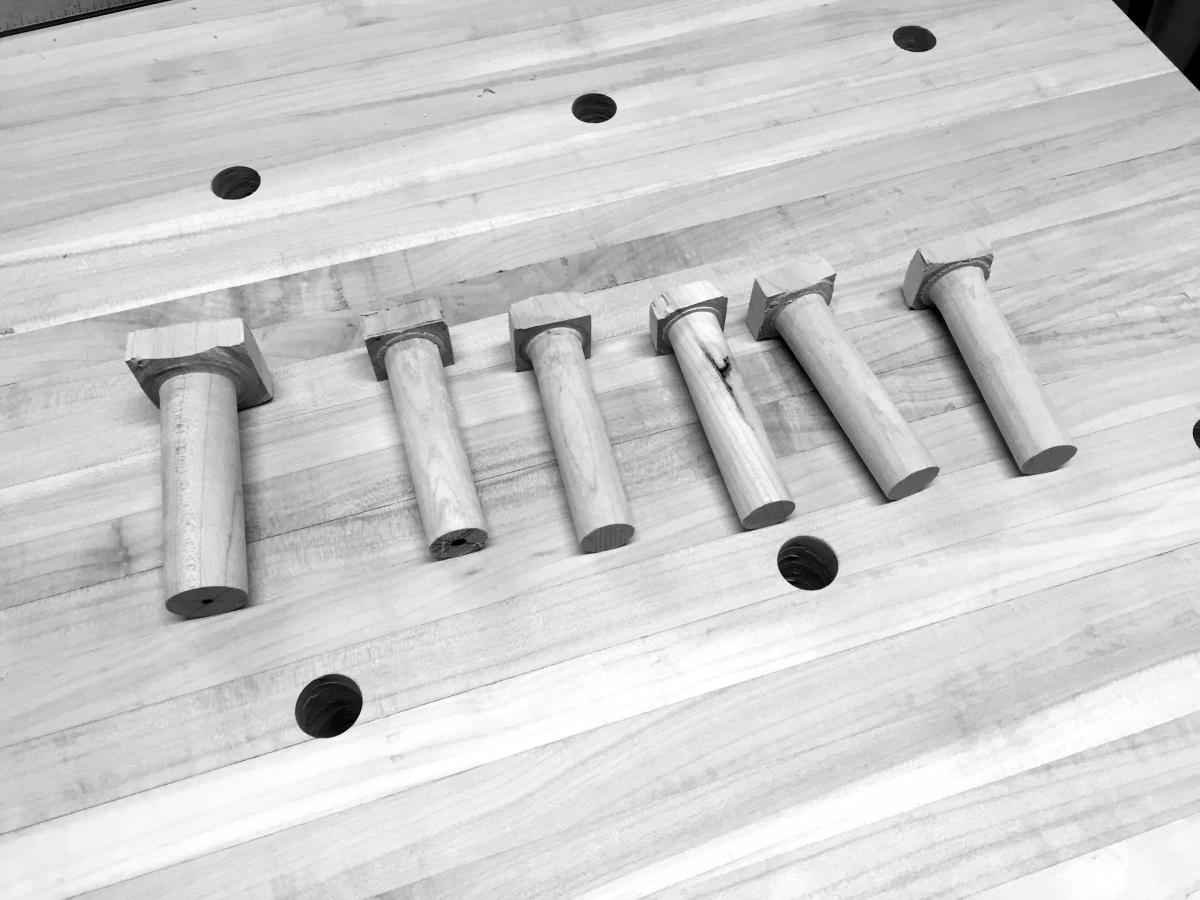
Up next, I squared up a length of that very same 12/4" hard maple, pulled out and dusted off my trusty Harbor Freight lathe, and turned some wooden bench dogs. That was fun.